Page 1 of 3
Jay's Laker
Posted: Sat Dec 24, 2011 12:19 pm
by JayM
Here's a few pics of my build so far. I'm probably not as good about taking pics as I should be, but here you go. This is the first boat I've ever done, and the first fiberglass work I've ever done, but hopefully it won't be the last.
I was trying to get the pics to show up but having problems. When I try and insert the link I get from Flickr, all I get is a message saying that it can't determine the size of the image when I try to preview. Not sure if it's because I'm using Flickr or something else. Never had this problem before, so here's a link to the set on Flickr.
http://www.flickr.com/photos/29020200@N ... 550365315/
That's all the pics for now. I did get the filleting done on the inside of the hull yesterday but didn't have time to take any pictures.
Jay
Re: Jay's Laker
Posted: Sat Dec 24, 2011 12:48 pm
by woodman
Looks good... and building can be addicting...

Re: Jay's Laker
Posted: Wed Dec 28, 2011 9:21 am
by JayM
More progress, and I figured out the photo thing. I got the underside of the deck glassed, and the bow filleted and glassed
Fitting the glass for the underside of the deck.
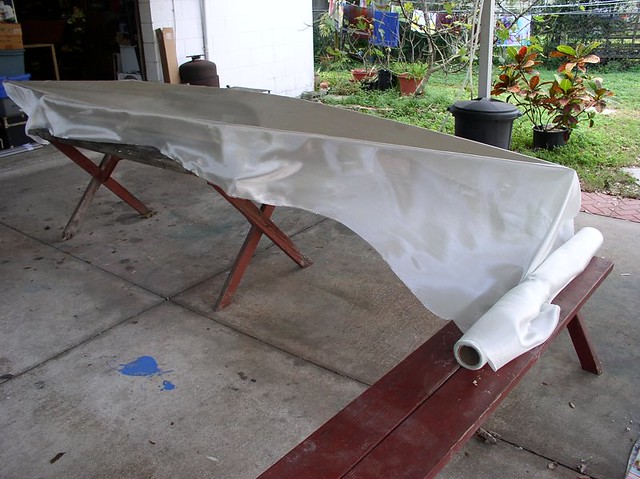
Glass trimmed and ready to epoxy.
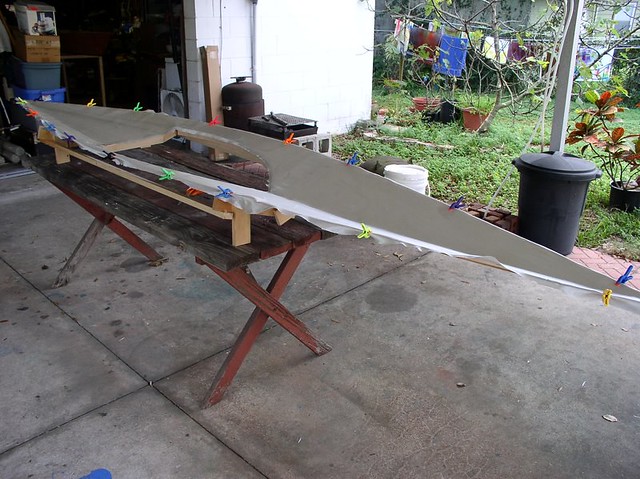
Epoxy applied. I started outside but then the wind picked up so I moved it inside to continue.

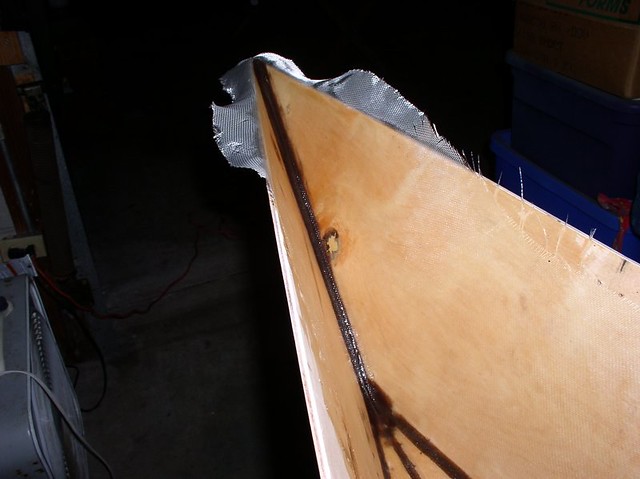
Fitting glass to the stern. Didn't take any pics of the bow at this stage, but put the fillet and glass on there first.
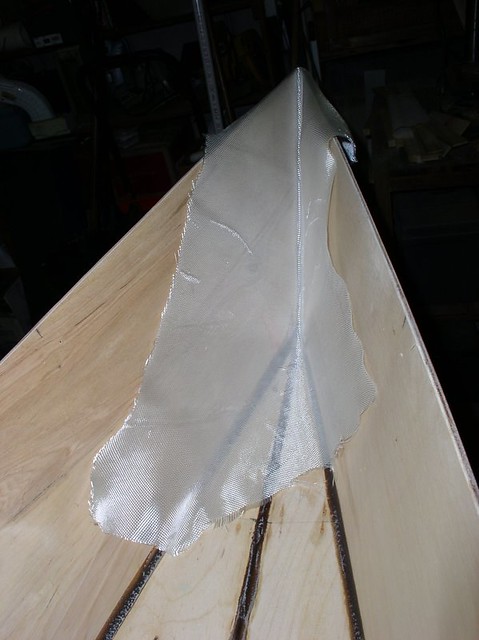
Ran a bead of filleting mix into the bow.

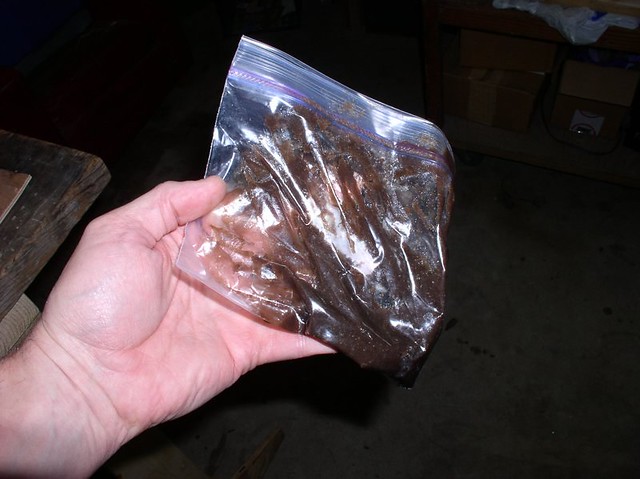
This is my fancy application tool. A Ziplock freezer bag works great and not messy at all.
Laid the glass over the wet fillet.
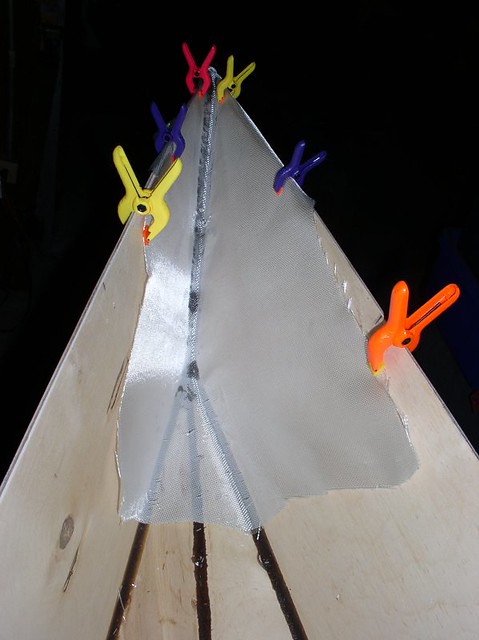
Finally, got the epoxy spread onto the glass.
I also started working on a platform for the seat, but didn't take any pictures yet.
More to come, but a cold front has moved in, so may not get anymore done until the weekend.
Jay
Re: Jay's Laker
Posted: Wed Dec 28, 2011 10:43 am
by toolman
Nice pictures ,looking good ,keep up the good work Jay
Re: Jay's Laker
Posted: Thu Dec 29, 2011 10:00 pm
by JayM
I got a little more done today, even though the temperature was a little cool. I turned on a little space heater and got my work area up to around 65F.
I re-fitted the glass for the stern because the piece I had used seemed a little too small.
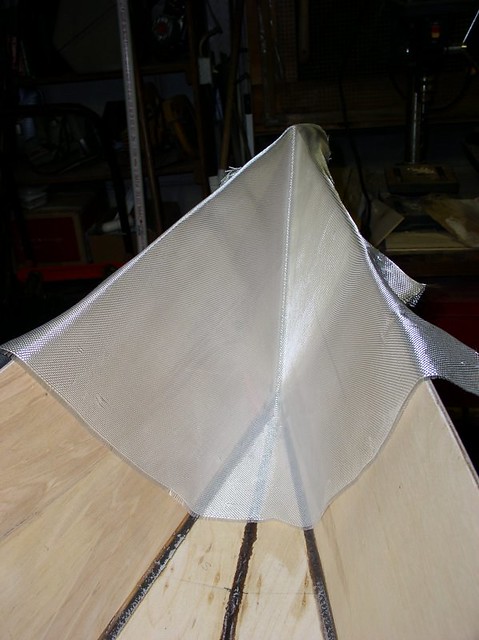
Didn't get a pic of the fillet before putting the glass on, but it pretty much looked like the bow.
Got the epoxy applied to the glass without too much trouble. If this is the hardest part, the rest of the hull should go easily.

Jay
Re: Jay's Laker
Posted: Thu Jan 05, 2012 12:26 pm
by JayM
I made some progress before the weather got too cold.
I got the seat platform cut out. This pics shows it before it was completed and glued together.

I have since glued it up and enlarged the drainage path at the bottom. I'll get a pics of the bottom before I glue it in. There are a couple of reinforcing bars on the bottom.
I got the rest of the inside of the hull glassed. Doing the bow and stern first make a big difference. Doing the rest of the inside was pretty easy.
Glass fit before epoxy.
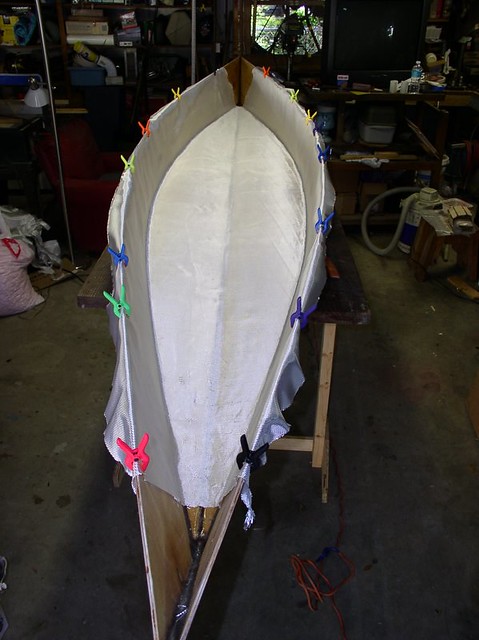
After epoxy but before trimming.

I also glued in a reinforcement in the stern for a deck grab handle. I did one for the bow also but didn't get a pic yet.

I'm also working on a "glove box" like Mick did on his Lakers. Great idea, and thanks for the inspiration! I've been going back through build threads and seeing what other great ideas I can "borrow".

The temps have dropped quite a bit. We had lows in the mid 20s (F) and it never has warmed up enough to do any epoxy. I still need a couple of coats on the inside, so maybe by the weekend it will warm up enough to do it. After that, glue on the shear clamps and start fitting the bulkheads.
I've been looking at hardware for bungies on the deck, and all I can find is plastic or stainless steel. I don't like the look of any of the available options, so I'm considering making them from wood. Has anyone else made their own or have any tips on making them?
Jay
Re: Jay's Laker
Posted: Thu Jan 05, 2012 12:49 pm
by tx river rat
I use soft pad eyes and have been pleased with them , here is a look at them
This is how I make my pad eyes ,I am not sure if it i the best way but it works
I use 1 inch webbing
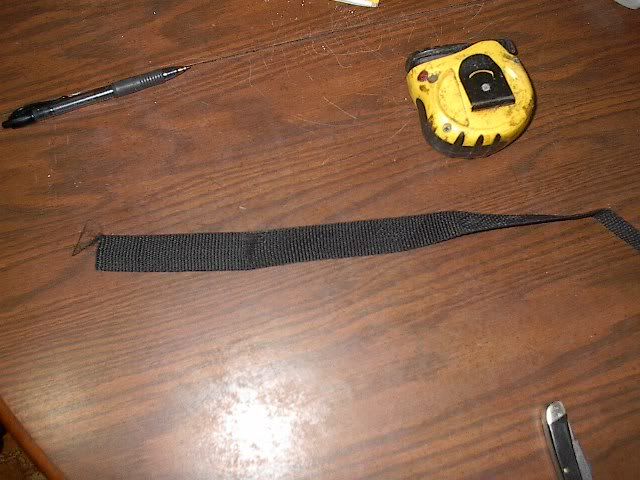
cut a piece 8 inches long,I burn the ends to stop it from raveling
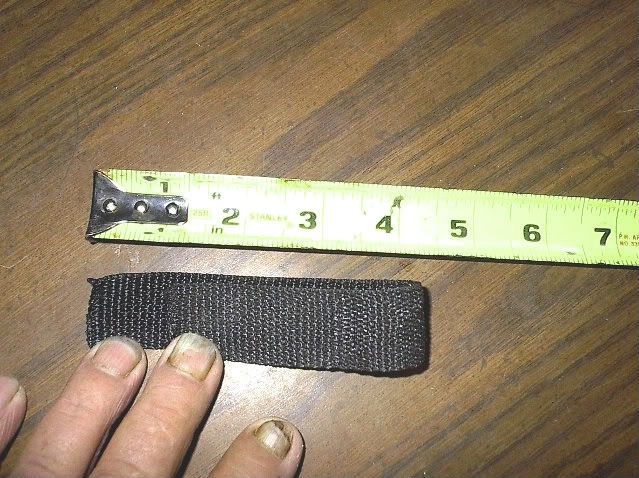
now fold it so that you have 1 inch sticking out past the edge on top.
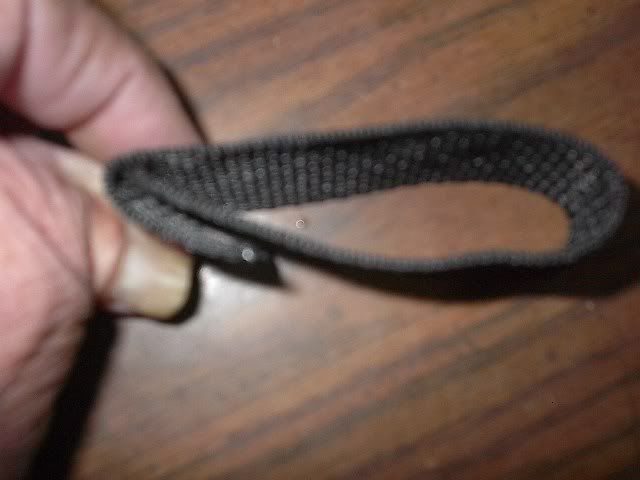
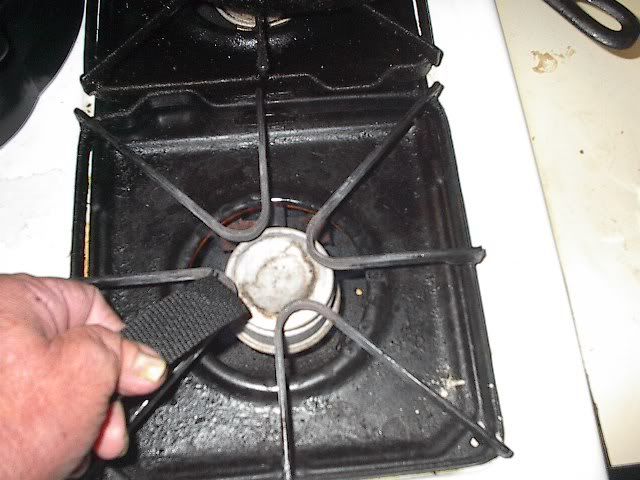
I always have welding rods around so I use them ,a nail or any small rod will work . Heat it on the stove

now burn a hole threw all three pieces
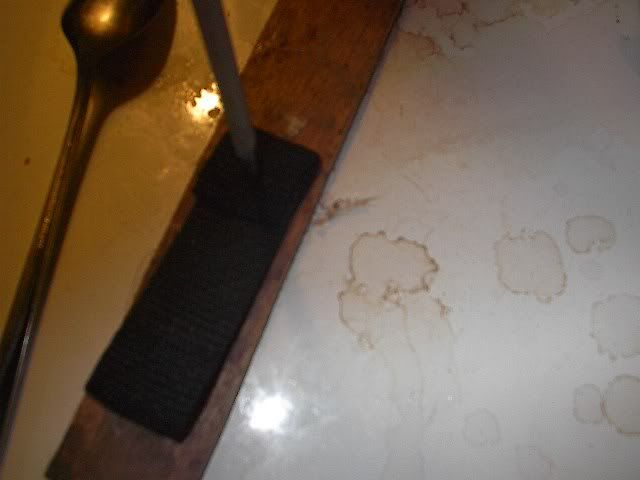
this does two things ,gives you a hole and melts the area aroound the hole togeter and serves as a washer
Wala you have a soft pad eye ready to bolt on your yak,
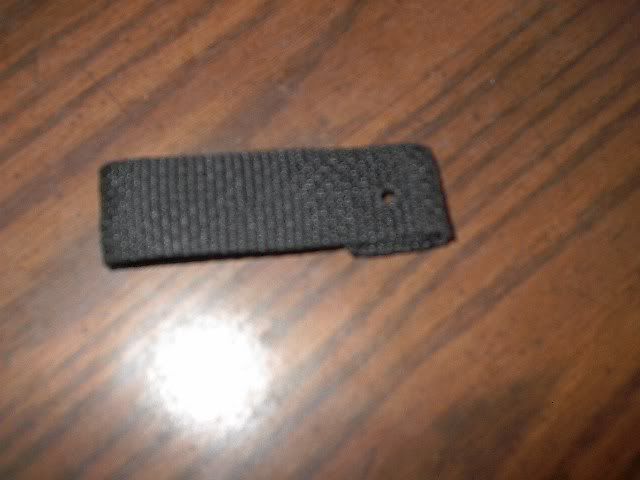
finished project
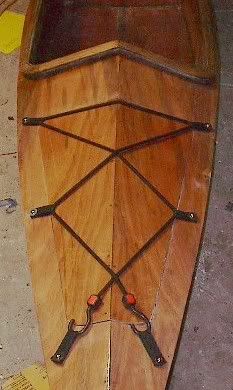
are there any better ways to do this?
Ron
Re: Jay's Laker
Posted: Thu Jan 05, 2012 4:14 pm
by JayM
Thanks Ron,
That was the kind of thing I was looking for. I was thinking about making them out of wood and just gluing them to the deck.
Do you back up the bolts with something inside?
Jay
Re: Jay's Laker
Posted: Thu Jan 05, 2012 4:24 pm
by jem
It would be a good idea to use like a fender washer or something.
Re: Jay's Laker
Posted: Thu Jan 05, 2012 4:35 pm
by toolman
I used the same type of handle as Ron on my laker and to hold them firm on the inside I used #10 pililps screws (tapered heads) and mathching washers with "T" nuts on the inside. Terry PS you said it got a little cool there ,last night it was -20C


