Page 1 of 7

Another Aussie Trapper

Posted: Tue Aug 17, 2010 8:26 pm
by RobRassy
G'day JEM fans

I wasn't going to post on the forum, but when I saw another builder looking for pictures of a Trapper I realized - I had the same problem! and decided the world needs more JEM canoe photos!! so i'll try and do my bit

I'm on bit of a deadline with the build, I hope to be finished early in December
Started in July so I have about 6 months of weekends only building time, +/- beer time

This is my second project, the first one took forever, I want this one to be a more sensible build time
I expect it to be well used, so practical and not so showy is what I'm planning

The first decision was which designer (obviously Matt won there), then weather to go for a Muskoka or Trapper (Traditional looks won out)
Decided to go with Pacific Maple ply, its cheap,light & looks pretty good clear finished
Originally was going for clear finish inside & out, But have decided on paint outside & clear inside

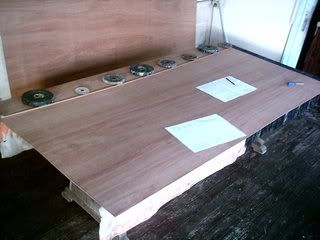
To date I have marked out, cut out, stitched & tacked on both sides.
Every thing is going well so far, although I think I should have used the 2mm spacers when stitching. The joins are so close it nearly looks water tight as is. I ended up using the tip of a saw blade to open up the gap to let glue in.
There was no alignment problems, the whole thing looked straight & level first go

I'm trying to post some photos here from photobucket , hope it works as some of the photos are refusing to resize :x Any help will be appreciated


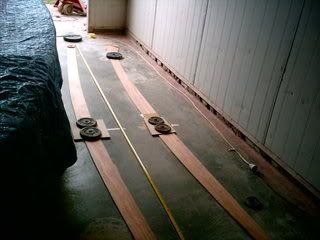
Image

Marking out

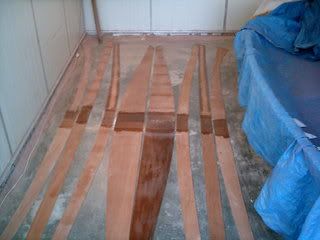
Image

Glued and glassed

Image

Ready to be stitched together

Image

Looks like a canoe :?

Re: Another Aussie Trapper

Posted: Tue Aug 17, 2010 9:40 pm
by olsnappa
G'day RobRassy.
Good luck with the build....
Nice classic design. It should be a beauty.
RobRassy wrote:The joins are so close it nearly looks water tight as is. I ended up using the tip of a saw blade to open up the gap to let glue in.
I don't use spacers in my builds now either. Instead I do something similar using a Dremel tool with either the wee circular saw blade or the little mini router blade to open up a nice consistant 1/16th gap.
The Dremel was probably the best investment I've made in equipment for building these boats.
Apart from cutting the gap at stitch and glue stage, the little sanding bands and discs are great for getting into tight corners for finishing off details
One word of warning for anyone using them for the first time though... wear eye protection...particularly with the sanding bands, because once they wear down a bit they can fly off the mandrel quite unexpectedly.
And of course, when you're doing the finer detail work...you will tend to be leaning over fairly close to the spot.

Re: Another Aussie Trapper

Posted: Thu Aug 19, 2010 8:48 am
by DannyBoy
Looking Great!!!!!

Re: Another Aussie Trapper

Posted: Mon Aug 23, 2010 5:18 am
by Tor
olsnappa wrote:I don't use spacers in my builds now either. Instead I do something similar using a Dremel tool with either the wee circular saw blade or the little mini router blade to open up a nice consistant 1/16th gap.
I'm getting a little concerned I'm beginning to stalk you for good ideas..... :P

That Trapper is a little looker, looking good so far

Re: Another Aussie Trapper

Posted: Mon Aug 23, 2010 7:47 am
by RobRassy
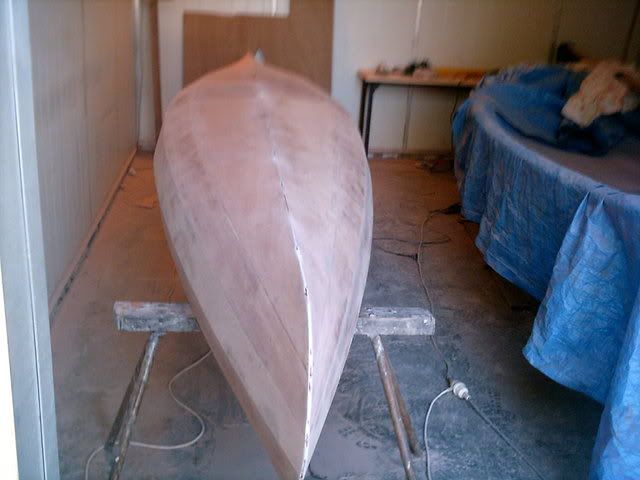
Bit more done on the weekend - stitches removed & cleaned up ready for glassing

Had planned on getting glass on the exterior this weekend, unfortunately, there were some distractions and the sanding took longer than expected (as always)
I don't use spacers in my builds now either. Instead I do something similar using a Dremel tool with either the wee circular saw blade or the little mini router blade to open up a nice consistant 1/16th gap.
Thanks John, bought a cheap Dremel copy, and it work's a treat.

Thanks Tor & DannyBoy

Rob


Image
Image

Before and After

Re: Another Aussie Trapper

Posted: Tue Aug 31, 2010 5:11 am
by RobRassy
Got the outside glassing done on the weekend!
The actual glassing job took longer than expected as I had a bit of a struggle with the cloth.
The method I used was to wet up first and with help, lift the cloth and lower it into position on the bottom and letting it fall over the sides. unfortunately I had trimmed the corners where less width was needed at the ends. this meant that the cloth could only be held in the center and not spread out causing lots of wrinkles. After a lot of lifting and tugging I eventually got things in order but it sure was a lot of extra work.
I have also used peel ply over the entire job, as I will be painting it should take out the cloth weave

No photos as I finished to up too late & messy, will post some next week


Rob

Re: Another Aussie Trapper

Posted: Wed Sep 08, 2010 4:46 am
by RobRassy
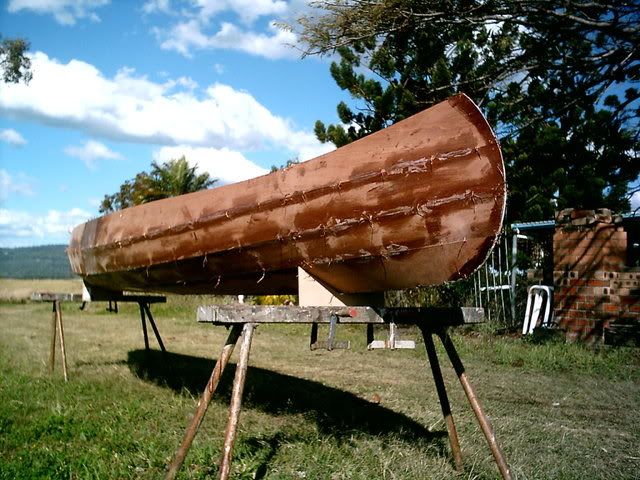
Image


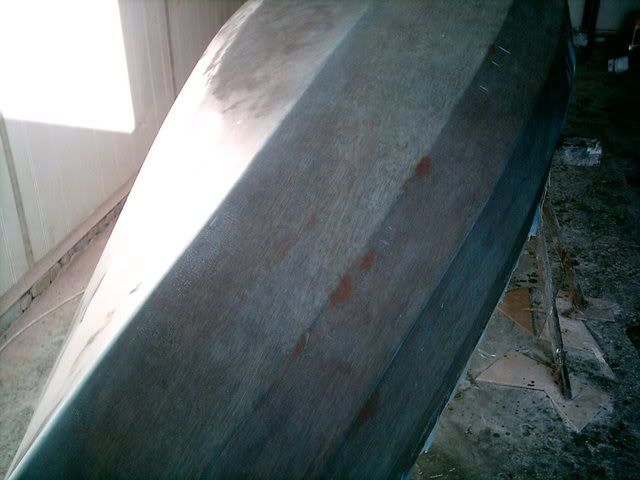
This is were I finished up last weekend - Glassed & covered with peel ply

I was a bit stingy with the resin trying to save weight and the peel ply pulled too much resin from the glass leaving pin holes between the weave. There was no dry glass but I had to put on more coats of resin negating any benefit of the peel ply :x


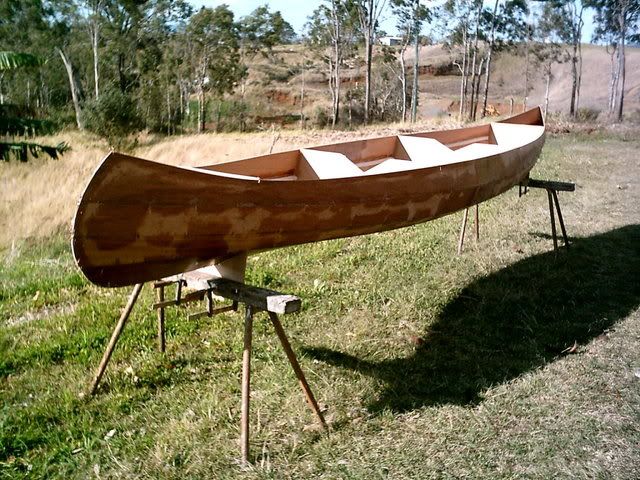
Image


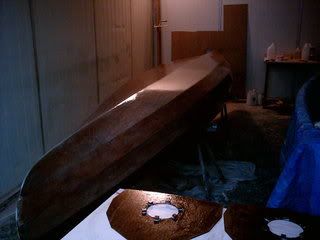
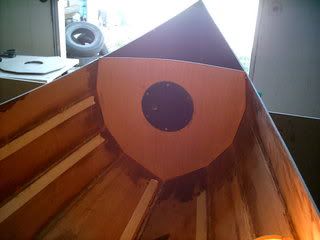
I'll be installing end bulk heads in the place of the temporary forming ones to build in buoyancy.
That's them in the foreground, (hope to have'em in next weekend)

The sides are still fairly flimsy at this stage so I will need some support on the outside while I replace the front formers, then will probably install the outwale before removing the middle formers & glassing the interior.


Rob

Re: Another Aussie Trapper

Posted: Wed Sep 08, 2010 4:06 pm
by preacher
That is a good looking canoe, great classic lines and really good color. You're goning to have fun paddling her around.

Re: Another Aussie Trapper

Posted: Mon Sep 13, 2010 4:53 pm
by RobRassy
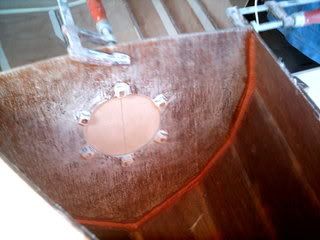
End bulkheads in this weekend
I was going to leave the inside ends unglassed to save weight
Changed my mind when I noticed how flexy the sides were

Image Image

I have been experimenting with some resin pigment in the unseen areas, trying to get my flock resin mix to match the timber (photo on left)
I'll probably have to use wood flour wich is what I was trying to avoid

Rob

Re: Another Aussie Trapper

Posted: Mon Sep 13, 2010 8:34 pm
by jem
You don't want to leave the interior without fiberglass.

She's looking good so far. Can't wait to see her finished.