Page 1 of 5
Houston Wadefish Progess
Posted: Tue Jan 30, 2007 11:55 pm
by Mullet_Key
Posted: Wed Jan 31, 2007 6:31 am
by dangermouse01
MK;
Looks great!
DM
Posted: Wed Jan 31, 2007 8:17 am
by paddling4sharks
Mornin';
Looks good. Can't wait, Matt has the plans for my "Hoot-a-gator 8.14"

in the mail. Hopefully get to start this weekend.
Tumblehome Panel Up
Posted: Wed Feb 21, 2007 10:37 am
by Mullet_Key
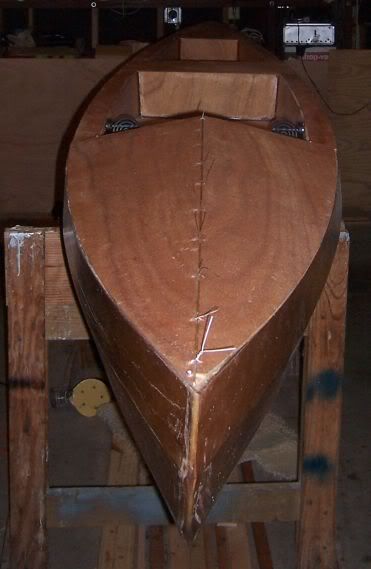
I've installed the top-most TH (tumblehome) panel. Once they were all level and true I began spot welding from the center seam working my way up the hull. I've spot welded the TH panel and will begin pulling those wires out too. Meanwhile, I've been working on the cockpit and tankwell.
http://i158.photobucket.com/albums/t94/ ... pStern.jpg
http://i158.photobucket.com/albums/t94/ ... -2-Bow.jpg
I led an outing with the kayak fishing club this past weekend to Smith Point, TX. The NW winds blew 3' of water out of the bay leaving all the good fishing spots high and dry. We'll come back later in the summer.
Glassed the hull this weekend..
Posted: Sat Mar 17, 2007 11:00 pm
by Mullet_Key
...now the fill coating starts. Going pretty good. Filled in the voids between the panels, the numerous wire holes. Had a friend over to help glass the hull. I'm missing the spring bite!!
 http://i158.photobucket.com/albums/t94/ ... Hull-2.jpg
http://i158.photobucket.com/albums/t94/ ... Hull-3.jpg
Posted: Sat Mar 17, 2007 11:29 pm
by hairymick
Looking good mate, Lovely neat work.

Epoxy malfunction
Posted: Mon Mar 26, 2007 9:37 am
by Mullet_Key
Had a setback this weekend with an epoxy malfunction. It was a case of timing, blending, blush, maybe humidity and did I say timing? Anyway scraped off about 1/4 lb of sticky stuff, wiped it down with epoxy thinner and applied a very light coat of precisely mixed System Three. **Good to Go!! Problem solved.
Progress at last
Posted: Fri May 25, 2007 2:09 pm
by Mullet_Key
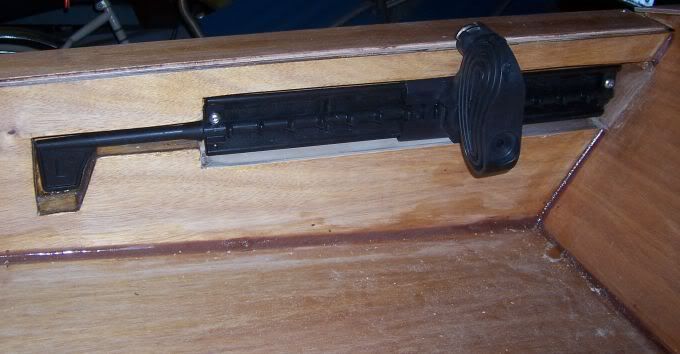
A little bit here... a little bit there... I've glued the shear clamps on the inside of the hull in two long strips. I'll join the cross members by cutting a little step or sill on the ends. The inside of the hull is glassed now and I'm working to flush mount my SeaDog foot braces. That's a little time consuming for gaining about 1.5 inches of foot room in the cockpit. Photo's to follow. Some glassing left to do inside the cockpit and tankwell. Now its off to the Lower Colorado River for camping and fishing with the family and the Swamp Girl in tow. Commemorate the Fallen!! MK
A little bit more progress
Posted: Wed Jul 18, 2007 11:00 pm
by Mullet_Key
Posted: Wed Jul 18, 2007 11:02 pm
by Mullet_Key
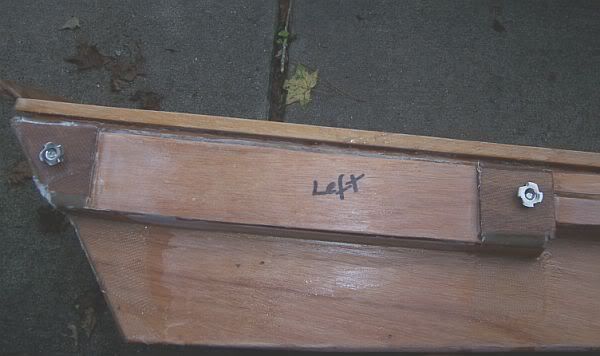
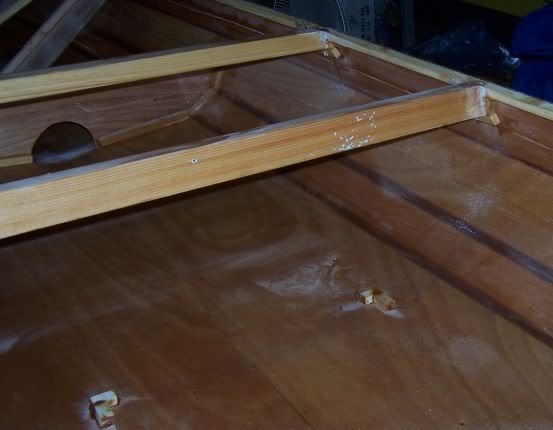
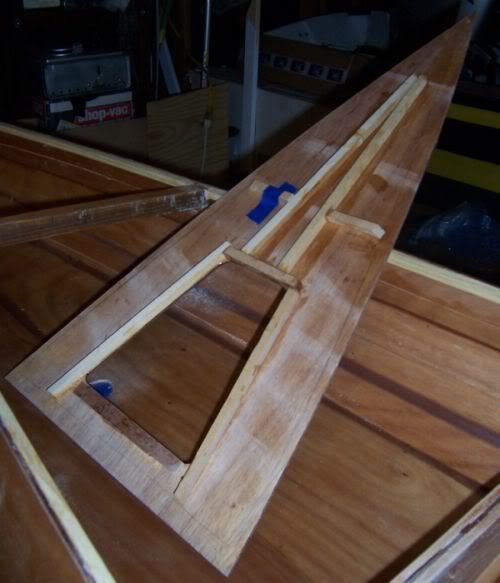
DM's trick of the blocking up the internal frame helped a lot as I would assemble and disassemble the parts for repeat dry runs. On the last dry run I screwed the parts to the hull with small wood screws. When I finally glue them on, I'll fill in the screw holes. I glued in some 1/2" strips for additional vertical support on the rear deck.
Underside of Rear Deck
See ya!
