Page 9 of 17
Posted: Wed Aug 06, 2008 12:23 am
by tx river rat
Mick
I did my T-V similar to the way you did yours, cat a piece that covered inside the side bottom seam and tumble home seam then just fit the bottom in between, gives you a little extra strength at the point where you take most of the hits on the sides.
Your looking good on her .
Ron
Posted: Wed Aug 06, 2008 1:13 am
by craiggamesh
What I did on my Touring pirogue was glass the side panel and bottom insterior sides first while lying flat. Then I stitched them together, filleted the seams, and taped the seams with cloth cut on a bias in strips about six inches wide. It folds easier that way.
By the way, she looks beautiful.
Posted: Wed Aug 06, 2008 10:34 pm
by tx river rat
Mick
are you going to paddle this one to get it broke in for Jody.
Ron
Posted: Mon Aug 11, 2008 3:55 am
by hairymick
G'day Craig & Ron thanks guys.
Ron, will take her for a walk - just to get the seat position right

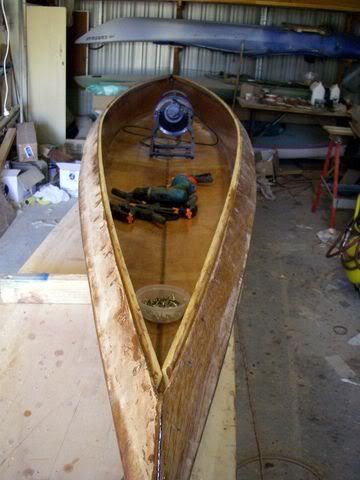
Inside bottom is glassed. (more off-cuts)

wet out coat.

Ordered gunwhale/shear clamp timber today. More Hoop Pine and will pick it up tomorrow.

Posted: Tue Aug 12, 2008 2:43 pm
by hairymick
Picked up my Hoop Pine strips today. (got 8 of em)

3/8" X 1" dressed and 16 feet long. Knot free all for the princely sum of $32.00

My timberman told me that there are two other builders in this area now

who are also regularly buying wood from him.
very cold here at the moment. had to light the fire in the shed to warm it up a bit.
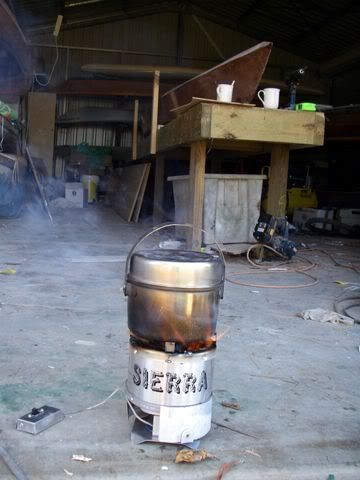
and put the boat in the sun to get the previous afternoons resin to set up.
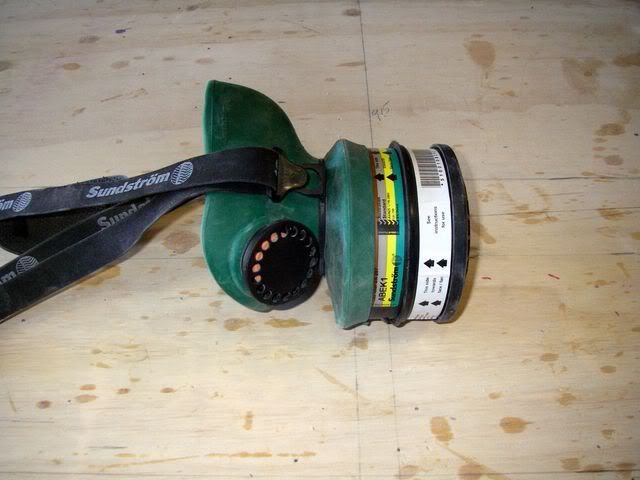
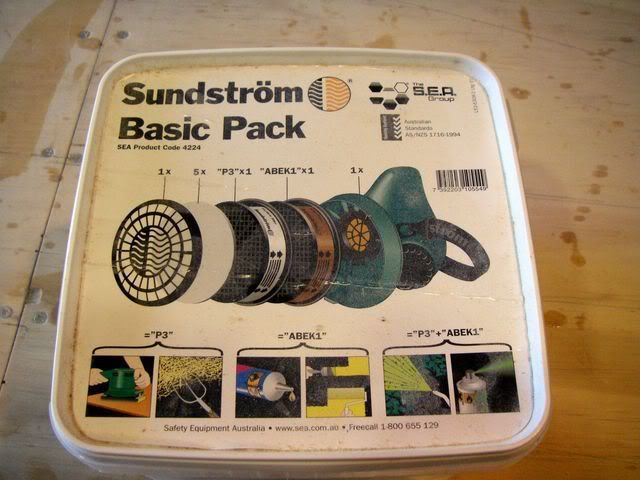
Oh yeah,
This is what I use when sanding epoxy.
Posted: Sat Aug 16, 2008 3:06 am
by hairymick
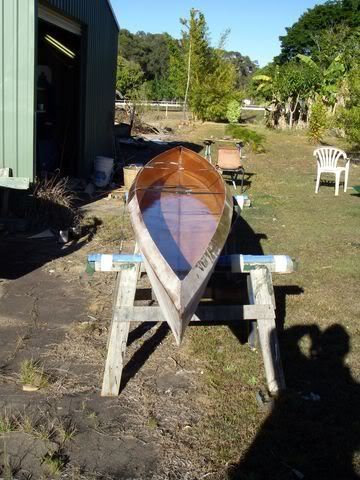
Still plodding away.
Had a talk with Jodie the other day to find out what sort of decks she would prefer. She told me that she would like her boat semi - open so that she could take a friend with her if she wanted to. She would still like sealed compartments with bulkheads & hatches so there has been a slight change of plan. More on that shortly.
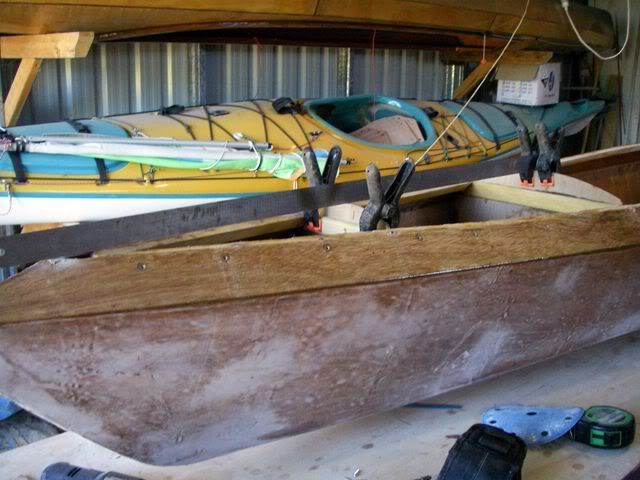
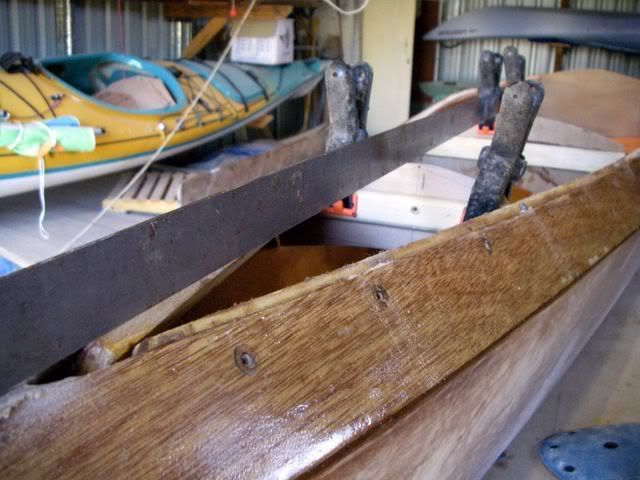
I fitted the inner gunwhales/shear clamps the other night. What I do is dry fit them, then take them out, apply resin & woodflour and temp screw them into place to hold till the glue sets up. Usually a screw about every 6 inches. The reason I screw them instead of clamping is that in some boats (including this one) there is significant edge bend required in the gunwhales. Spring clamps are simply not good enough to hold the gunwhale strip in place.
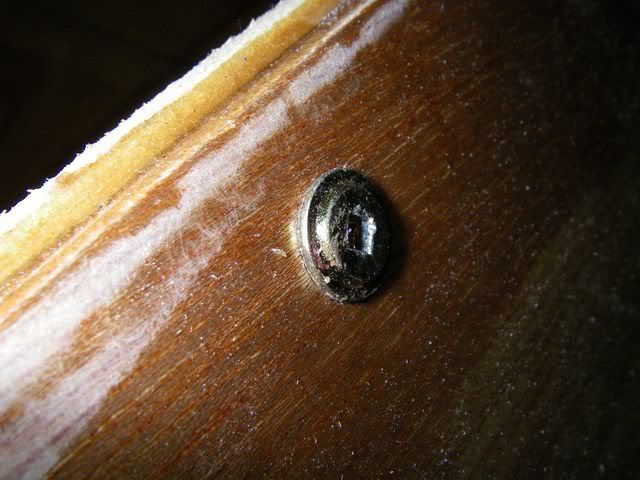
There are nearly ALLWAYS one or two screws that are difficult to remove, sometimes more and the driver chews the head of the screw out.
Will spend a little time here, because I am fairly sure others have had similar problems. Hope this might help somebody else.
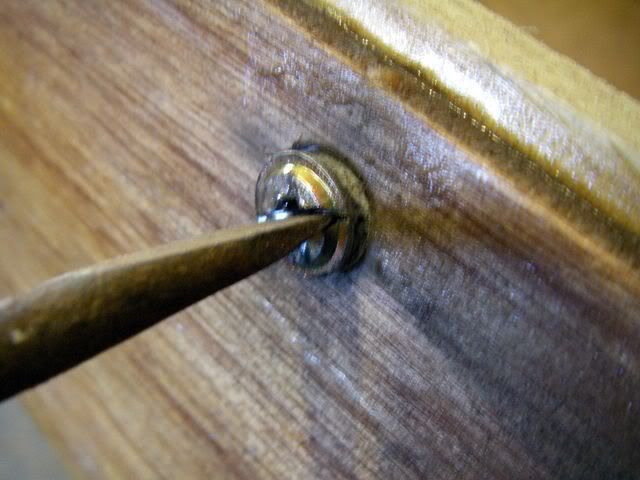
Piccie of the chewed out screw head.
I use a Dremel brand rotary tool (but any brand will do)
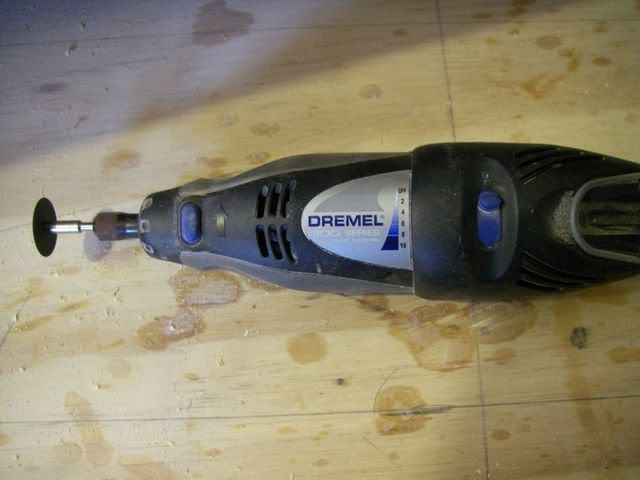
Fitted with a metal cutting disc

To CAREFULLY cut a slot across the head of the screw. ( A tip, Wear Savety Glasses.)

While doing this, have a fairly big soldering iron heating up.
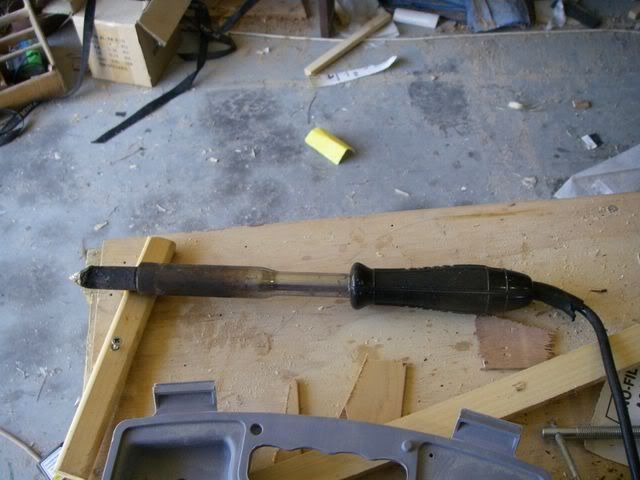
and when it reaches temperature, hold against the head of the screw for a minute or so. (don't touch your resin with it)
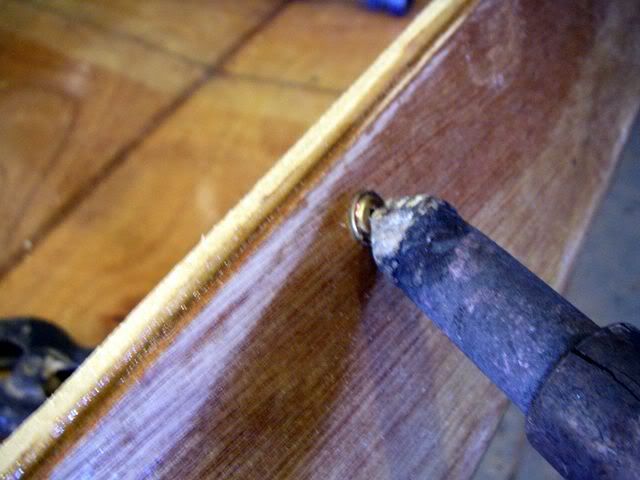
Fit screwdriver to the slot and remove-
easy
Posted: Sat Aug 16, 2008 3:15 am
by hairymick
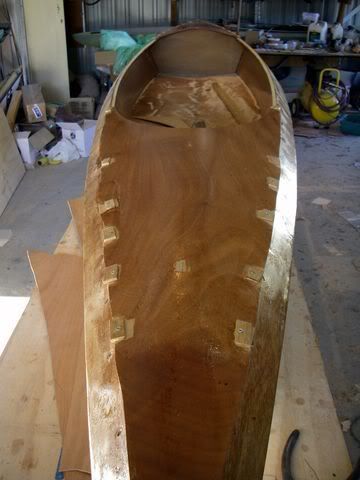
Because Jodie wants decks & bulkheads on an open boat,a little modification/improvisation is required. Hope you don't mind Matt.
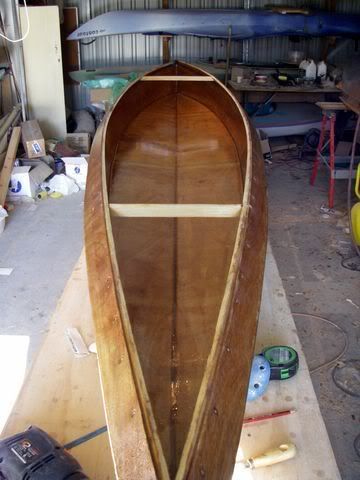
Lots of sanding today and i think this will be the final coat of resin on the inside.
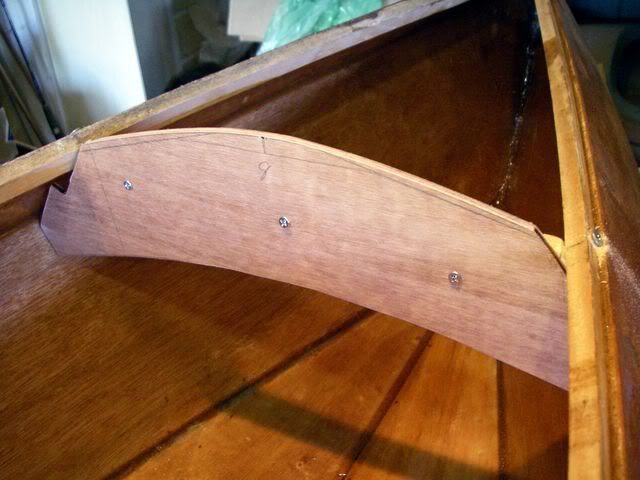
The plans come with suggestions for a couple of thwartes. Because of the way jodie wants to use this boat. I decided to hide them behind the bulkheads. Here they are, dry fitted.
Dry fitted front bulkhead with hatch backing plate fitted & glued
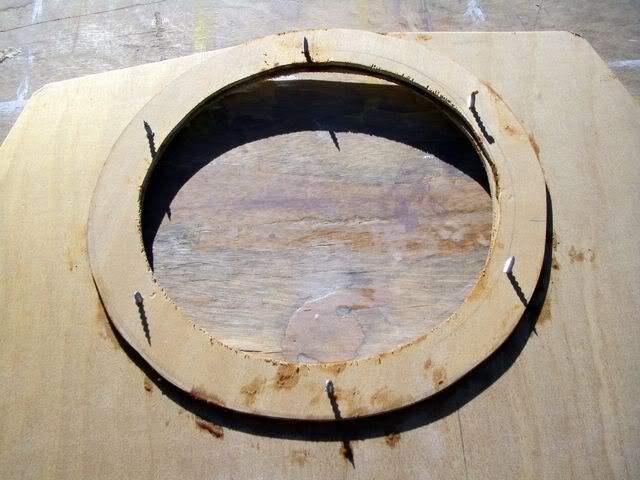
clamped in place

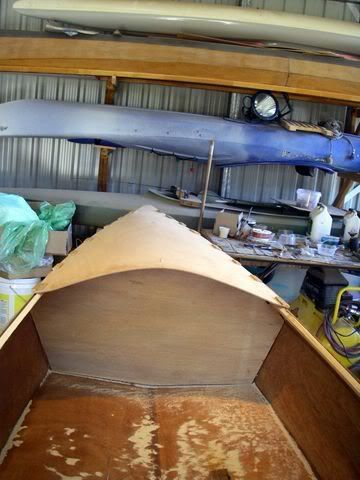
rear bulkhead fitted, glued and clamped in place.
easy.

Posted: Sat Aug 16, 2008 7:54 am
by jem
Looks like a rounded deck is in the works. Should look nice.
Posted: Sun Aug 17, 2008 2:58 am
by hairymick
Thanks Matt,
Bit of trial and error going on here - with plenty of trials and even more errors.

Nevermind, It's only wood.
Extra deck supports are in.
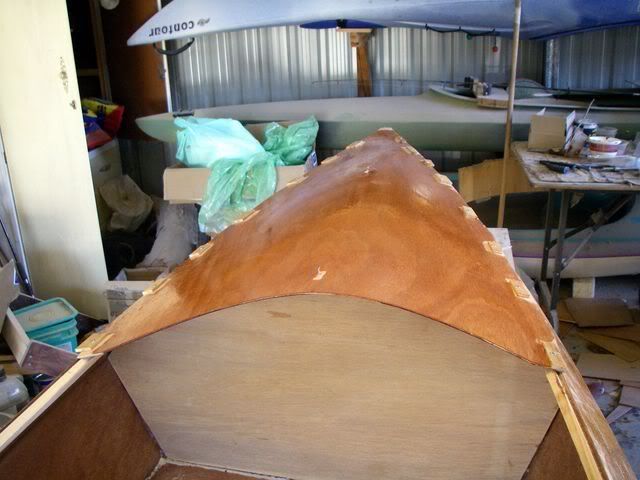
I shot a level between the top of the stems and the top of the supports to ensure they were in a straight line. A straight edge is good enough for this.
Decks temp' fitted

More trial and hopefully, little error. My thinking is that by bending the ply over the deck supports and holding in place, Then saturating the top of the ply in epoxy, it should just about hold the ply close to the required shape. ( will find out in a couple of days.)
Nice and shiney!!
Posted: Sun Aug 17, 2008 6:55 am
by Kayak Jack
A decked canoe is a very versatile craft. A solo that can be put into service by taking along a friend is even more versatile. Jodie will be able to paddle a lot of kinds of water with that boat. Matt & Mick - you make a good pair.