Page 7 of 14

Re: Hairie's Okwata 15 X 26 LC

Posted: Tue Dec 09, 2008 2:05 am
by hairymick
Ray,

I checked today. $10.91 for a bag of 16 at Supercheap. I bought Two more bags.

Re: Hairie's Okwata 15 X 26 LC

Posted: Tue Dec 09, 2008 6:53 am
by _AL_
Bunnings has the same clamps for around the same price. I bought 2 bags & use em all the time.

Mick,
I'm loving this build mate. You do very nice work.
I'm now seriously considering this boat for my next build.

Al

Re: Hairie's Okwata 15 X 26 LC

Posted: Tue Dec 09, 2008 7:12 am
by hairymick
Heya All,

Thanks mate. I think this one will be an exceptional touring and smallish sea kayak. i was hoping to have her done by Christmas but that is not going to happen now.

I fear, I may have been a little over-enthusiastic in my sanding of the decks in places and may have sanded through the veneer here and there. I won't know till I get the epoxy on but if so, will have to paint her. I hate the thought of doing that to the last of my lovely gaboon ply.

Am trying a couple of new things with my hatches. Have been messing around with prototypes for weeks now. The front hatch will be very different from the back one.

If they work out, there is something that might be of use to a few blokes here. More on that a little later.

The way she is looking at the moment, with the bigger cock-pit, it is looking like there will be a real usefull little space immediately behind the paddler. Somewhere to store a drink bottle/thermos etc ad other little necissities I like to take in the cock-pit with me.
i won't know for sure till I get the seating position sorted for trimming the boat. I think there will also be room under the front deck for a holder to take a serious camera - up out of the water and protected from spray. Will be playing with that a little more too.

The potential of a boat like this, is only limited by the builder's imagination. 8) I am hoping that this one will become my favourite general purpose boat but still be capable in all the conditions I am likely to encounter here. I expect she will be superior to Laker and that is a very big call.

Re: Hairie's Okwata 15 X 26 LC

Posted: Wed Dec 10, 2008 8:49 am
by hairymick
G'day Snapps,

I thought I had replied to your early kind words but must have forgot - sorry mate and thank you.

Been another hold up here on the home front, but got a little more done today.

have decided to do a more detailed post on how I do my inside fillets.

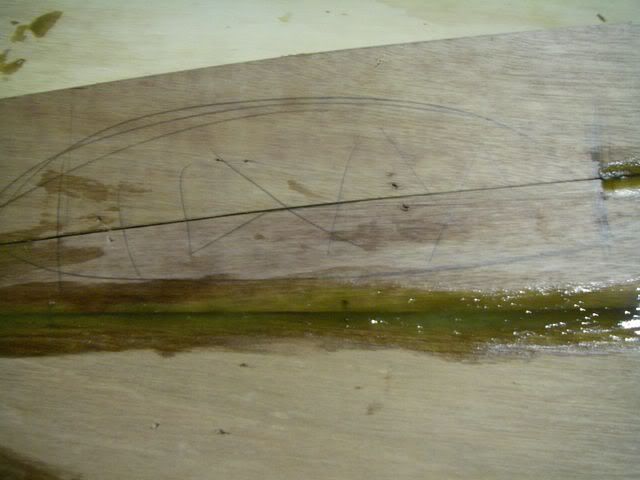
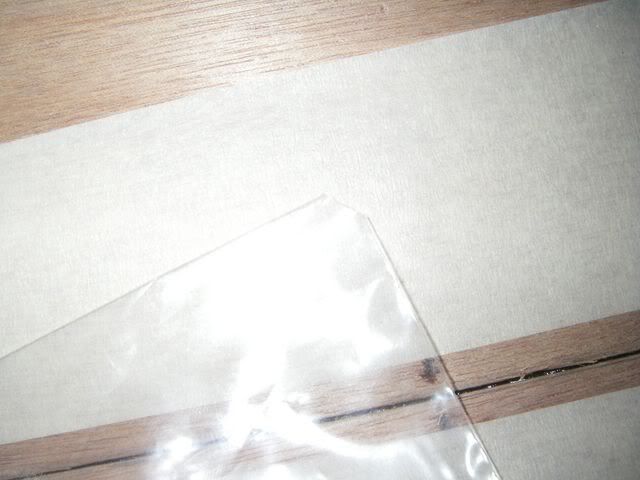
First up after cleaning up any dags that might have run through the seams, I mask along each side of the seam to be filleted. i like to leave about 1/4" (6mm) on either side of the fillet. This gives room for a nice radius and makes for a strong fillet.

Image

I cut a corner out of the bottom of a zip lock plastic bag.

Image

Open it out and place in a small bucket.

Image

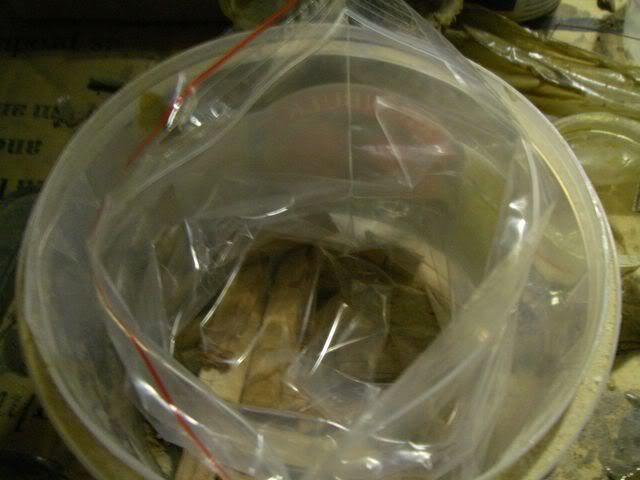
This helps to hold the bag open and upright.

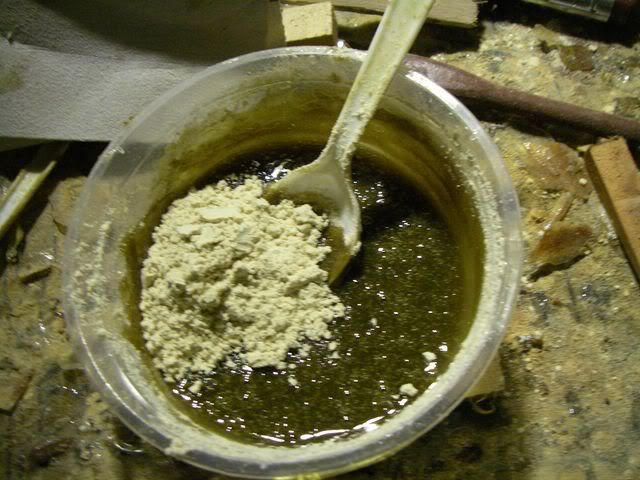
I thoroughly mix some epoxy and hardener and then add my wood flour. this piccie shows how much the woodflour darkens when mixed with epoxy. Wood flour used here is from hoop pine.

Image

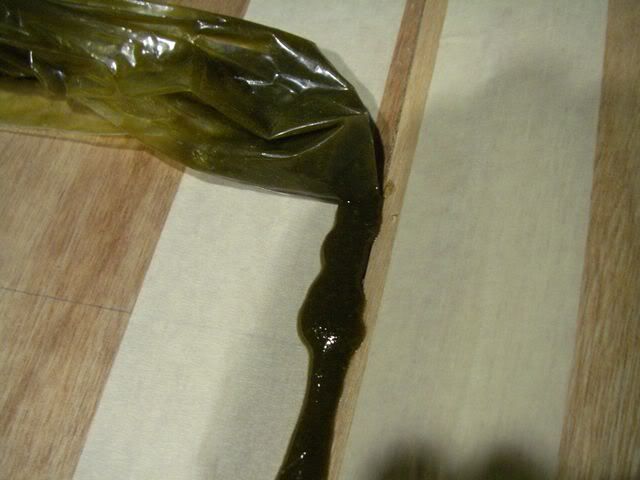
when mixed to the required consistency, (I like to mix it to about the thickness of peanut butter at room temperature, or just a shade thinner.) I scrape it all into the zip lock bag and seal it.

Now it is simply a matter of squeezing out a bead of the epoxy/woodflour along each seam.

Image

Image

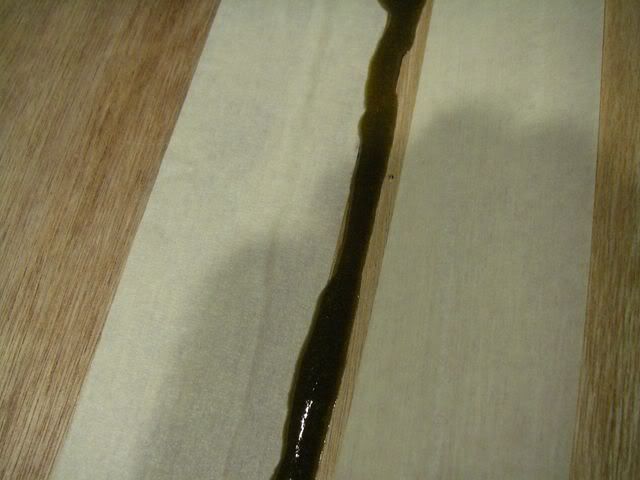
When the bag is empty, i run a plastic spoon along the bead to spread it evenly and to start to concave required in the fillet,

Image

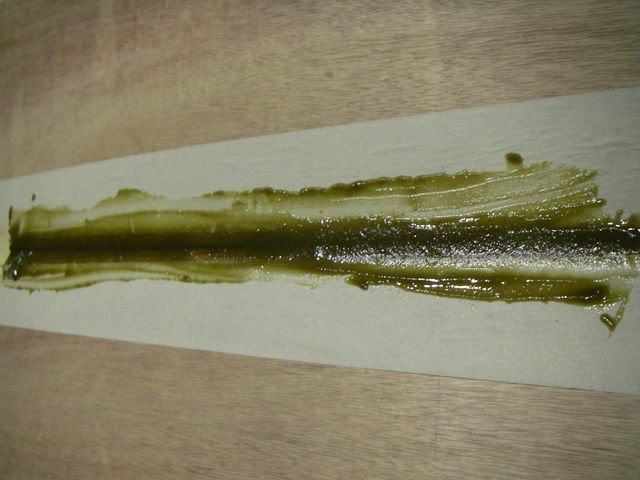
Then run a scraper along the masking tape, recovering the excess woodflour

Image

To use to do some more filleting. In the heat here, i can only manage about 100ml of woodflour before it starts to go off, so I need to make several batches to complete a multy panel boat such as this.

Once the woodflour starts to cure a little, It will reach a consistency of bubblegum.

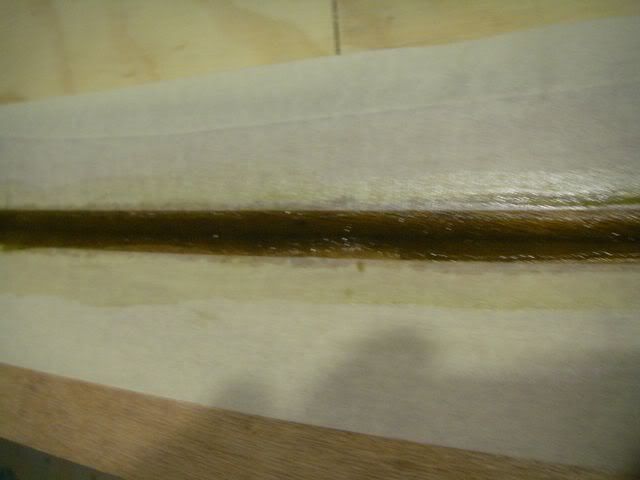
I remove all masking tape at this stage, otherwise it will be epoxied to the hull and is a real PITA to get off.

This is also the time that i mix a little more resin and with a gloved finger, dip it on the resin abd run it along each fillet smoothing out any remaining lumps and bumps. This saves a LOT of sanding later on.

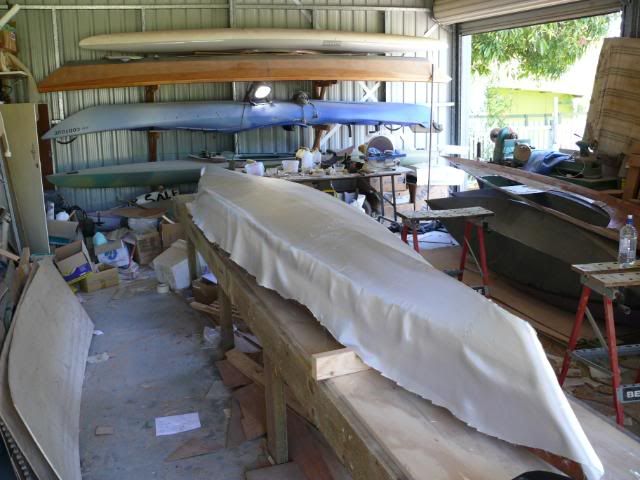
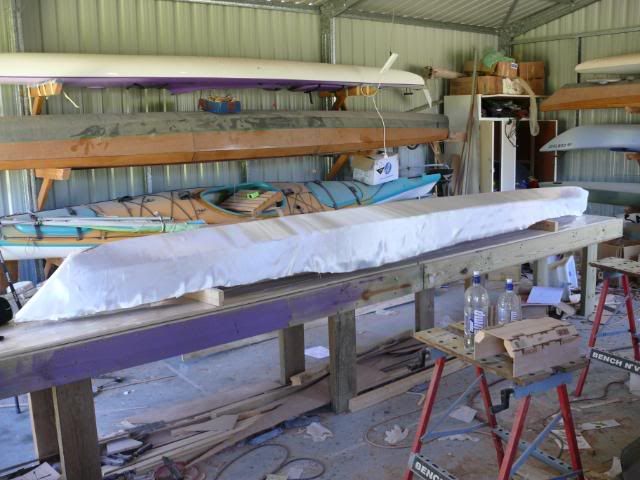
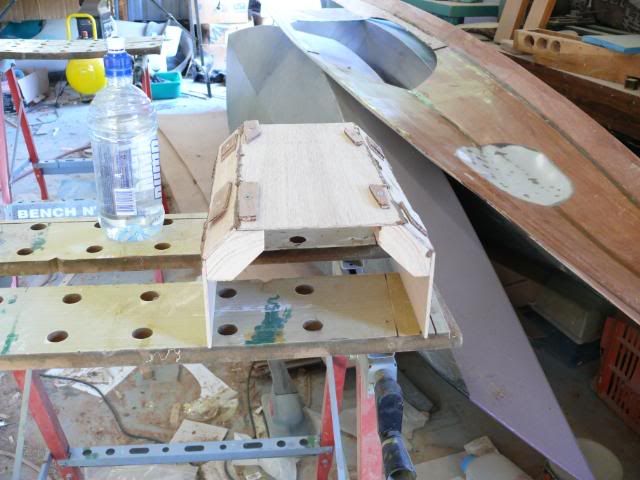
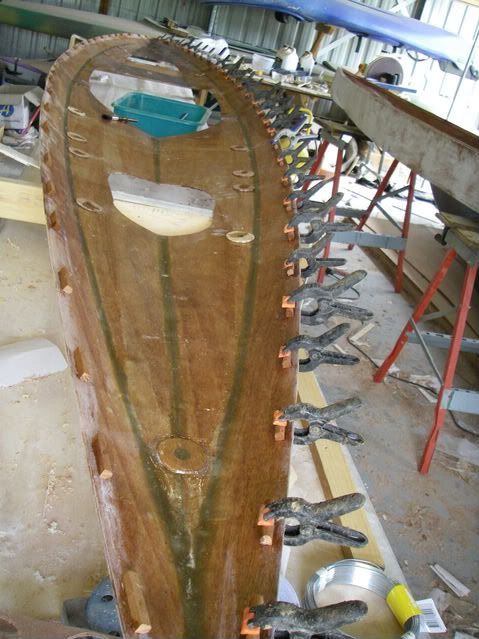
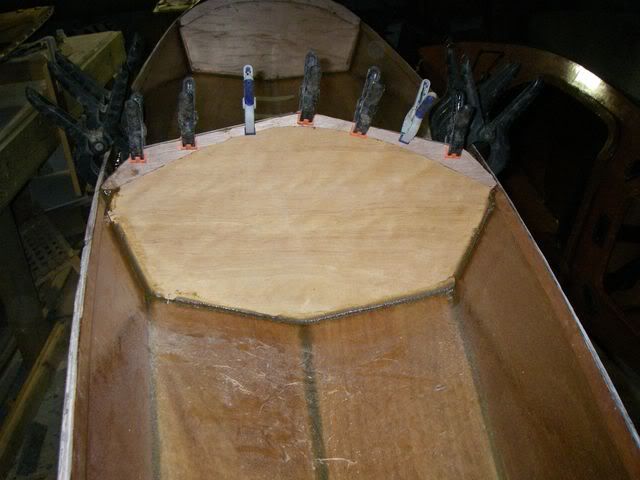
Inside decks are now all filleted

Image

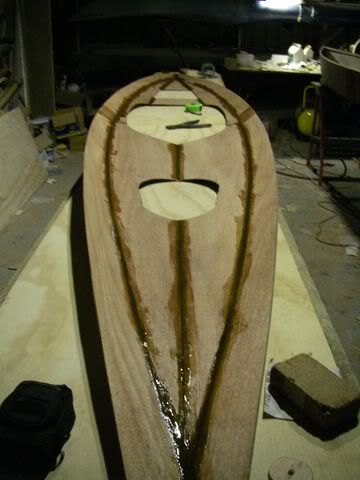
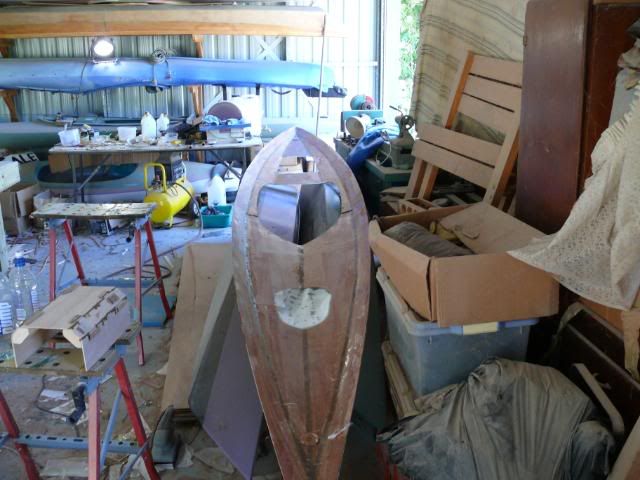
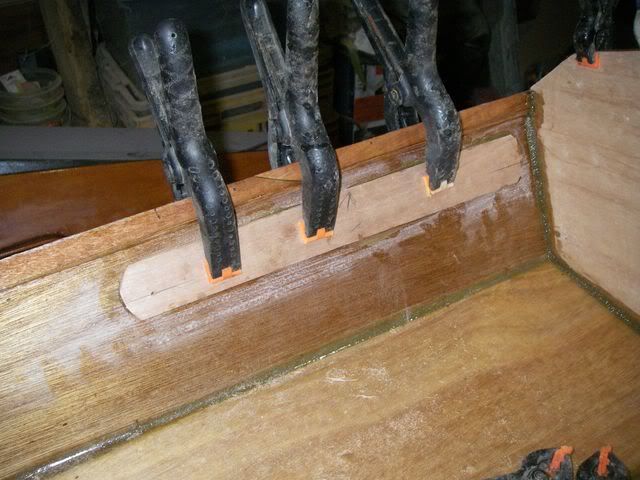
Except for a patch about 10" long where my panel alignment is not correct. I have left this and will cut it later, re-align and re fillet.

Image

Re: Hairie's Okwata 15 X 26 LC

Posted: Thu Dec 11, 2008 4:13 am
by olsnappa
hairymick wrote:G'day Snapps,
I thought I had replied to your early kind words but must have forgot - sorry mate and thank you.
G'day Mick..........You did mate....... A couple of posts back.
hairymick wrote:G'day Snapps,
Thanks mate LOL
Too old and waaaay to mean to let that interfere too much with my all consuming passion for building these things.
Got a little done today before the Honey Do stuff over-ruled me.
Good demo on the filleting method.... I tried the freezer bag thing with mine..... but must have got a bit willing with the squeezing 'cos it just exploded in one big blob :shock:
.........Hmmm, I'll have to practice and try it again for the next build.

Re: Hairie's Okwata 15 X 26 LC

Posted: Sun Dec 14, 2008 9:42 pm
by hairymick
Still fooling round a bit.

I have applied a saturation coat of resin to the outside of the hull. As it goes tacky I lay my cloth over and the tackiness helps to hold it all in place for me for wet out.

I am using lightweight, tightweave stuff from Duckworks. Chuck and Sandra from there, (very good folk) can only ship the stuff internationally in folded form and it has been folded for some time now. This has caused permanent wrinkles in the cloth and the tackiy saturation coat helps a lot to make the wrinkles lie flat on the hull too.

Image

Image

Wet out coat has been applied and while that is setting up, been having a play with the underside of my decks.

Image

and making a sort of under deck box thingy to hold my flash new camera up out of the water (hopefully.)

Image

Re: Hairie's Okwata 15 X 26 LC

Posted: Fri Dec 19, 2008 8:10 pm
by hairymick
Outside is 'glassed and playing with the inside now.

My tight weave, light cloth is a real PITA to work into place on the inside of a boat.

My solution is to use the offcuts from my 50" cloth, cut into strips along the seams and a big piece on the bottom. It is much easier to work into shape like this for little, if any sacrifice in strength.

Image

Image

I put a little extra re-inforcing in places where I think it might be needed.

Image

Re: Hairie's Okwata 15 X 26 LC

Posted: Sat Dec 27, 2008 1:59 am
by Bruce36549
Mick,

I love the looks of this boat and am looking forward to seeing it completed. You're doing a first rate job on it.

Bruce

Re: Hairie's Okwata 15 X 26 LC

Posted: Sat Jan 03, 2009 8:07 am
by hairymick
Thanks Bruce,

I am really liking the lines she is taking too. :D.

Had another little play today. I am on the fiddly parts now where one can spend hours and not seem to achieve very much. Nevermind. Its all good fun.

Have had a little thought about how to ensure that the decks meet the side panels - corner to corner. Installing the decks to achieve this well is allways a PITA.

I like the deck to side panel seam to be corner to corner as in the rest of the boat. It is much easier to just lay the deck on top stitch and glue it down and sand the required radius afterwards, but I dont like the exposed view of the layers of the ply. I much prefer, a consistent bead of wood flour along every seam.

What I am trying this time, is to glue a series of strips, the width of my sheer clamps in from the edge of my decks.

Image

Image

When the deck is placed onto the boat the final time, this SHOULD ensure my consistent seam. (hopefully)

Also been sticking in the bulkheads

Image

and backing plates for my foot braces.

Image

Re: Hairie's Okwata 15 X 26 LC

Posted: Sat Jan 03, 2009 9:37 am
by jem
Interesting idea on the deck. Let us know how that works out.