CAPE FEAR STRIPPER- More Pictures Added
-
craiggamesh
- Posts: 465
- Joined: Mon Aug 04, 2008 12:01 am
- Type of boat I like: <-- Please read instructions to the left and delete this text. Then, tell us what type boat you like! :-)
- Location: Portland, Oregon
Re: CAPE FEAR STRIPPER-FORMS IN PLACE
Thats looking real nice. I cant wait to see it done.
-
preacher
- Posts: 213
- Joined: Fri Feb 27, 2009 12:37 am
- Type of boat I like: Cape Fear SOT
- Location: Balch Springs, Texas
Re: CAPE FEAR STRIPPER-FORMS IN PLACE
Seems like I'm moving in slow motion on this ride. Can't complain too much because I've been distracted on another project . . . my BRAND NEW MANX DUNE BUGGY! Me and grandma are going to have some fun on the coast this year . . . well, some more fun.
I was excited when one of my teenage grand sons came over and wanted to help on the Cape Fear. I put him to work running the eternal project of sanding, and he did a great job. I think he has his eye on this boat but he don't stand a chance on this one until I'm in the ground. LOL
Anyway, set up a work station to finish my upper panels. Instead of using plastic sheeting I am trying something new. I laid out the panels with a nail outline and painted the wafer board to seal the wood with a slicker finish. Then I did my Vasoline thing. Seems to be working okay but I will find out soon. the panels are together and I will let them set and dry good for a couple of days before I start sanding on them and before I stitch them in place.
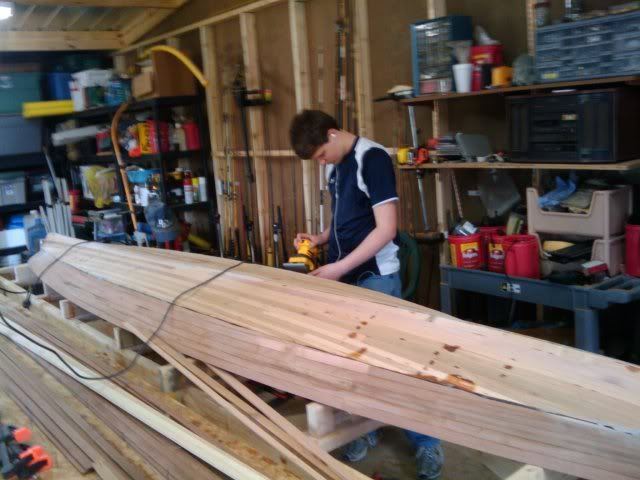


This thing is coming alone nicely and I'm getting excited about the wood colors. I took much more time with these upper panels and tried to match the strips closer so the panels would match more evenly.
Hope I can have it ready for the May 19th GTG at Ink's Lake (Texas).
I was excited when one of my teenage grand sons came over and wanted to help on the Cape Fear. I put him to work running the eternal project of sanding, and he did a great job. I think he has his eye on this boat but he don't stand a chance on this one until I'm in the ground. LOL
Anyway, set up a work station to finish my upper panels. Instead of using plastic sheeting I am trying something new. I laid out the panels with a nail outline and painted the wafer board to seal the wood with a slicker finish. Then I did my Vasoline thing. Seems to be working okay but I will find out soon. the panels are together and I will let them set and dry good for a couple of days before I start sanding on them and before I stitch them in place.


This thing is coming alone nicely and I'm getting excited about the wood colors. I took much more time with these upper panels and tried to match the strips closer so the panels would match more evenly.
Hope I can have it ready for the May 19th GTG at Ink's Lake (Texas).
-
preacher
- Posts: 213
- Joined: Fri Feb 27, 2009 12:37 am
- Type of boat I like: Cape Fear SOT
- Location: Balch Springs, Texas
Re: CAPE FEAR STRIPPER-UPPER PANELS BUILT
Thought I would show one reason my build is slow.
Got a lot more to do but she's getting close.
Replacing everything with new stuff from the ground up.
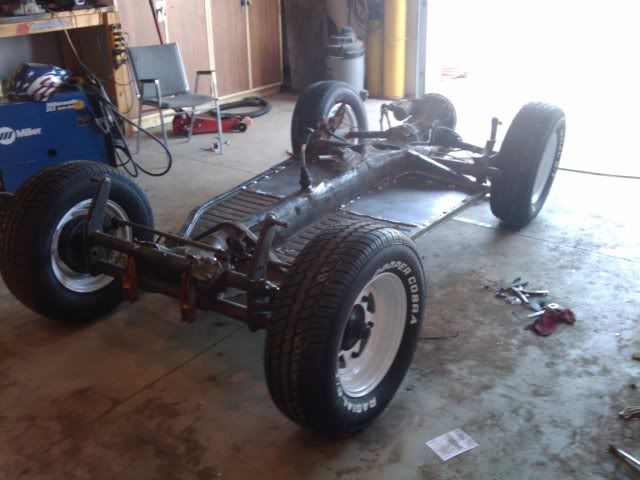
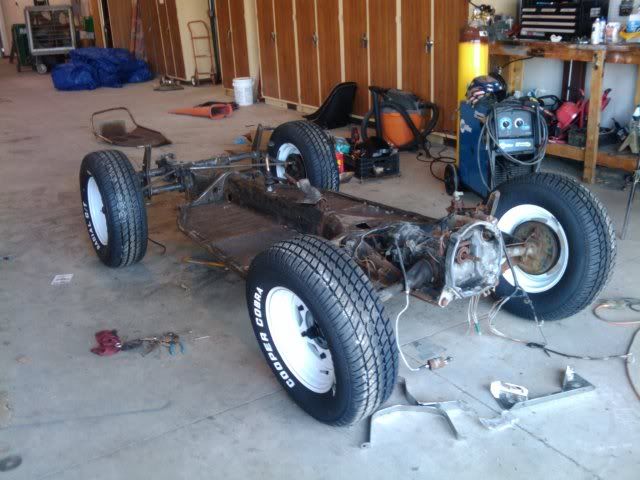
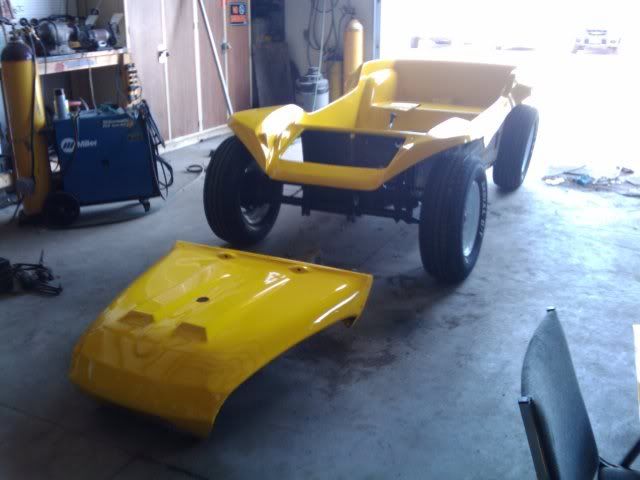
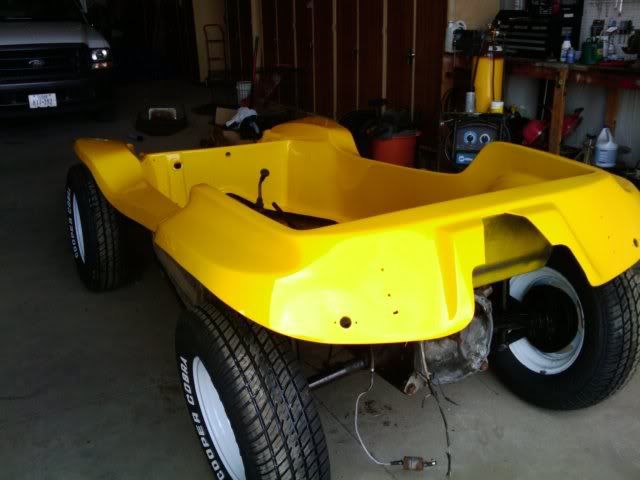
Motor and gas tank are due back next week.
Hope to have a small receive hitch on the back so I can tow a one yak trailer.
Got a lot more to do but she's getting close.
Replacing everything with new stuff from the ground up.


Motor and gas tank are due back next week.
Hope to have a small receive hitch on the back so I can tow a one yak trailer.
-
preacher
- Posts: 213
- Joined: Fri Feb 27, 2009 12:37 am
- Type of boat I like: Cape Fear SOT
- Location: Balch Springs, Texas
Re: CAPE FEAR STRIPPER-UPPER PANELS BUILT
Finally! I get to see some of the color on this baby. Finished filling the 10 zillion staple and wire tying holes and leveling and sanding and sanding and sanding and . . .
Applied a thin coat of resin to strengthen the panels and avoid any more splitting (which I haven't seen since wiring the panels together to the forms). I'm really happy with the coloring of the strips. If the inside goes as well as the outside I'll be a very happy man.
After the resin drys for a day or so I will attach the upper panels and start glassing the inside.
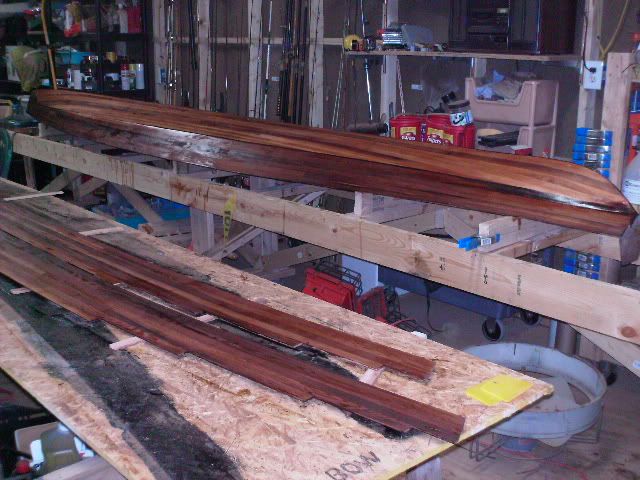
Also, I didn't like the color resin mixed with wood flour gave me to fill the staple holes and gaps. I made some wood flour by sanding the wood I'm using to build the boat then mixed it with wood glue and the coloring came out pretty close.
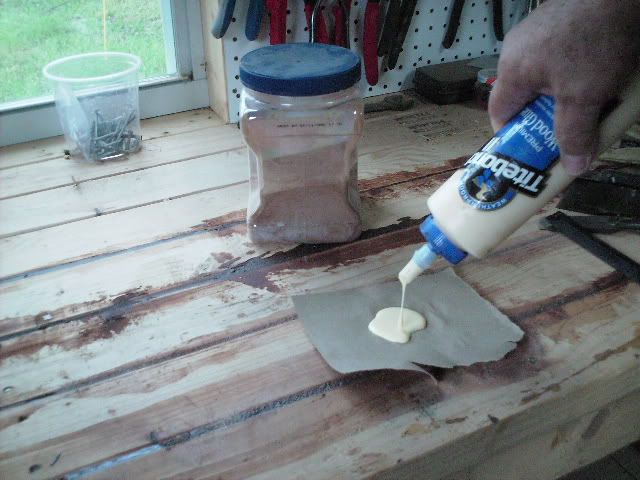
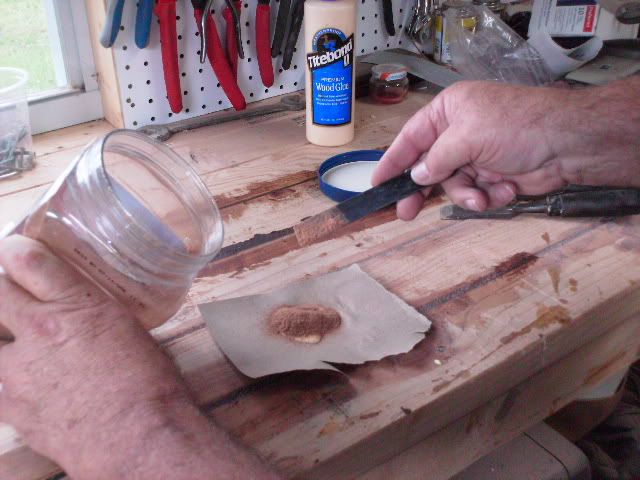
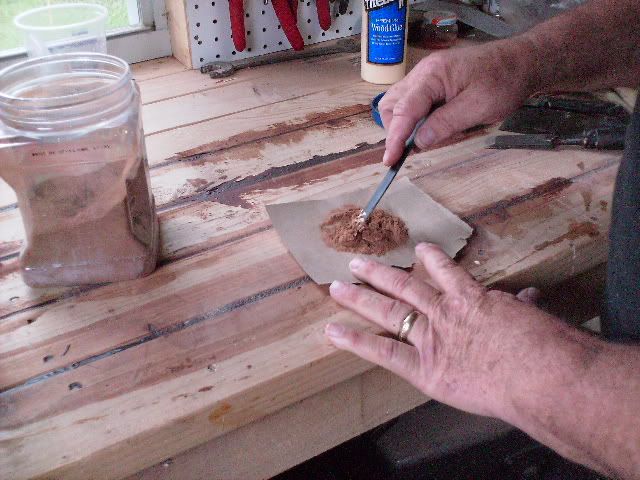
It also dries faster than the resin goopy.
If I work hard and steady I could be ready for our TKF GTG at Inks Lake in May.
Applied a thin coat of resin to strengthen the panels and avoid any more splitting (which I haven't seen since wiring the panels together to the forms). I'm really happy with the coloring of the strips. If the inside goes as well as the outside I'll be a very happy man.
After the resin drys for a day or so I will attach the upper panels and start glassing the inside.

Also, I didn't like the color resin mixed with wood flour gave me to fill the staple holes and gaps. I made some wood flour by sanding the wood I'm using to build the boat then mixed it with wood glue and the coloring came out pretty close.


It also dries faster than the resin goopy.
If I work hard and steady I could be ready for our TKF GTG at Inks Lake in May.
-
preacher
- Posts: 213
- Joined: Fri Feb 27, 2009 12:37 am
- Type of boat I like: Cape Fear SOT
- Location: Balch Springs, Texas
Re: CAPE FEAR STRIPPER-MOVING TO THE INSIDE
I have really been slowed down by my Dune Buggy and the YARD WORK but I am making some progress. I have 1 layer of 6 oz glass on the outside of the 2 lower panels and 2 layers of 6 oz cloth on the inside of the 2 lower panels. I have glassed the inside of the upper panels with 6 oz cloth but will not apply cloth on the outside to them until I do the decks and interior portions with the 4 oz cloth.
I am applying resin to the forms getting ready to set them and fillet them in place. I have cut the strips for most of the inside stuff ( cockpit floors, sidewalls, decks) and will probably try to do something unique on the deck design. I would love to build in a cross of darker contrasting strips on the deck but avoid the hatch with the design.
The weight seems to still be low, I'm hoping that I can end up somewhere around or under 40 pounds.
-
preacher
- Posts: 213
- Joined: Fri Feb 27, 2009 12:37 am
- Type of boat I like: Cape Fear SOT
- Location: Balch Springs, Texas
Re: CAPE FEAR STRIPPER-MOVING TO THE INSIDE
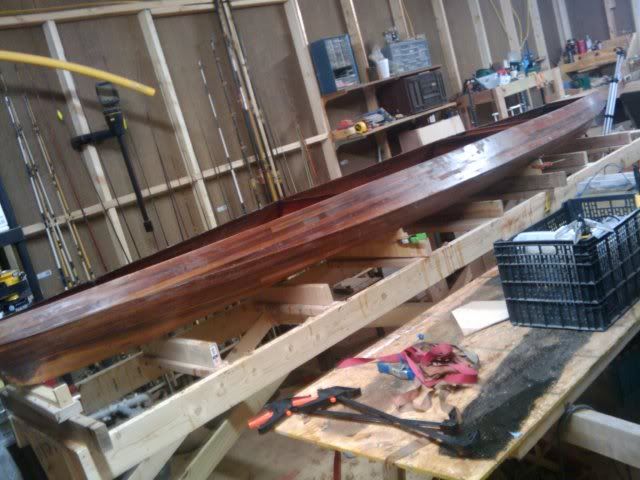
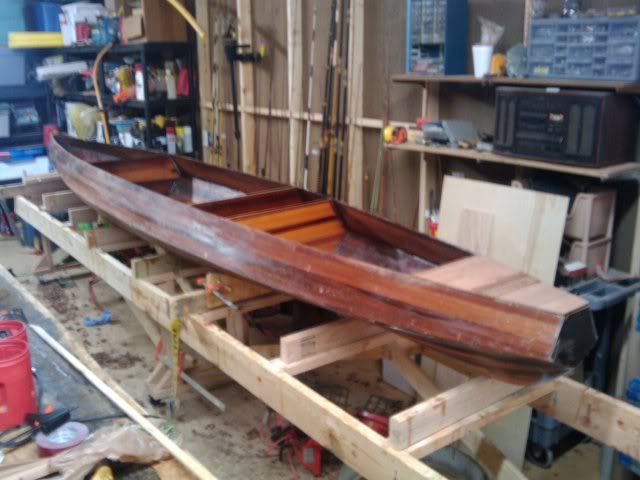
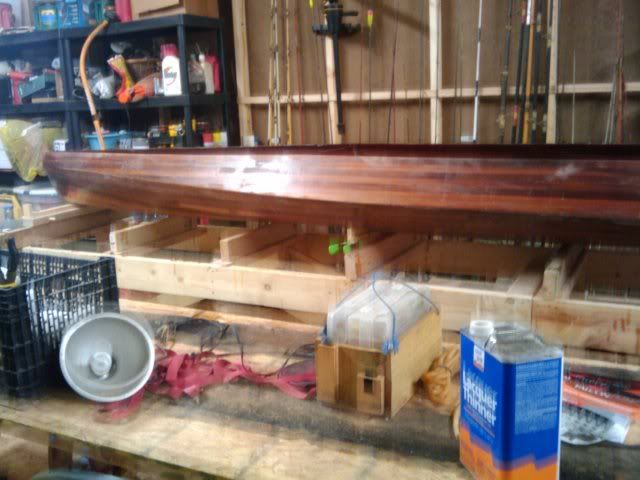
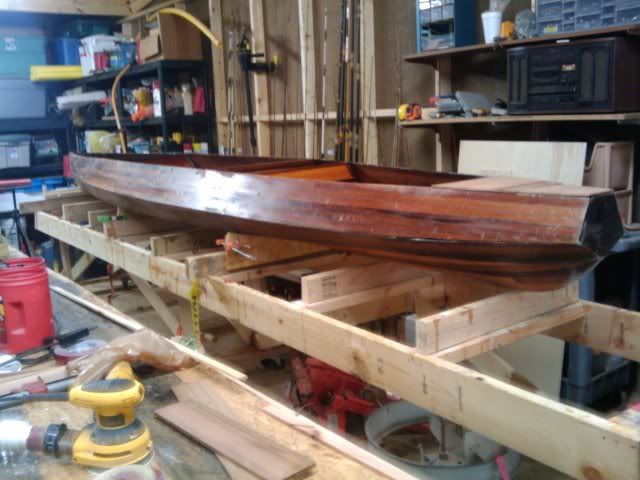
I'm beginning to feel like Gerald on TKF, working way too much . . . on the job and in the yard. But, I'm still able to sneak out to the shop and get some things done. What you don't see in these pics is the mid deck drying on another bench, the tankwell scupper drying in another place, the lay out for the cockpit brace and the tankwell brace sitting in another place.
But you can see the shape of the Cape Fear now and the coloring of the strips.
Yesterday I stopped by Rockler (a very dangerous place for a neubie wood worker) looking for something that would be good for the cross I want to embed in the front deck. I found a 4 foot piece of Bloodwood. It is absolutely beautiful and bright red in color. Can't wait to strip it up and start on the design.


-
preacher
- Posts: 213
- Joined: Fri Feb 27, 2009 12:37 am
- Type of boat I like: Cape Fear SOT
- Location: Balch Springs, Texas
Re: CAPE FEAR STRIPPER-PHOTO UP DATE
I just couldn't wait to see what the Crack of Dawn rudder looked like on the back of this beast.
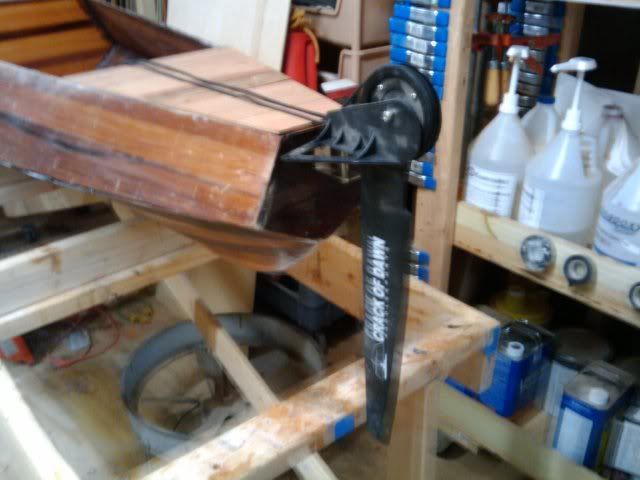
It really fits perfect on top of the rear deck. I am building the side walls now (Man! It takes a lot of strips for the floors, sidewalls and decks) and will run the rudder cable conduit before I install the sidewalls.

It really fits perfect on top of the rear deck. I am building the side walls now (Man! It takes a lot of strips for the floors, sidewalls and decks) and will run the rudder cable conduit before I install the sidewalls.
-
preacher
- Posts: 213
- Joined: Fri Feb 27, 2009 12:37 am
- Type of boat I like: Cape Fear SOT
- Location: Balch Springs, Texas
Re: CAPE FEAR STRIPPER-5/2
Now I'm starting to get excited. Got my cockpit wall strips glued together and one coat of resin on them. The cockpit floor strips are glued together and one coat of resin on them. I've cut all the strips for the tankwell walls and floor and cut the strips for the main deck. Once I complete the tankwell parts I am going to cover them all with 4 ounce cloth before installing them.
The bloodwood strips are incredibly beautiful. I am laying out the design for the main deck with the bloodwood paterned into a cross but avoiding the hatch. The main deck will be made up of 3 different colors of strips. The red cross and 2 different shades of WRC. I may also border the deck in the bloodwood. Probably do some pics this coming weekend.
Of course, I am going to install aluminum backing in the walls for the footrests and also install some tubing for my rudder controls. Not sure about how I want to do the hatches yet. A hatch design that has a tongue and groove design that interest me. But I also like Matt's design that comes with the plans.
But, got some glassing to do before that.
-
preacher
- Posts: 213
- Joined: Fri Feb 27, 2009 12:37 am
- Type of boat I like: Cape Fear SOT
- Location: Balch Springs, Texas
Re: CAPE FEAR STRIPPER-5/2
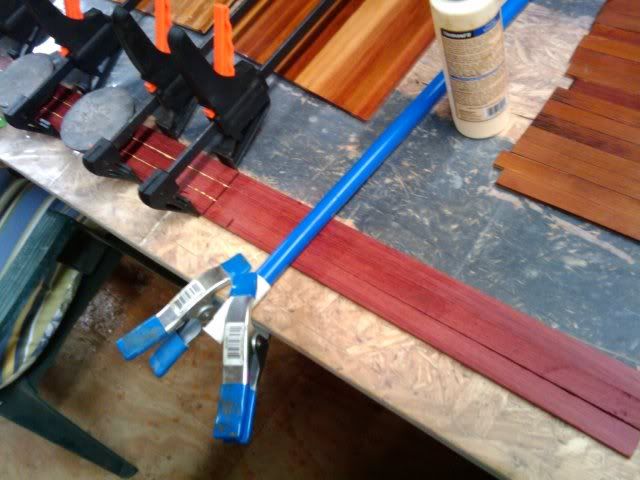
This a shot of the bloodwood strips glued together before forming into a cross.
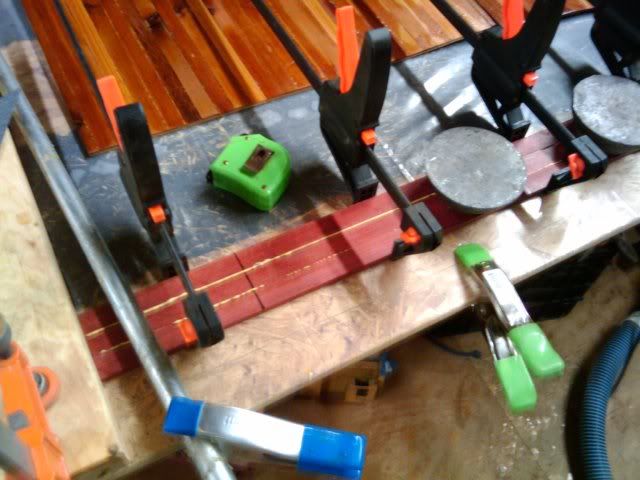
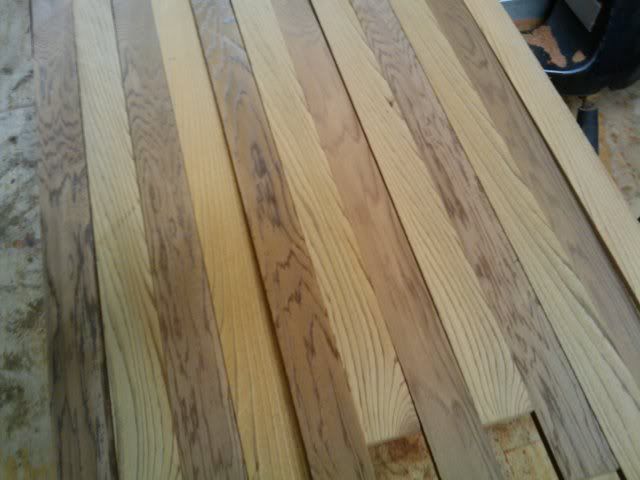
These are the strips I'm using for the deck to surround the cross.
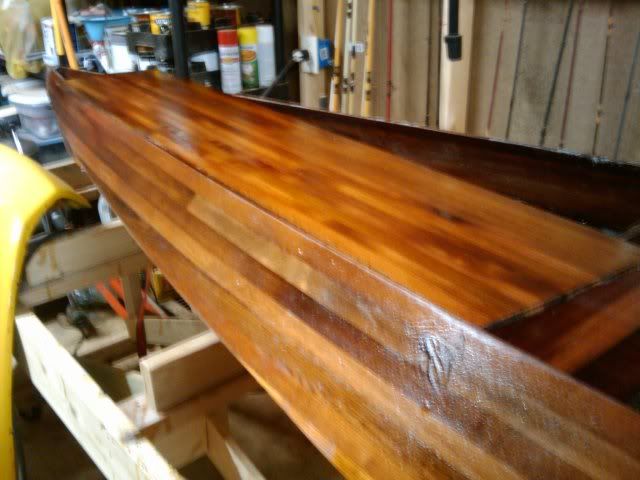
A shot of the bow deck area with one of the cockpit sidewalls resting on it (drying, no glass yet).
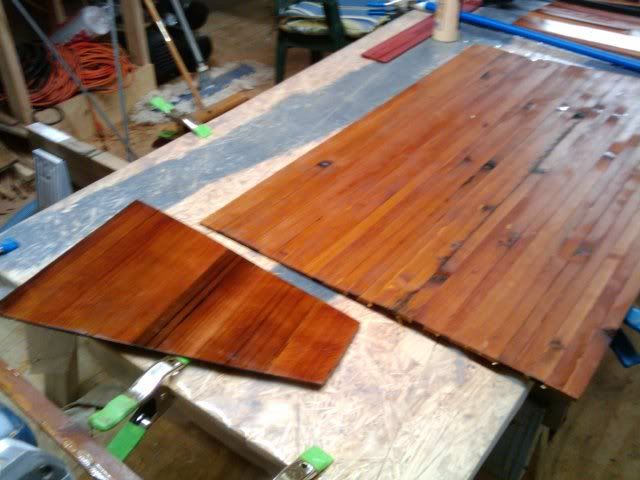
Rear deck with second coat of resin before glass and the fore section of the cockpit floor drying after first coat of resin without glass.


These are the strips I'm using for the deck to surround the cross.

A shot of the bow deck area with one of the cockpit sidewalls resting on it (drying, no glass yet).

Rear deck with second coat of resin before glass and the fore section of the cockpit floor drying after first coat of resin without glass.
