Page 4 of 13
weight reduction
Posted: Sat Sep 22, 2007 3:15 pm
by jheger
Sparky:
explain how you see a weight reduction with the way Mick did the bulkheads as to how you would do it. Thanks.
Posted: Sat Sep 22, 2007 4:08 pm
by hairymick
Thanks guys

Chuck, I was originally planning on installing bulkheads & hatches on this one, but it will be only used for day paddling in calm water so there is really no need for them. The deck supports are there only to stiffen the hull and to provide alittle support for the decks when I am carrying it upside down on the car.
My back deck is still evolving. I had some thoughts about it last night and will check it out today.
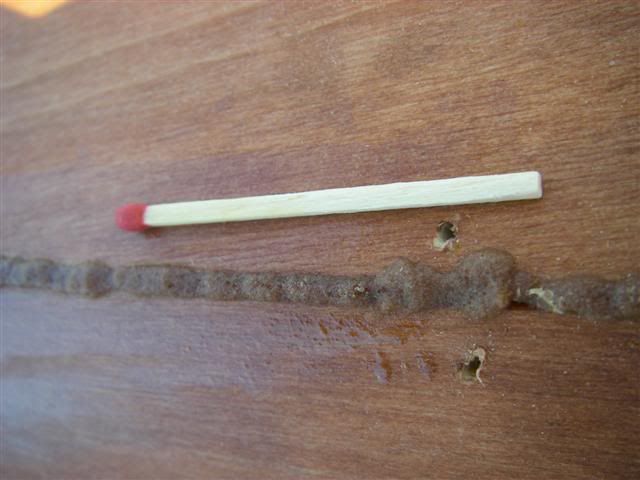
Re the seam fillets, I took the piccies in macro, macro. I probably should have put something beside them for scale. I was playing with my lovely new camera

I left the seam fillets as they were and will sand them off in the next few days. They are only standing about 3/32" above the panels and a few careful wipes with some 80 grit will soon take the worst of it off and then some very careful wipes with some 120 will finish it off.
I find by wiping it off smoothe, I get a flat spot on the top of the seam and I don't like it. Thanks for the tips re the syringes mate, will definately be giving it a try next build.

Jheger,
Mate, the weight reduction probably wouldn't be that much. perhaps a pound or two at most, but sometimes, every little bit counts.
this boat will weigh practicly nothing anyway. I guestimate that she probably will come in around 15 kilos or 32 pounds when finished. I am using very light weight interior grade ply and 85 gram cloth. the cloth is fine, but expensive and the ply is utter rubbish for building boats with. I will be using neither again.
Thanks again for all the kind words guys, I think this one will also be a winner. Nice lines, quick and easy to build and I think she should be very nice to paddle. The wide beam and low seating should make her very stable and as I mentioned before, lots of room for rod holders.
Re: weight reduction
Posted: Sat Sep 22, 2007 4:27 pm
by Oldsparkey
jheger wrote:Sparky:
explain how you see a weight reduction with the way Mick did the bulkheads as to how you would do it. Thanks.
Mick got rid of three forth's of each bulkhead including the center of it. Only one forth of it is used as the deck support.
Epoxy saturate and then glass a normal bulkhead and you add weight to the boat , not counting the fillets along both sides of a normal solid bulkhead. Mick remover two big chunks of wood which are usually 1/4 inch or thicker and fill in the whole interior of the boat and they are not light in the over all weight of the boat.
Like they said in the service .... an ounce in the morning is a pound at night when you are carrying it.

I would do it just like Mick did , that is a darn good idea.
Mick , Your new camera would make an Ant look like a Elephant at that setting. Dang good camera , make sure you have it when out fishing , the bait would look like a world trophy sailfish if you don't catch anything.

Chuck.
Posted: Sun Sep 23, 2007 3:10 am
by hairymick
Mick ... I have to ask this...
The seams that you are filling , do you use that much wood flour and epoxy all the time , do you go back and smooth it out before it sets or just do a lot of sanding ?
Mate, this might give a little better perspective.
Standard sized match.
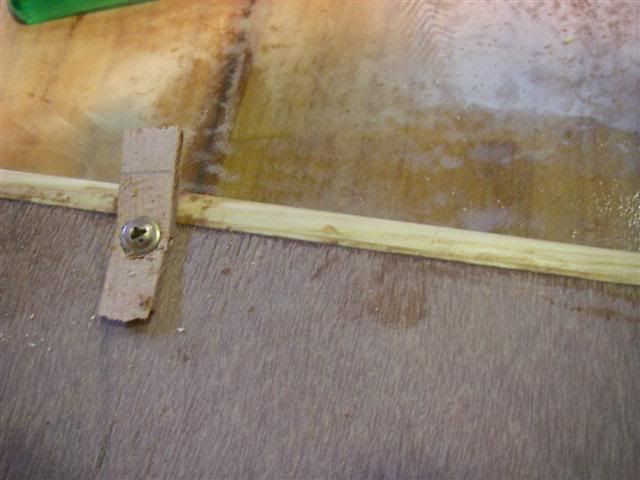
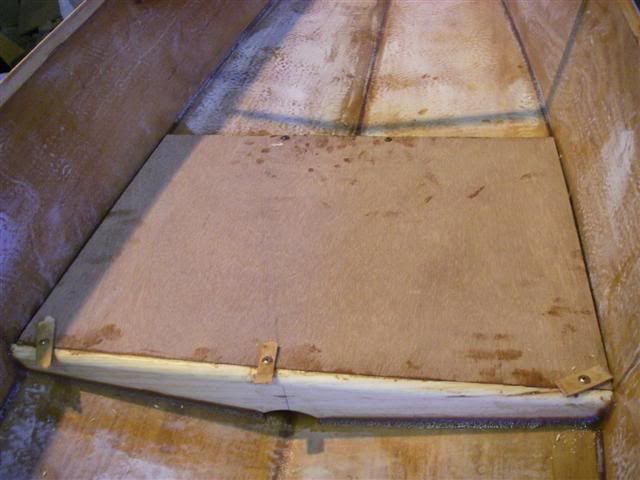
Bit more done today,
Foot brace backing plates are in.
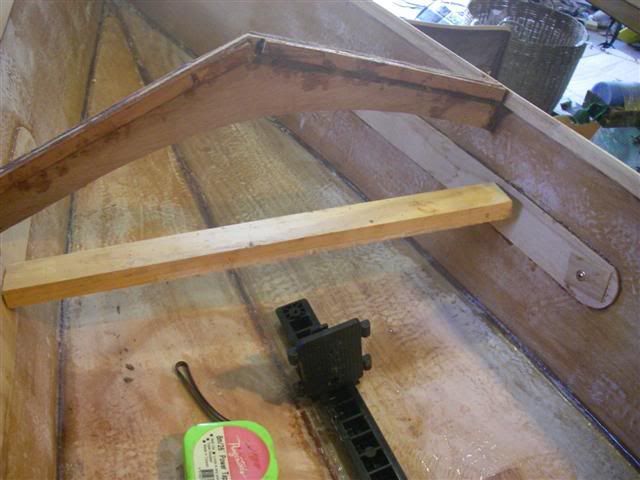
seat base is in.
Posted: Sun Sep 23, 2007 3:17 am
by hairymick
Sheer clamps are all on
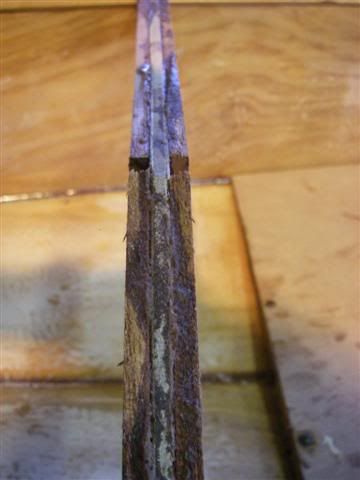
Inside the decks are filleted
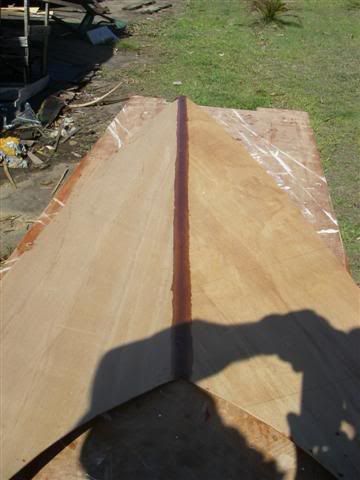
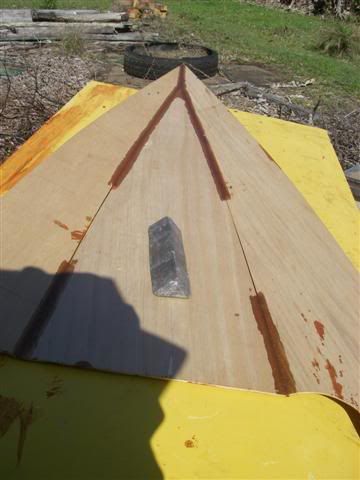
They are also now epoxy saturated and fibreglassed, but I forget to get a piccie.
Deck tie down backing plates are glued on
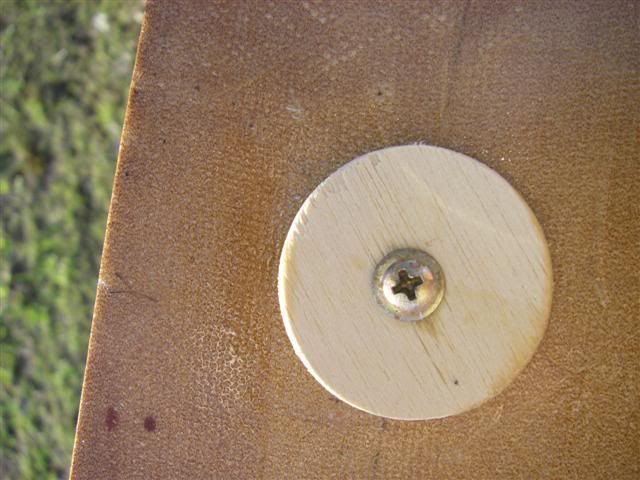
and the bottom has had 3 coats of graphite enriched epoxy
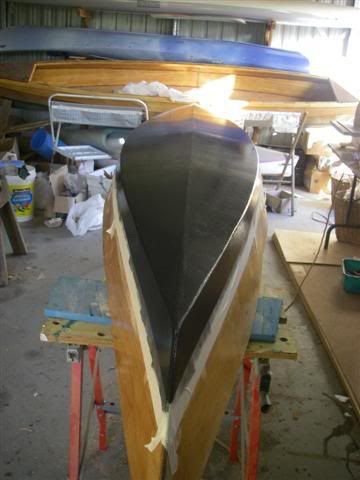
Back to work now for three days. Hope to get the decks on later in the week.
Posted: Sun Sep 23, 2007 12:57 pm
by Kayak Jack
Mick,
Do you intend to have a spray deck over the cockpit? Or, paddle it open?
I still have a kayak that I cna put on a spray deck for really rough water, but favor a decked canoe.
Posted: Sun Sep 23, 2007 3:10 pm
by hairymick
G'day Jack,
No spray deck mate - too hot most of the time. The cost of getting one mate is just too expensive too.
About the only times I use a spray deck are in really rough water or in surf and I don't do either much any more.
This little boat will only be used in flat, skinny water so there is no need.
dental syringes
Posted: Thu Sep 27, 2007 10:37 am
by jheger
Chuck:
You mentioned in a previous post that you use dental syringes to fill the seams with mixed wood flour and epoxy. What is an easy way to get the mixed wood flour into the syringes to do this with? Thanks
Posted: Thu Sep 27, 2007 1:31 pm
by Oldsparkey
I haven't found a easy way but just a way to do it.
I use a narrow bladed screwdriver and scoop some out of the pot , place it in the syringe. After three or four times you need to tap the end on something to get it to settle and then add more to the syringe till you get what you want in there.
If you fill it from one side it will usually settle down that side and into the tip for you , I still tap it to remove the trapped air , if any.
The larger syringes are a lot easier to fill then the small ones , even though I usually use the smaller ones for finer work.
After I use what I have mixed up then it is acetone bath and a flushing for the syringe before mixing up some more epoxy and wood flour.
Chuck
Posted: Thu Sep 27, 2007 2:29 pm
by CC TX
What works well for me is to use the syringe to syphon the epoxy mix in. While slowly retracting the plunger, lightly stir the mix with the syringe tip. This helps the epoxy flow in, and minimizes collecting air. If you get too much air in it, just hold the syringe horizontally over the mixing cup while pushing on the plunger to push out any air. Repeat the process to fill the syringe. Once you do this a few times, it becomes quick and easy.
An easy way to clean the syringe is to push the plunger all the way down to the bottom of the syringe, and wipe the exterior clean with a paper towel. You will still have epoxy in the tip of the syringe and coating the bottom of the rubber plunger. Let it cure until the epoxy has completely hardened (usually at least 12 hours depending on the epoxy speed and temperature). Flex the tip to separate the epoxy from the syringe. Extract the plunger and peel the nice epoxy plug away from the rubber plunger. With this process, you will need enough syringes to last all day. I don't like handling acetone. This process was discovered by accident: not cleaning a syringe before it hardened. This probably will not work very well on the curve tip syringes that some use.
This is all much easier for me to do than it was to describe.