Page 3 of 7
Re: Another Aussie Trapper
Posted: Wed Oct 13, 2010 7:50 am
by Jacko
I like the Peg/Clamp idea. Do you intend to leave them on until the Epoxy is dry enough to stop sag in the cloth? I'm looking for ideas, soon to glass the hull of the Cobia myself.
It's looking good by the way

Re: Another Aussie Trapper
Posted: Wed Oct 13, 2010 5:14 pm
by RobRassy
Thanks Jacko
That's right, the pegs help keep it all tidy while the wet out is done.
I started in the center and worked to the top, then removed the pegs and trimmed the excess cloth. The cloth doesn't sag once it is wet but you need to watch out for cloth clippings falling back onto the wet glass
I started out using a roller to spread the resin but abandoned it when I realized it was foaming the resin making it cloudy. I ended up using Col's method of spreading with a plastic scraper, it's actually quick, clean and uses less resin (Thanks Col

)
Cheers
Rob
Re: Another Aussie Trapper
Posted: Wed Oct 13, 2010 5:49 pm
by Jacko
What gram cloth are you using? Some suppliers sell in ounces and others sell in grams, our local supplier sells in grams, 170g looks like about what people are using by the photos and the maths works.
Re: Another Aussie Trapper
Posted: Wed Oct 13, 2010 6:26 pm
by RobRassy
It's 200g x 140cm wide, got it from Boatcraft Pacific
200gsm is what the plans call for, I would have liked to go lighter for the clear finish but the bottom & sides were still fairly flexible so 200g is probably right for this hull
Rob
Re: Another Aussie Trapper
Posted: Wed Oct 13, 2010 9:42 pm
by Jacko
Thanks for that Rob, I was tending towards the 200g but would like to go down to the 170g if I can for the weight difference and finish.
Re: Another Aussie Trapper
Posted: Tue Oct 19, 2010 4:45 pm
by RobRassy
I finally got the outwales bonded on, till now they were just screwed in place.
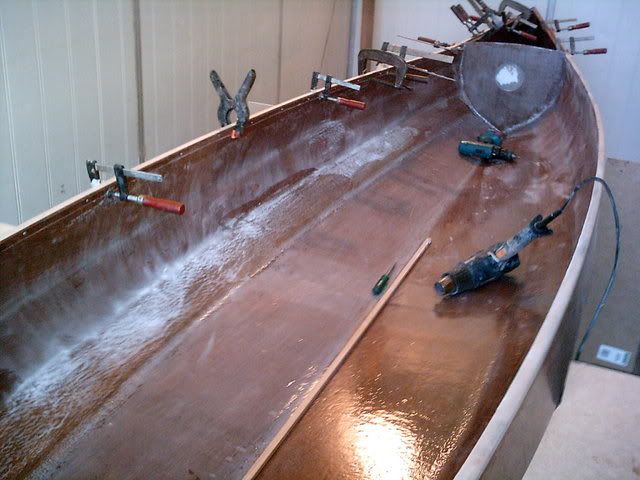
Also did some sanding back of the interior which has a thick coating of resin and some runs
Made a start on the slotted inwales, these are the spacers
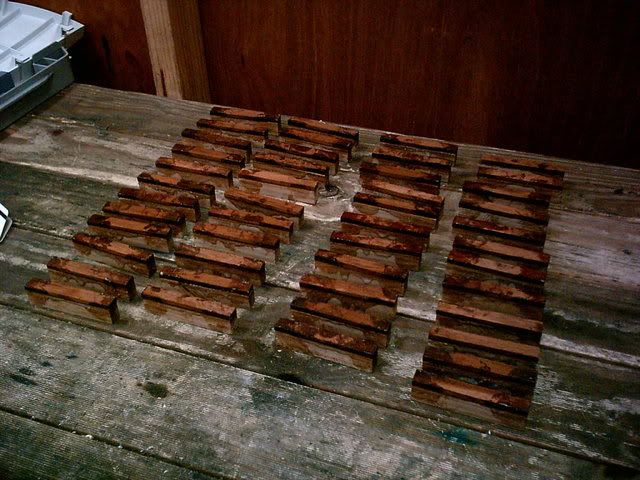
Hope this works I'm using red cedar in small 4mm thick strips on the top of the spacers
Rob
Re: Another Aussie Trapper
Posted: Mon Oct 25, 2010 4:41 am
by RobRassy
Some more done on the weekend
Got the inwale spacers on one side after changing my mind on the gap spacings
That left me a few spacers short for the other side so I decided to fit the fore decks.
Because I'm venting the fore decks I have installed some foam for positive buoyancy
Half the spacers on & all this foam goes in the fore decks
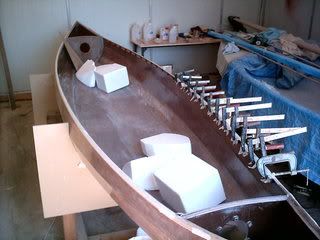
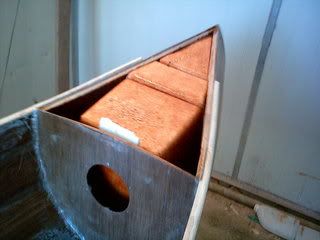
There is plenty air space around the foam for drying out
The fore deck is 4mm ply and completely sealed except for a vent hole at the tip
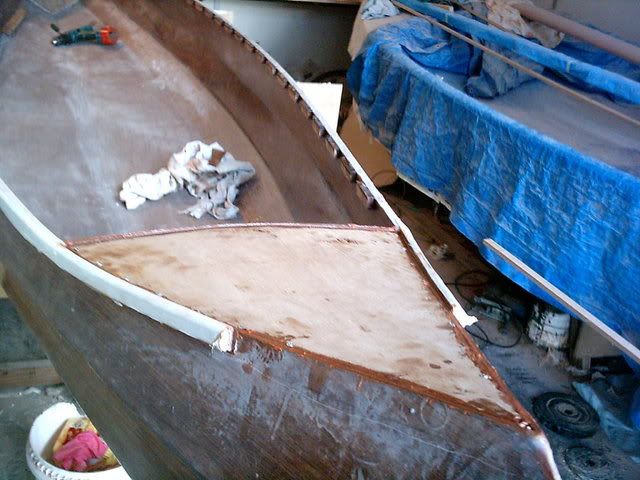
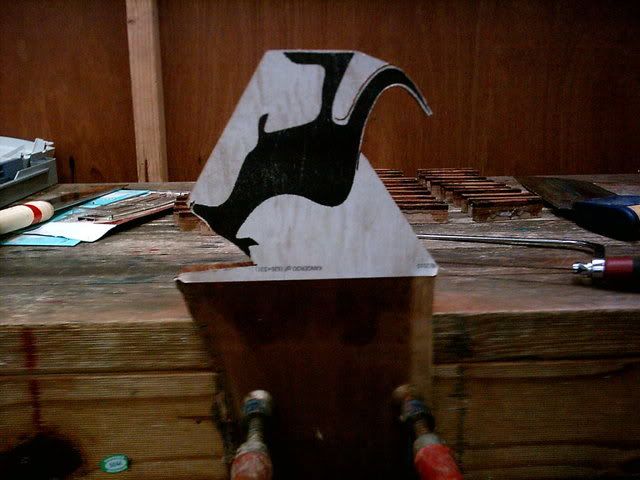
I am going put on another 4mm ply with an inlay on the fore decks
This is the inlay, should be interesting I've never done anything like this before
Rob
Re: Another Aussie Trapper
Posted: Tue Nov 02, 2010 3:27 am
by RobRassy
The weekend saw some more frantic work on the trapper
I planed to be finished by the end of November, unfortunately progress has been slower than I expected

Haven't given up yet I'll try having a few days off work to see if I can give it a good shake

Saturday saw the second side of inwale spacers go on and the second 4mm ply dry fitted to the fore decks. The fore decks are going to have an inlay which I hope to do evenings after work
Sunday I turned the hull over and sanded like crazy all day. Last thing I gave it a coat of 2 pack high build undercoat
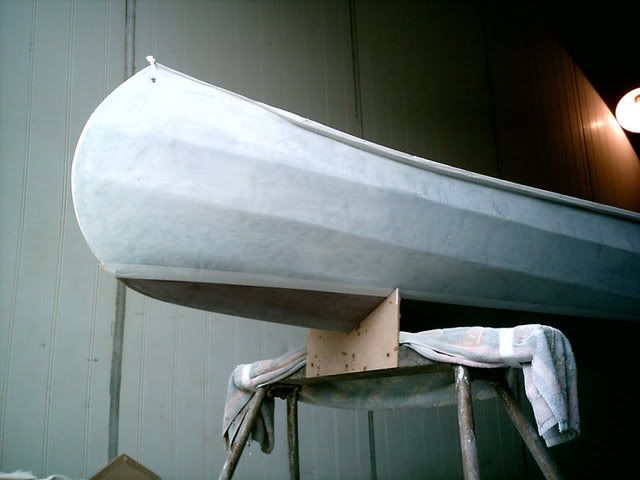
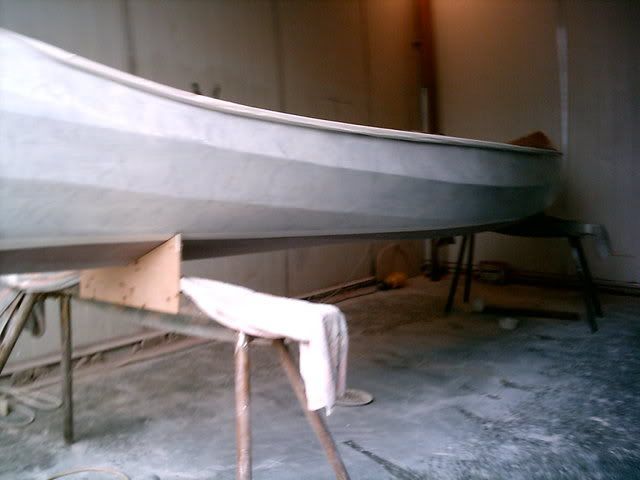
Took Monday off because I'm my own boss and I can

That gave me a chance to put another coat of high build on, install the first inwale and last thing slap on a gauge coat of cheap & nasty paint.
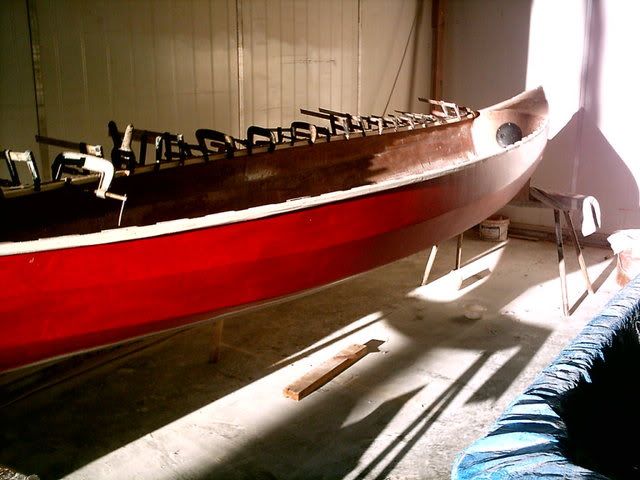
Looks a bit dramatic

but not to worry it all gets sanded off
Next weekend the fore decks & second inwale should be fitted. Also hope to have the inside sanded back and a thin resin coating applied
Rob
Re: Another Aussie Trapper
Posted: Tue Nov 09, 2010 4:56 pm
by RobRassy
Well I didn't get quite as far as I had planed on the weekend, there was a couple of other family jobs, and a neighbor that is following the project and likes to talk. Sanding back is the job now, wanted the inside done but the distractions stopped me putting in the amount of time needed. I did however get a couple jobs done that I hadn't planed on. The building is now basically complete bar the seats. I'm hoping to float it next weekend to check the seating positions & waterline, but want the interior and gunwales sealed first.
This is the second inwale on & the second fore deck layer with the inlay going on
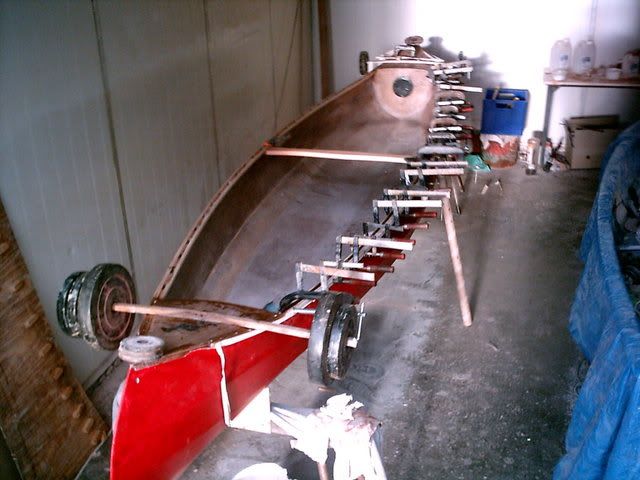
The inlay piece of ply though only 4mm was a real struggle to get in place, mainly because I have a slight curve on the top of the bulkhead and the need to curve upward to follow the sheer line. The end result is a compound curve, OK for fiberglass but impossible for poor old ply wood. To make things worse the inlay was at the point were the shape transitions from curved to flat.
Why do I make life so hard for myself

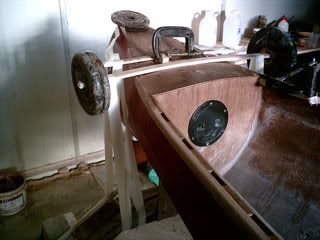
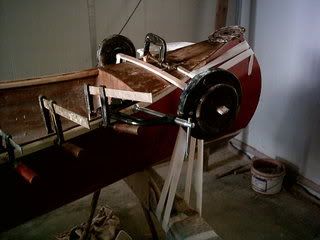 Pretty happy with the way it turned out though, hope the gunwales work as well
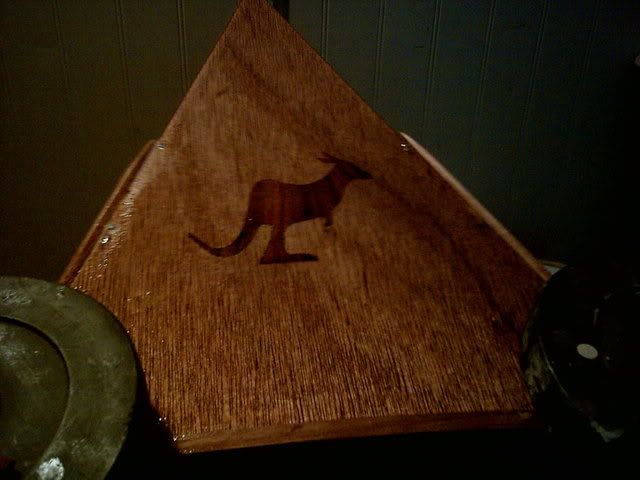
Sorry the last picture is a bit dark, I also took some with clamps off and the gunwales cleaned up but all were to dark.
Rob
Re: Another Aussie Trapper
Posted: Tue Nov 09, 2010 6:30 pm
by OnkaBob
Looks like it took a bit of effort to get thos decks on but it seems to have been worthwhile - she's going to be fantastic when done.
What type of seats are you planning on using?


