Page 3 of 13

Posted: Tue Sep 18, 2007 2:27 pm
by hairymick
G'day guys,

Not much done yesterday :oops: but I actually got round to reading Matts build instructions. :oops: Seems most of the information I just posted is allready in them. - sorry. :oops:

I got the inside cleaned up a bit and a third fill coat applied. Seat and supports are cut.

Matt, I notice the forward seat support goes right on top of the centre panel splice. Do you think it would be worth gluing a 2" strip of ply underneith the seat support to spread the load a bit? I am only using 1/8" ply.

Also got the forward and rear deck supports cut and dry fitted. I was going to install bulkheads and hatches but have had a change of heart. My ideas for the rear deck are still evolving.

My constant gripe with my other skinny water kayak is that there is nowhere much to put stuff that can be easily accessed while on the water. I am trying to rectify that with this one. :D

Off to work for a couple of days now. Hope to make a little more progress on the week-end.
Posted: Tue Sep 18, 2007 2:42 pm
by jem
hairymick wrote:
Matt, I notice the forward seat support goes right on top of the centre panel splice. Do you think it would be worth gluing a 2" strip of ply underneith the seat support to spread the load a bit? I am only using 1/8" ply.
That is one aspect of the design that bothered me but there was no way around.

But yours is a simple, and functional solution!

laker kayak

Posted: Wed Sep 19, 2007 12:08 pm
by jheger
Matt:
is the boat Mick is working on, Hairy's Laker, the same as the laker kayak you have posted with your plans. If it different what are the demensions?
Thanks

Posted: Wed Sep 19, 2007 12:30 pm
by jem
The boat Mick is working on is this one:

http://www.jemwatercraft.com/proddetail.php?prod=Laker

is very similar to the free version of the Laker, but not exactly the same.

Posted: Sat Sep 22, 2007 1:29 am
by hairymick
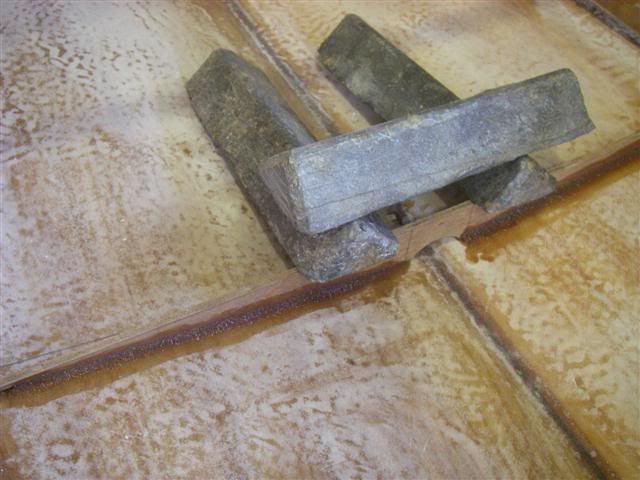
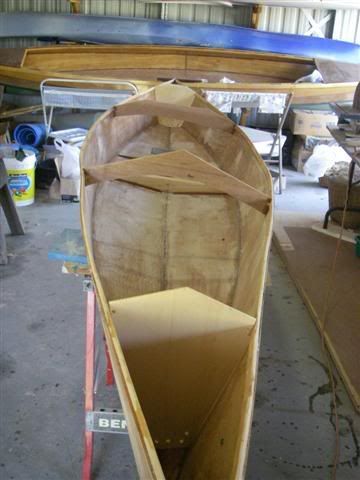
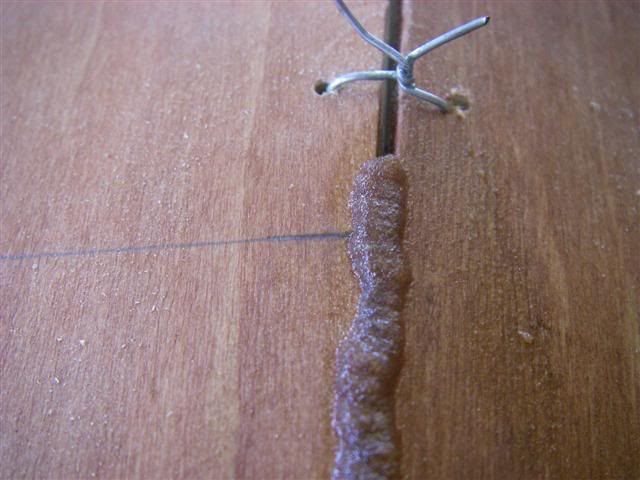
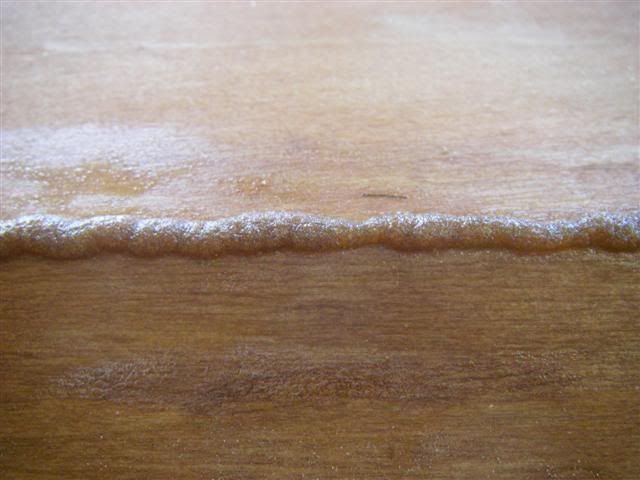
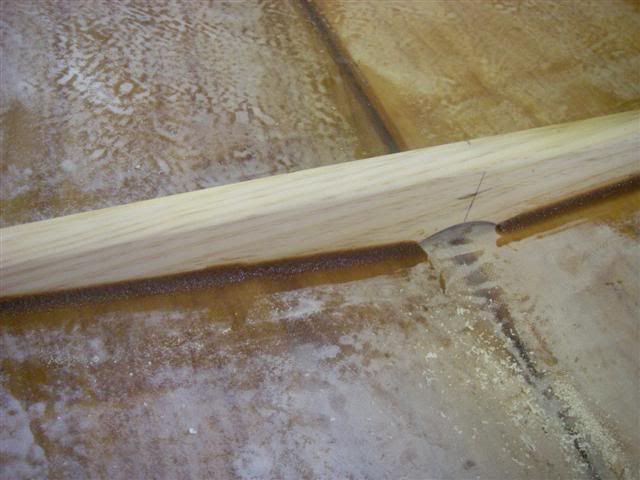
Seat supports are in. I decided to cut the front support out of 3/4" pine. It will help spread the load over the butt splice and onto the ply panels. also did a heavy woodflour fillet each side :D


Image

Image

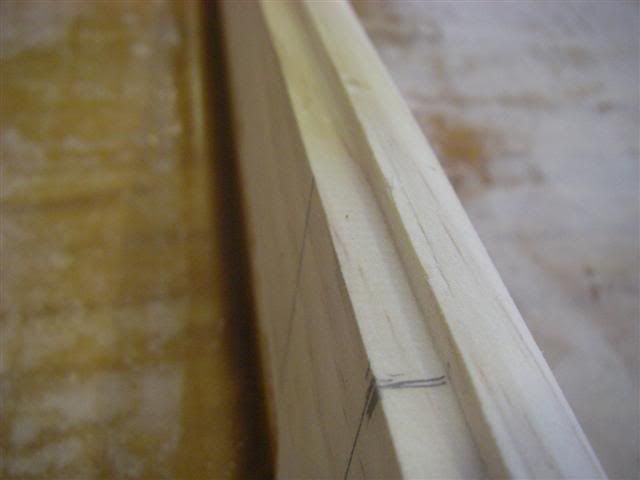
An added benifiet of the 3/4" pine was that I could cut a rebate into the back edge to hide the edge grain of the ply. Also used a router with a roundover bit to take the sharp lorner of the front of the support. :D

Image

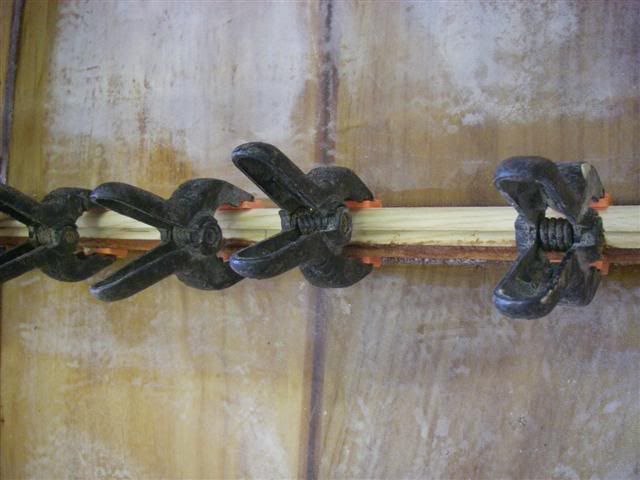
Addted a sheer clamp, just cause I could. :D

Image

Posted: Sat Sep 22, 2007 1:37 am
by hairymick
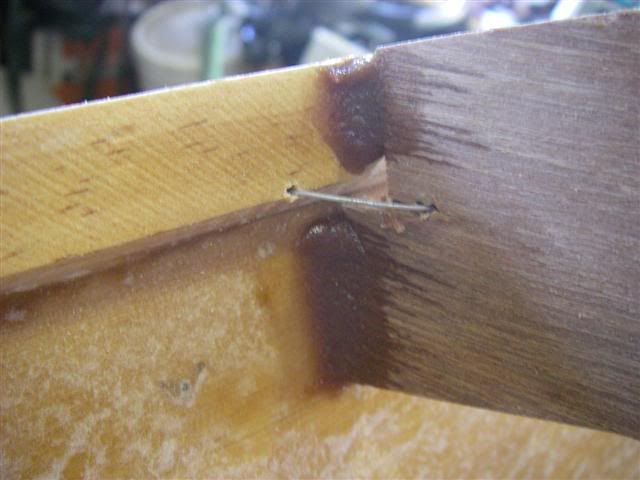
Deck supports are stitched and tacked in place. :D

Image

Image

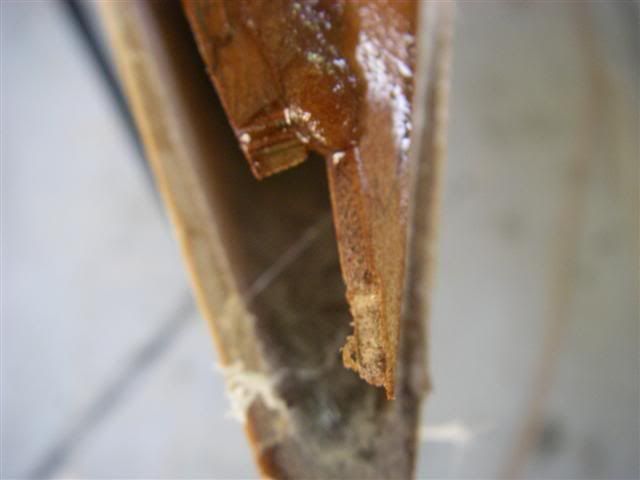
I will never use cheap ply again. if you look at the last piccie, it is pretty obvious that the ply has warped. I have had a heck of a job muscling it into place. that is as close as I could get it. When the deck go on, the stitches should pull the rest of it back pretty close.

If anybody who reads this is considering a build, I would urge you to get marine grade plywood of the best quality you can afford. By doing this, you will save a lot of time and heartache. Struggling with cheap rubbish ply really takes the fun out of this caper.

Posted: Sat Sep 22, 2007 1:44 am
by hairymick
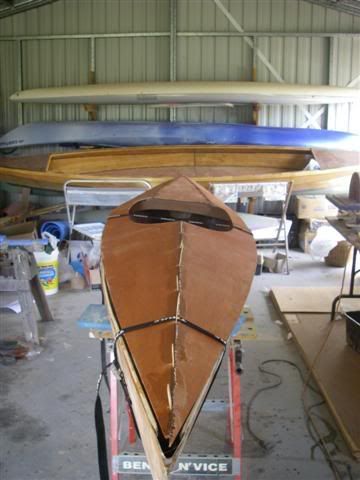
Decks are stitched and tacked together. :D

Image

Image

Had a little accident at the bow. :oops:

Image

:D :D :D

Lotsa room for rod holders on this one. :P

Image

Posted: Sat Sep 22, 2007 4:57 am
by Manjimike
Looking very nice Mick :)

Posted: Sat Sep 22, 2007 8:55 am
by jem
Awesome Mick! 8) 8) 8) 8) 8) 8) 8) 8) 8) 8) 8) 8) 8)

Posted: Sat Sep 22, 2007 1:51 pm
by Oldsparkey
I noticed that the rear deck has been flatten and the peak is gone , Should make for a comfortable paddle when seated in it. :D

Looking at the boat , the bulkheads are on the top ( for the deck support only) not solid like normal ones? I see a substantially weight reduction there and ease of building.

Mick ... I have to ask this...

The seams that you are filling , do you use that much wood flour and epoxy all the time , do you go back and smooth it out before it sets or just do a lot of sanding ?

If you would get some dental syringes you could do twice the area with the same amount by only slightly overfilling the seams. Some acetone cleans out the syringes , I have made all my boats with the same pair I started with.

Chuck.