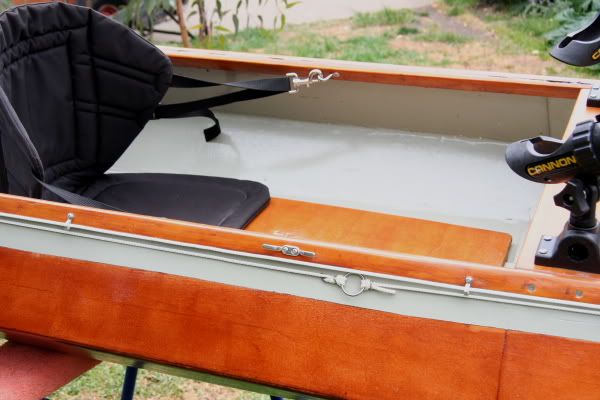
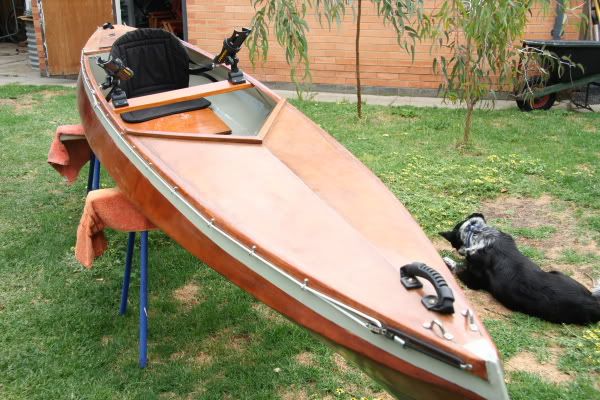
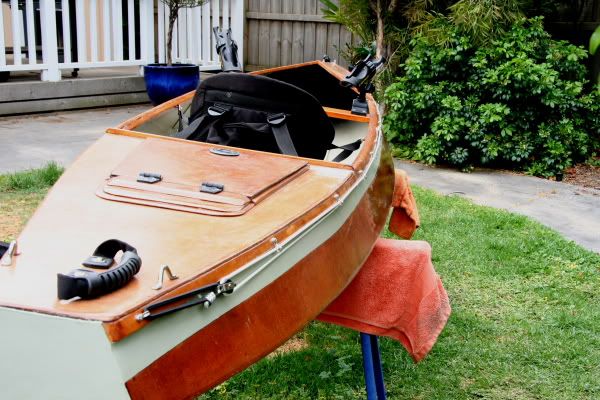
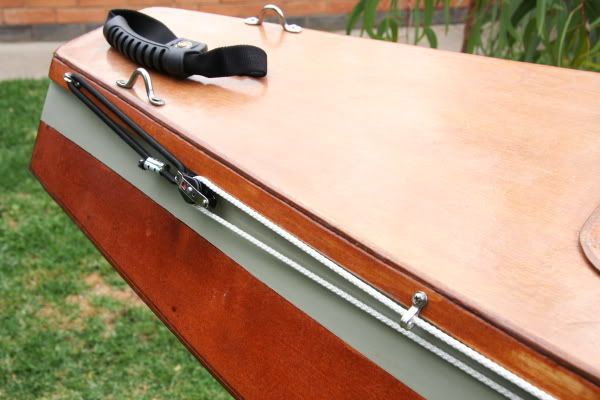
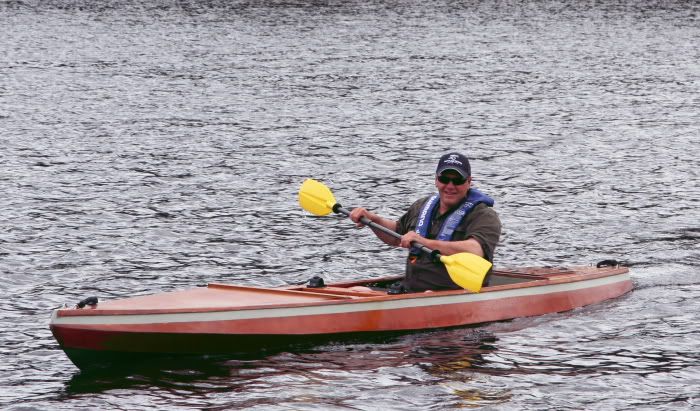
It’s about 2 months now, since I finished the Cape Fear…(still some fitting out to do though)……. So having had time for a bit of a paddle and to reflect on the building process, I thought it might be worth briefly summarising what I learned and my initial impressions of her on the water.
I’m a relatively novice builder and paddler so it might be of some use to new builders and particularly anyone thinking of building the Cape Fear.
THE BUILD……
The build went smoothly overall. Much like any others described in the Builder Log of this forum.
Such is the detail and plain language of the plans that the steps, when understood and followed, take you through the process easily.
The few glitches along the way came from my own mistakes. Mainly not planning ahead enough and learning how to handle the materials properly through trial and error. Apart from a small blow out in cost through wastage, the price payed for these errors is extra time and effort in correcting them……but the satisfaction of realising your mistake and learning from it….and knowing that you will avoid it on the next build makes up for it ten fold……. (And there will ALWAYS be a next build!

MY MISTAKES AND WHAT I LEARNED
1/ Probably the dumbest one of all…..And right at the beginning too!....Simply not thinking enough about what I wanted as the finished look in terms of natural wood, stained wood or painted surfaces.
In my rush to get started I didn’t adequately check what the ply colour would be after the resin coatings, making the assumption that it would darken far more than it did.
I used a stain on the deck panels and was much happier with the colour….but it was too late to do anything about the hull as it was fully glassed.
I tried to convince myself that the light hull looked ok with the contrasting decks……but I wasn’t really satisfied. Obviously I could have just painted the hull but I really wanted a wood finish.
Fortunately I discovered the epoxy stain and another option presented itself……One which I think worked out pretty well. But I could have saved myself a lot of muttering and head scratching if I’d thought about it more at the very beginning.
2/ The second one was in aligning the panels properly at the stitching stage. Not length wise but edge to edge. It was really just that I tightened the cable ties too much initially rather than leaving a bit of lee way. The panel edges started off ok but at some point began climbing up on each other. I’d got about 50 or 60 ties into the stitching before I realised I’d cocked it up and had to cut them out and start again. Keeping the ties looser until they are all in allows you to come back and make adjustments as you tighten and keep everything true…… I think I’d read this advice somewhere…..It may have even been in the CF instructions but this is the sort of thing that can be forgotten in the enthusiasm of getting the panels together, so just thought I’d reinforce it here
3/ Umm..Eerrr…….unexplained weird angle on transom. I never quite worked out what caused that. Of course I only noticed it after it was well and truly glued up.
I had to cut back along the seams a bit, clean up the edges and re-stitch. It came together properly after that so I can only assume the sanding in the clean up must have corrected a slightly wayward cut on part of a panel.
4/ Dog hair under the fibreglass…….which of course only became visible to me after I’d wet it out!!! Arghh!!!. Resulted in a frantic lifting of what had been a very nicely laid down section of fibreglass……. And you can imagine what a mess I got in trying to hook the offending hair out from the resin and off the cloth. Re-working the saturated fibreglass into place was a nightmare……the dogs slept peacefully through all the commotion...
Note to self: Carefully check cloth for any foreign objects before wetting out.
5/ Clumsy use of the resin/wood flour mix….
In gluing down the forward deck I had a fair bit of the glue mixture run down the inside of the hull….. A very messy look and I found it almost impossible to clean up properly beyond my reach….And the deck was already stuck down of course!!!
One advantage of changing the interior colour was that I had to paint over it anyway (using a roller on an extension handle) so was able to disguise it a bit…..but its still looks lumpy. Anyway, it’s out of site for the most part.
The only way to avoid this is to be more careful with the glue….. I have a better understanding of what is the minimum to use to secure the deck without there being too much to run off. So another lesson learnt.
Well that about covers the specific things I remember. There was a bit of fumbling around with quantities of resin needed for different stages. I’m more accurate now so there should be less wastage next time.
I also learnt I’m shocking at keeping the work space tidy so there’s room for improvement there too……Funny how you’ll be using a tool or some thing and put it down for a minute…..and then not be able to find it again for all the mess around….. Well, not so funny really…..just bloody frustrating.
Next I’ll briefly describe how she feels on the water after the first few outings I’ve had with her……will hopefully get to that soon.


