Page 2 of 2
Re: Trapper 15 in NC
Posted: Sun Jun 08, 2014 10:38 pm
by redbaron
Applying the fiberglass to the inside was actually easier for me than the outside was. That is not most people's experience from what I read, and I am not sure what I did right, but it went smoothly.


I laid the epoxy in with spring clamps to hold it up at the edges, and slowly worked my way up from the center of the bottom 4 panels. The canoe was on a stand with straps holding it up, so I was able to rotate as I went. That may have made it easier. I also left a bit of space at the ends, which I went back put some fiberglass strips in those areas afterwards. It was really clean, and after I got the first coat of epoxy complete, I was able to layer on a second coat.
Re: Trapper 15 in NC
Posted: Sun Jun 08, 2014 10:42 pm
by redbaron
I then applied the gunwale in 6 strips (3 per side), because there was no way I could bend a thicker piece of cherry. Thanks to the other folks who had that idea before me, and thanks to my neighbor for the use of his table saw, and help with the cutting.
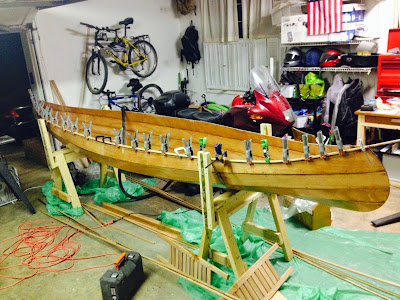
The middle strip is just stained with some water based stain.


These ends had to be sanded into shape with a belt sander. I had to re-apply the stain here, and in a few other spots after sanding. But I was VERY careful, used a Q-tip to apply, and it worked out fine.

Re: Trapper 15 in NC
Posted: Mon Jun 09, 2014 6:06 am
by jem
It's starting to really show what the final product will look like. Nice job!
Re: Trapper 15 in NC
Posted: Mon Jun 09, 2014 10:35 pm
by redbaron
I went to Woodcraft and got a 1 1/8" cherry dowel to match the inwales. I sliced it up into little disks 3/8" thick with the miter saw (the gunwales are 3/4" thick) and glued them in, spaced 4" on center. I used every clamp I had, my neighbor had, and his neighbor had to glue them in place.

Then I glued a 3/8" x 1 1/8" strip of cherry over top of those to finish the inwale.


Something I don't have a picture of, but may be helpful to describe.
When I scarfed the gunwales and inwales, I had some trouble with the clamp making them slide apart along the angle of the scarf. I fixed this by drilling two small holes and inserting toothpicks into the holes. This kept the pieces from sliding apart, and held them straight while the clamp held the scarf together. The toothpicks add a little contrast to the dark wood as well.
Re: Trapper 15 in NC
Posted: Wed Jun 11, 2014 8:01 pm
by redbaron
Racking up a whole lot of favors that I'll need to return someday, we went to another neighbor's pool to see where we needed to place the seats (and test to see if it floated ... but there was never any doubt!)
But after the problems I had with the yoke, I needed to make this little doohickey that I used to measure the inside width of the canoe. The seats went in a lot easier.

And the seats went in, along with the decks!
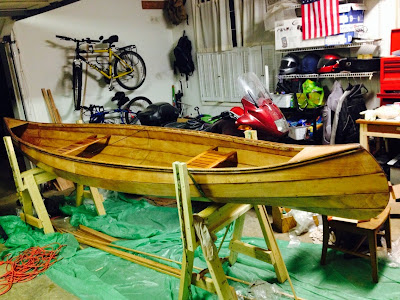
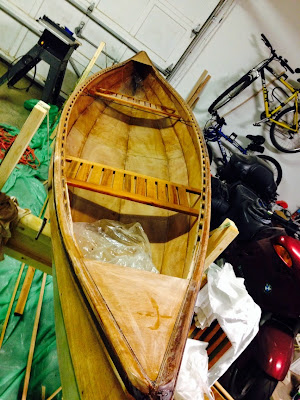
Using some pieces leftover from the gunwales, I attached the handles. Last summer, when I had to replace the pull cord for my chainsaw, I had 2 choices: 4' of the cheap stuff for $8, or 200' of the better quality for $15 ... Now I am glad I spent the extra $7
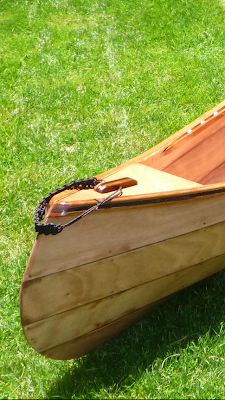
And here is the "finished" product.
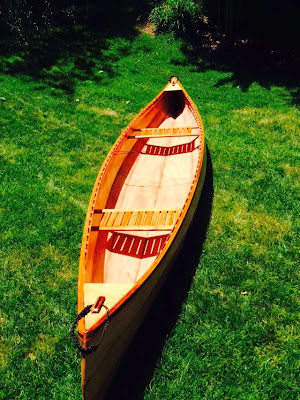
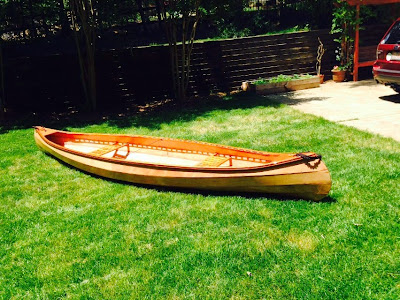
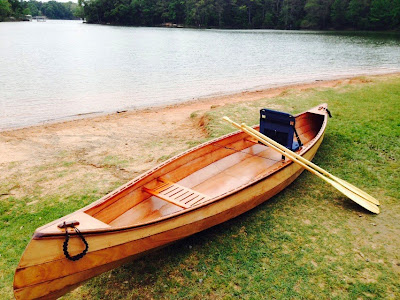
It only weighs 45 pounds. I couldn't do this with the 16' plastic kayak we rented at the beach.
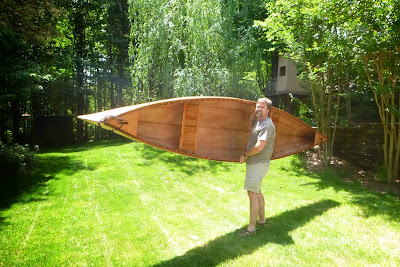
I say “finished”, because there is still a few things to do. Like the yoke, paddles, smoothing out some spots in the epoxy, bulkheads, varnishing, possibly applying some graphite to the bottom, maybe re-doing the handles …
Re: Trapper 15 in NC
Posted: Wed Jun 11, 2014 11:18 pm
by LesForgue
Chris
That is one of the prettiest canoes I ever seen.
congrats on a extremely well done job.
Re: Trapper 15 in NC
Posted: Thu Jun 12, 2014 6:05 am
by jem
It's new but has a classic, rustic look about it. You've captured what I was thinking of when I designed it.


