Page 2 of 13
Posted: Fri Aug 24, 2007 7:18 am
by jem
Nice! Looks like very neat work.
Where the bottom panels and bow stem meet, how did the pull together? Did you have to bully it? Do you think that optional slit in the side panels would have made things easier?
Posted: Fri Aug 24, 2007 3:30 pm
by hairymick
Thanks mate,

Where the bottom panels and bow stem meet, how did the pull together? Did you have to bully it? Do you think that optional slit in the side panels would have made things easier?
Bottom and side panels pulled together beautifully at the ends. The only problem I had was with the one panel that had bowed a bit, With good ply, there would be no problem getting them together.
This boat would be suitable for a careful first time builder.
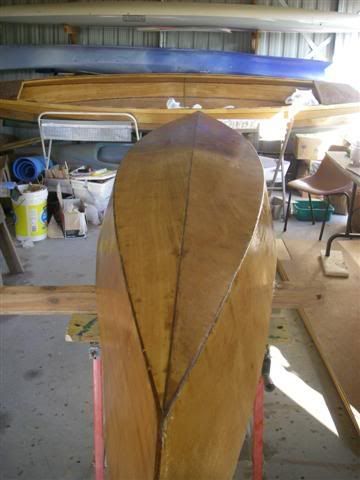
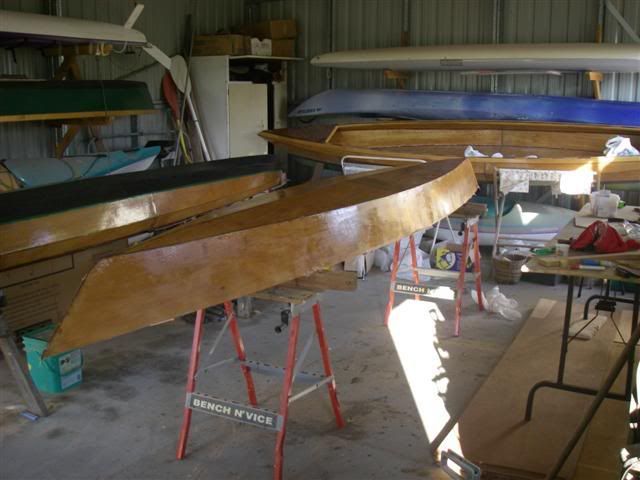
If you look at the piccie, I have a board clampted along the top of the panel to get rid of the concave bow. I also loosened the tie wire and put some small wedges between temp frame 1 and that side panel to force a little convex curve. It is pretty close to the shape of the other side now and the sheer clamps and deck install should take care of the rest.
There is also a little woop along the keel line. Only noticed it this morning

I will need to cut the seam there and fix that.
If you look at this piccie, you can see it just behind the centre join.
I also had a little mistake in the stern end bottom. It wasn't quite flush so I faired it with some woodflour. It will be covered with graphite so won't be seen. There was only about a millimetre in it so it wasn't worth fixing.
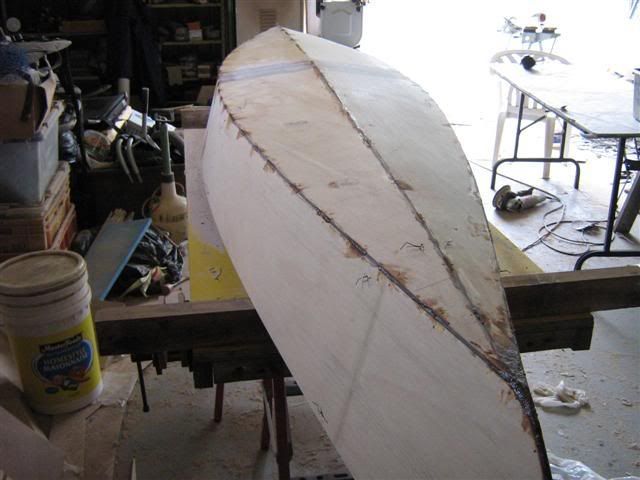
Oh yeah, i have started using a 4" grinder with a flapper disk to CAREFULLY remove the hard but not fully cured excess wood flour from the seam joints. makes it real easy and quick. About 1/2 and hour to do the whole boat.
Posted: Fri Sep 14, 2007 3:14 am
by hairymick
Posted: Mon Sep 17, 2007 3:58 am
by hairymick
Bit more done today
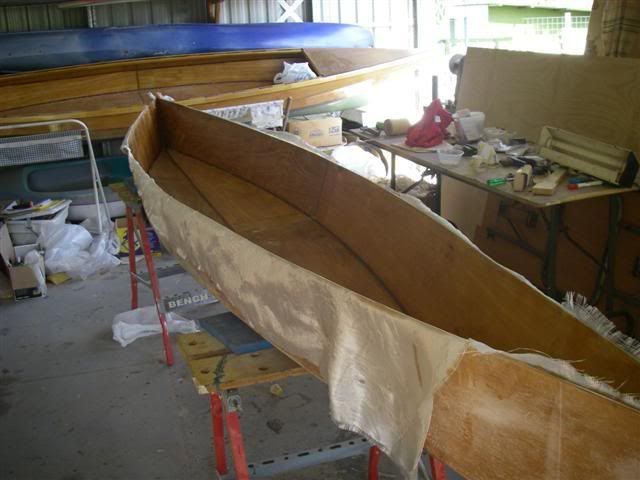
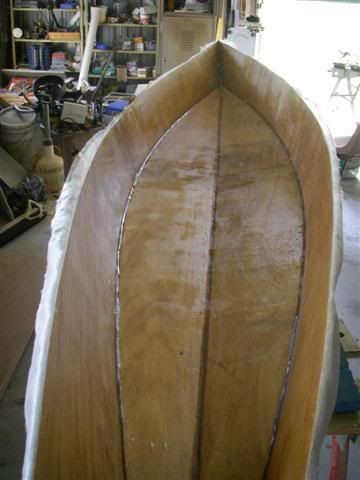
We have had our two weeks of spring and today, it was 90f outside. A bit hotter in the shed. One good thing about the heat is that the rein sets up real quick and lots of coats can be put on in a day.
All the fillets are done. Instead of an end-pour, I mix some really thick wood-flour and screed it into the ends. it can be mixed thick enough so that it doesn't sag and stayes where it is put. I can save a lot of time this way.
Before the wood-flour goes properly off, I also add a piece of cloth and wet it out directly onto the end fillet. Works a treat amd there is much less sanding this way.
(I hate sanding)
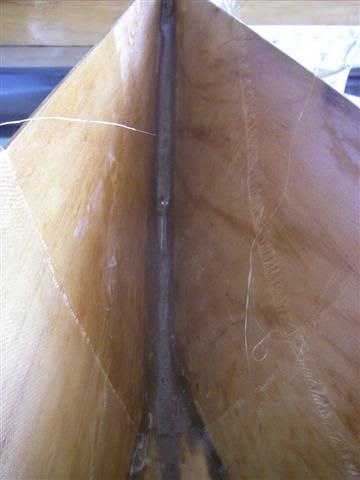
Saturation coat is on. The glass matt has been fitted and wet out (two coats so far.
Posted: Mon Sep 17, 2007 4:05 am
by hairymick
Shear clamps are on.
There is a shortage of long, knot free strips of light weight timber here.
I had some 19mm (3/4") pine boards lying around from another project.
solution, rip them down into 8mm (5/16") strips, cut out the knots and other imperfections and then scarf them back together. - easy:D
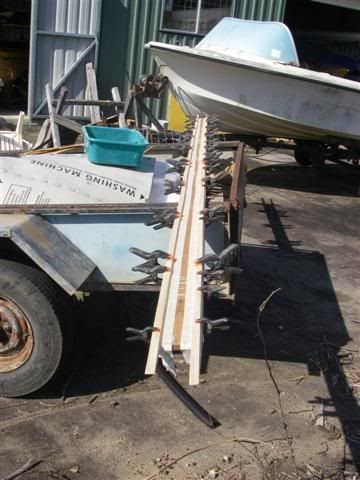
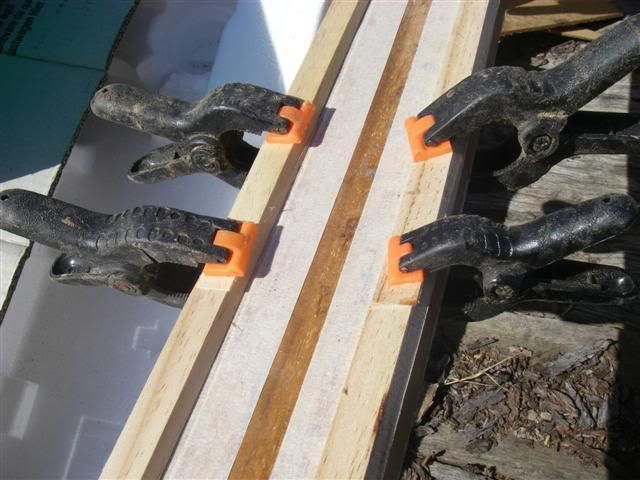
Plane a 45 degree angle on the bottom side and stick em on.
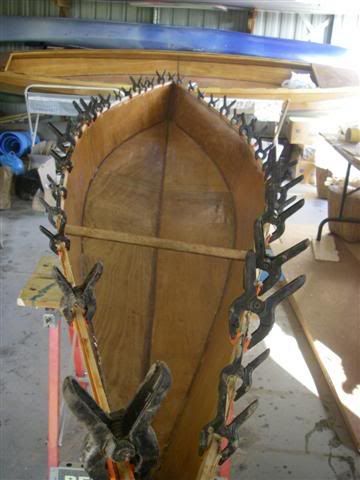
That is all for today. It is my birthday. Time for a beer.
Posted: Mon Sep 17, 2007 6:07 am
by zeb
Looking good

Happy Birthday,enjoy Your Beer
Posted: Mon Sep 17, 2007 4:06 pm
by Oldsparkey
Happy Birthday Mick , Cheer up it is not that bad being 40

Chuck.
Posted: Mon Sep 17, 2007 6:00 pm
by hairymick
Thanks guys,
Bit sick today - musta been something I ate.
Chucky, how I wish it was only 40
Posted: Mon Sep 17, 2007 6:06 pm
by jem
hairymick wrote:Thanks guys,
Bit sick today - musta been something I ate.
or everything you drank.
Posted: Mon Sep 17, 2007 7:44 pm
by Oldsparkey
jem wrote:hairymick wrote:Thanks guys,
Bit sick today - musta been something I ate.
or everything you drank.
Yep that Australian water will do it everytime.

Chuck.