I have started two Sabalo's that my wife and I have wanted for a while. I am probably not going to document every step of this build. I think Neon14 did an excellent job documenting his Sabalo 12 build, so I am going to just hit the high points. I am going to use cedar strips for everything except the bottom panels. The only useable cedar I have found in this area is 8' 2X4's and 4X4's from Home Depot and Lowes. They do not stock cedar decking here like they do in some parts of the country. I ripped up a bunch of strips last fall and stacked them to dry. They were pretty wet when I bought them.
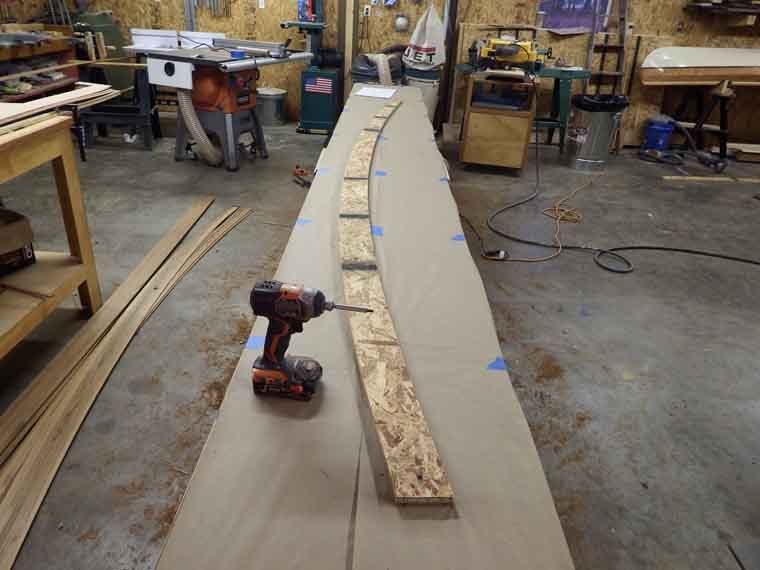
I cut a pattern for each panel needed. I cut them from osb board this time. I used cheap 1/4 inch plywood for the patterns on the Sasquatch, but I think the osb will work better. It's also cheaper. I trimmed my patterns to exact size on the router table. I them laid them out on the table, and set them to exactly match the QA measurements in the plans.
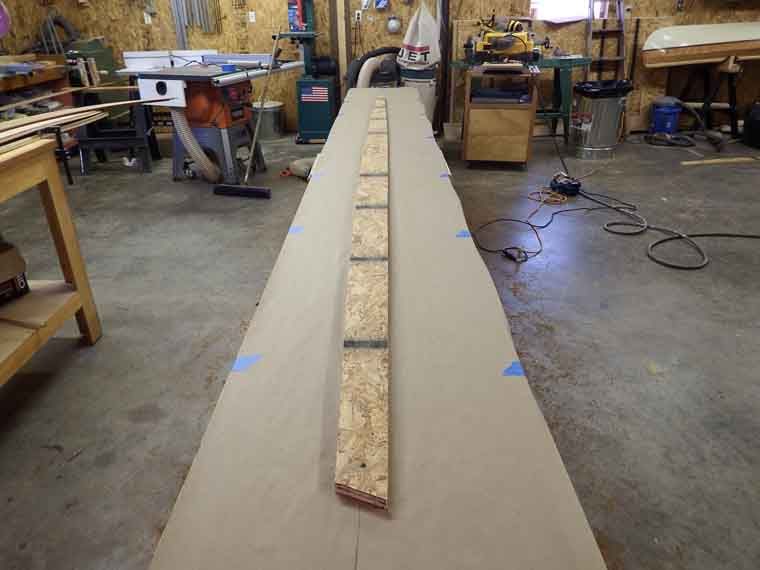
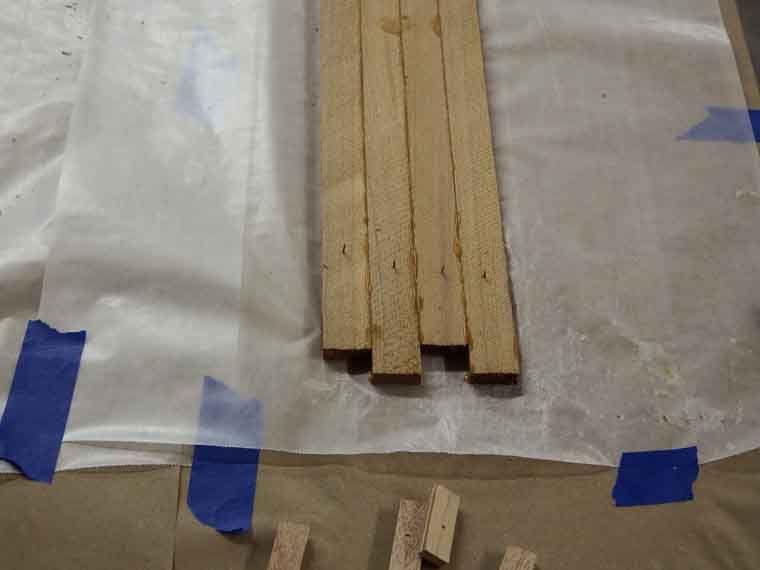
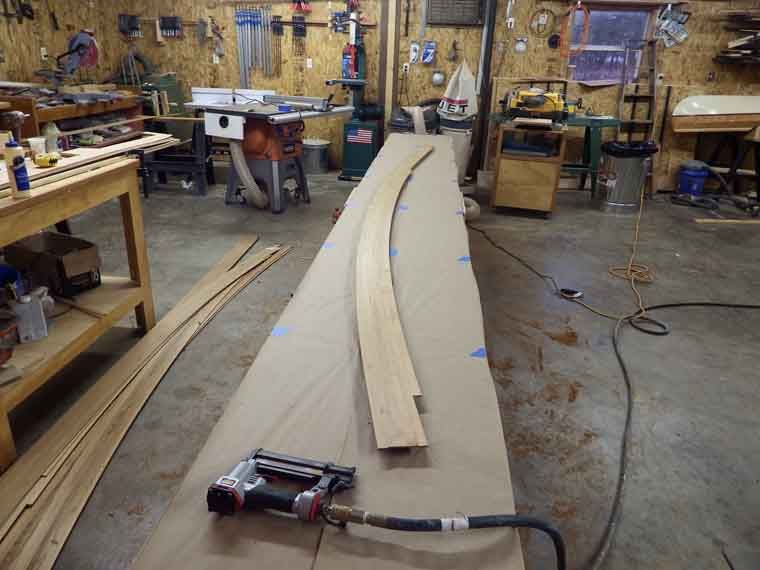
I drew the outline on the paper on the table, covered with wax paper and assembled the panels to the lines. I did not want more holes than necessary to fill, so I tried something new this time. I used my 23 gauge pin nailer to fasten the strips in place. These little pins leave a very small hole that is almost invisible when finished. The small plywood strips help hold them down.
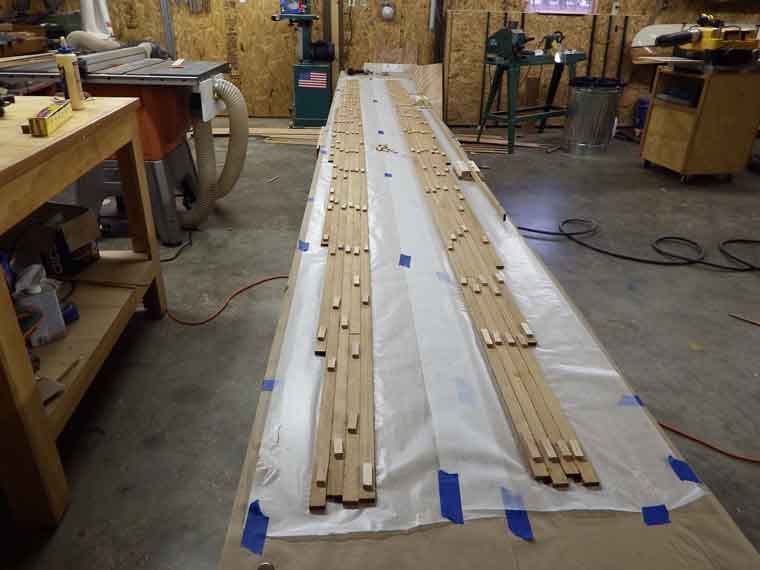
After the glue dried, I pulled the blocks straight up off the pins. These pins are headless, so the blocks pull off easily. I then pulled the pins with pliers. I think it is going to work very well.
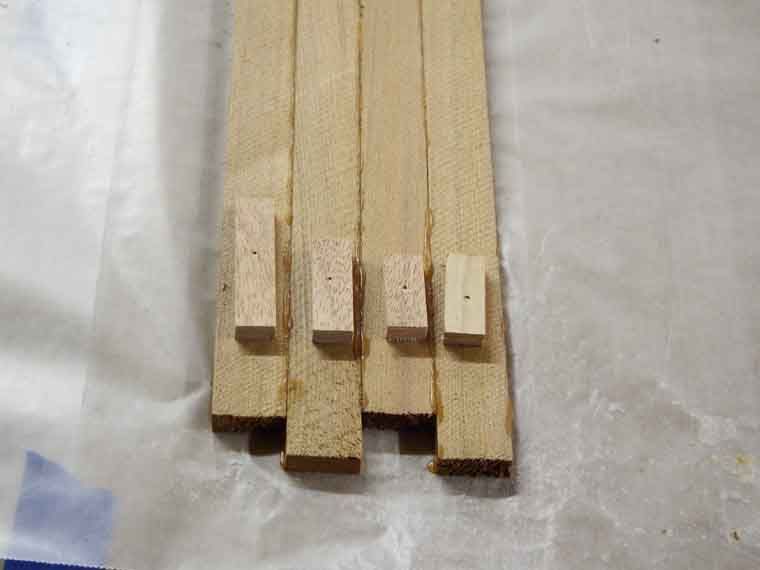
Now it's just a matter of gluing up the rest of the panels.
A Pair of Sabalo 12's
-
- Posts: 73
- Joined: Thu Feb 28, 2008 8:19 pm
- Type of boat I like: All boats
- Location: Mountain Home, Arkansas
A Pair of Sabalo 12's
Terry
-
- Posts: 141
- Joined: Fri Feb 25, 2011 4:26 am
- Type of boat I like: Kayaks and canoes
- Location: Fraser Coast, Queensland, Australia
Re: A Pair of Sabalo 12's
Looking forward to this build TW541. What glue are you using to laminate the strips together ?
-
- Posts: 73
- Joined: Thu Feb 28, 2008 8:19 pm
- Type of boat I like: All boats
- Location: Mountain Home, Arkansas
Re: A Pair of Sabalo 12's
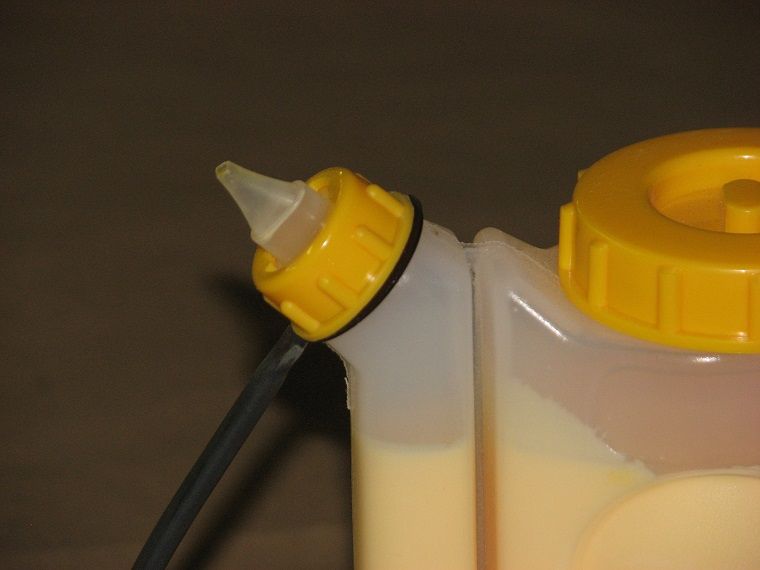
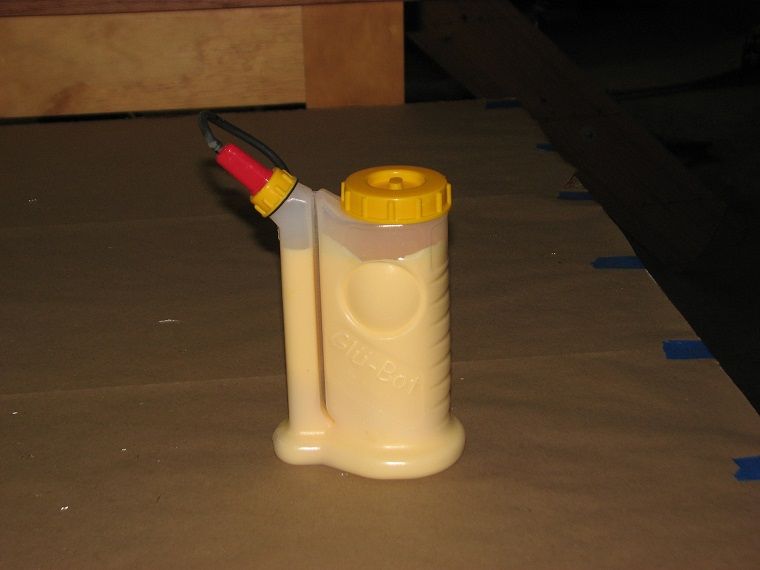
Mick, I am using Titebond II. What really made a difference was buying a glue bottle. I have had this one for quite a while, but just never tried it. I did not realize what a difference a good dispenser would make, instead of just using the bottle that the glue comes in. This one has several tips, and works great on these strips. Easy and quick to run an even bead of glue on the strips.
Terry
-
- Posts: 141
- Joined: Fri Feb 25, 2011 4:26 am
- Type of boat I like: Kayaks and canoes
- Location: Fraser Coast, Queensland, Australia
Re: A Pair of Sabalo 12's
Thanks mate. I have never seen a glue bottle like that.
I'm guessing your strips are 2 inches wide? or did you re-saw your 2 X 4's?
-
- Posts: 73
- Joined: Thu Feb 28, 2008 8:19 pm
- Type of boat I like: All boats
- Location: Mountain Home, Arkansas
Re: A Pair of Sabalo 12's
Mick,
The strips are 3/4" wide and 1/4" thick. The rough 2X4's I had were actually just a little over 1 3/4" thick, so I was able to resaw them to get 3/4" strips. I will probably plane the glued up panels to 3/16".
What I really like about the glue bottle is you can use it in any position. The bottle the glue comes in has to be turned upside down to use. You can squeeze this bottle and apply the glue in any position. I never expected something as simple as a different glue bottle could make such a difference in ease and speed of assembling these panels.
Terry
-
- Posts: 73
- Joined: Thu Feb 28, 2008 8:19 pm
- Type of boat I like: All boats
- Location: Mountain Home, Arkansas
Re: A Pair of Sabalo 12's
Matt
It's called a Glu-Bot. It came from Amazon.com. It's the 16 ounce size for $7.85 with free shipping. It sure makes running an even bead on narrow strips easy. It even comes with different size tips. I don't want to sound like a commercial for them, but this thing works great.
Terry
-
- Site Admin
- Posts: 4916
- Joined: Fri Jun 18, 2004 8:14 pm
- Type of boat I like: Wooden
- Location: Greensboro, NC
- Contact:
Re: A Pair of Sabalo 12's
No problem with sharing what works well!tw541 wrote:Matt
It's called a Glu-Bot. It came from Amazon.com. It's the 16 ounce size for $7.85 with free shipping. It sure makes running an even bead on narrow strips easy. It even comes with different size tips. I don't want to sound like a commercial for them, but this thing works great.
Looks like there's a 4-ounce version called "Babe-Bot".
-Matt. Designer.
-
- Posts: 73
- Joined: Thu Feb 28, 2008 8:19 pm
- Type of boat I like: All boats
- Location: Mountain Home, Arkansas
Re: A Pair of Sabalo 12's
I got all of the hull panels glued up and planed down to 3/16". So far, using the pin nailer is working pretty good. I did some testing before trying this. I made some test panels from the same cedar I'm using. After pulling the pins I went over the panels with a steam iron. After it dried, the holes were almost invisible. I glassed the test panel and I had to really look to find the small holes, and I knew where they were. I don't think they will show at all on the finished boat. These pins are about the size of a straight pin.
I set the patterns up on my two 2' X 8' tables placed end to end. By using both pattern halves together, it is easy to adjust exactly to the QA measurements. After I got them to the measurements, I screwed them down to the table.
I placed the corresponding panels on the pattern, and again used the pin nailer to fasten them down. In the past I used double sided tape to hold the panels in place. On the Sasquatch I built, I had to replace one panel that slipped while routing it. That was when I decided to find something better than the tape. This gun and a box of 3000 pins for it was about $25.00. It's easy to spend that on double sided tape.
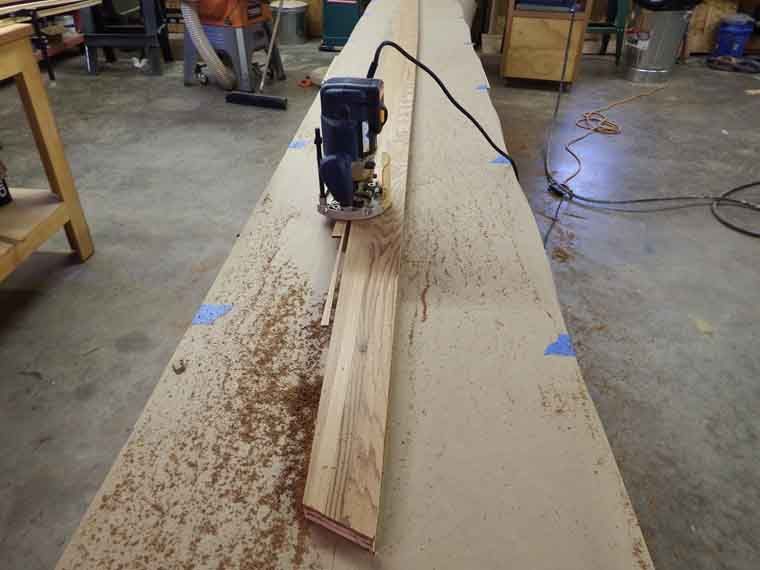
I adjusted the air pressure to set the the pin just below the surface. These little pins are headless, so it is easy to just pull the panel up off of the pattern after trimming. I only used six pins per panel, two at each end and two in the middle. They hold really well to keep the panel from shifting to the side, but allow the panel to be pulled straight up with little effort. The pins all stay in the pattern and easy to pull with pliers.
I used a router with a pattern bit to trim the panel to the pattern. I have one of the small Bosch trim routers, but I do not really care for it. I prefer the stability of a full size router. I think it is more stable and easier to control. Many people like the small routers, but I have never found a use for mine.
Terry
-
- Posts: 73
- Joined: Thu Feb 28, 2008 8:19 pm
- Type of boat I like: All boats
- Location: Mountain Home, Arkansas
Re: A Pair of Sabalo 12's
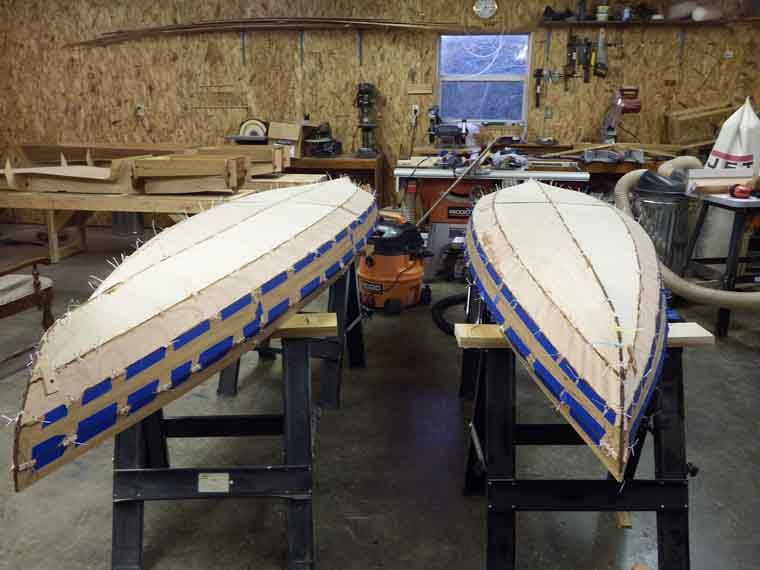
I have been steadily working on these two. One of the benefits of being retired. Both boats are stitched up and tacked. On the tables in the background are the frames and cockpit assemblies I am working on while the epoxy cures.
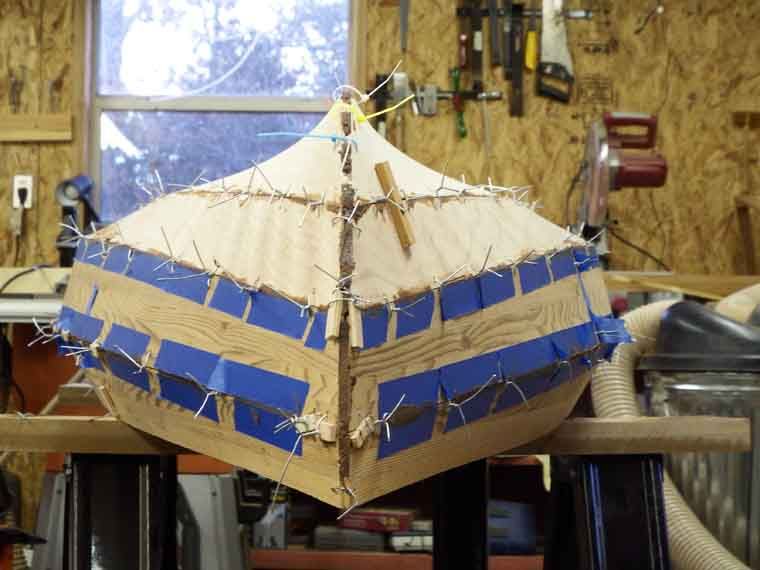
The bottom panels have quite a bend in them.
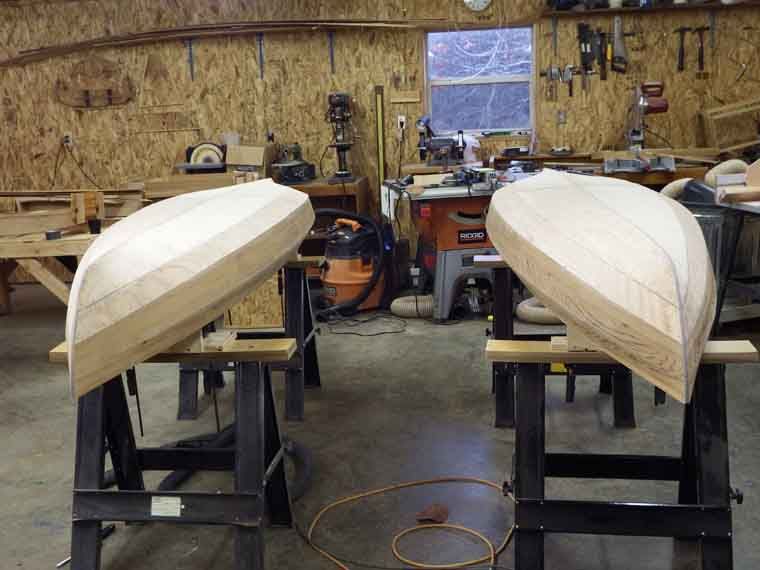
Sanded and almost ready for glass.
The bottom panels have quite a bend in them.
Sanded and almost ready for glass.
Terry