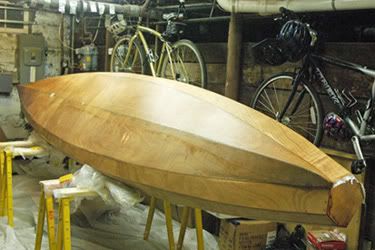
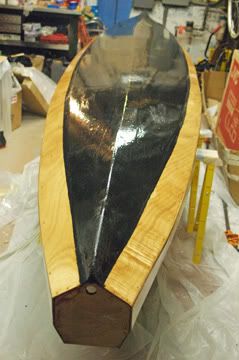
Tandem SOT Build Log: Blue Fin

Builder show and discuss their progress.
scottrunnr
Posts: 389
Joined: Sun Apr 23, 2006 8:34 pm
Type of boat I like: <-- Please read instructions to the left and delete this text. Then, tell us what type boat you like! :-)
Location: Brookline, MA

Post by scottrunnr »

Matt,
here are some photos. Some of these are just if you want to use for instructions.

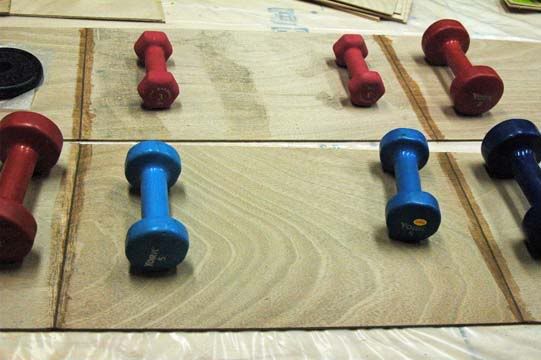
Measuring/aligning for splice with yellow string
Image

Filleting splices together
Image

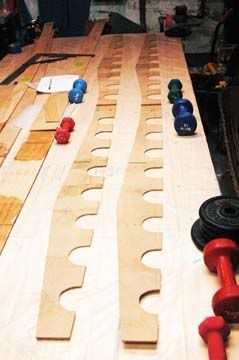
Cockpit frame cut-out's & splicing
Image

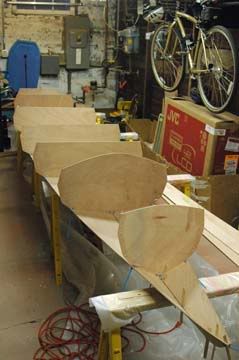
Panel #1/frame stitching
Image

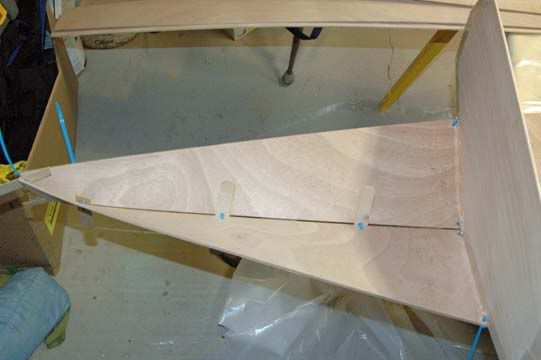
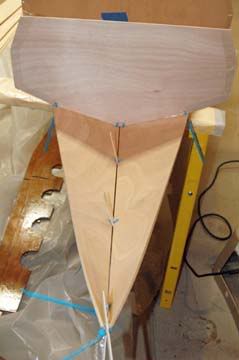
Panel #1 stern stitching
Image

Image
scottrunnr
Posts: 389
Joined: Sun Apr 23, 2006 8:34 pm
Type of boat I like: <-- Please read instructions to the left and delete this text. Then, tell us what type boat you like! :-)
Location: Brookline, MA

Post by scottrunnr »

Matt,
I managed to find some time this week to complete the stitching of panels 1-3. I'll start filleting over the weekend. Photos below.

Panels 1-3 stitched
Image

Image

Taped for filleting
Image

Flipped & ready to fillet
Image

Image

Image

Image
scottrunnr
Posts: 389
Joined: Sun Apr 23, 2006 8:34 pm
Type of boat I like: <-- Please read instructions to the left and delete this text. Then, tell us what type boat you like! :-)
Location: Brookline, MA

Post by scottrunnr »

Matt,
I made some good progress over last weekend & late night's this week. I've almost caught up to where you left off on the instructions. Below are photos.

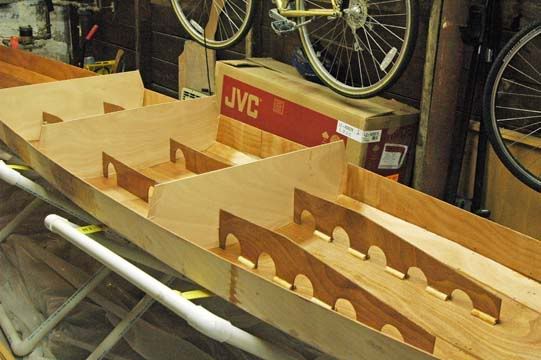
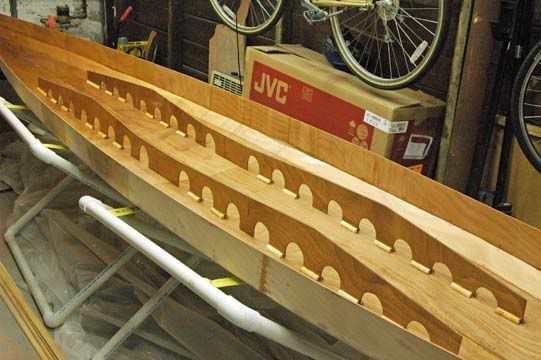
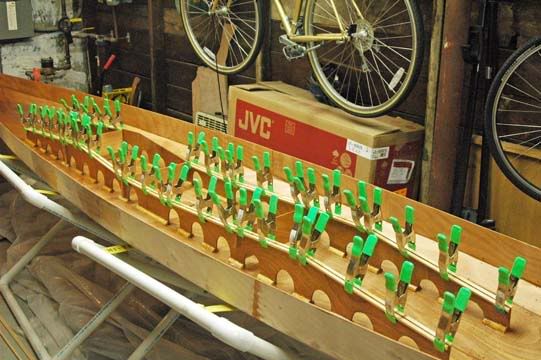
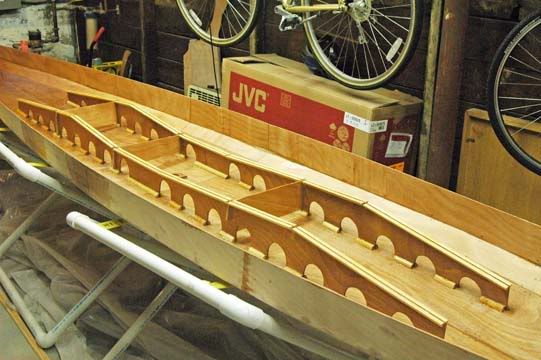
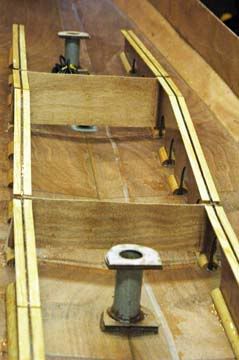
1. Cockpit support installation

Image

Image

Image

Image

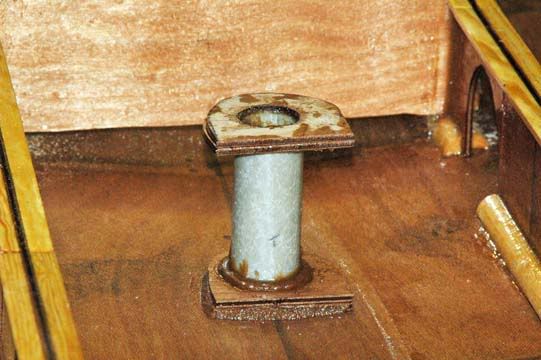
2. Scupper installation

Image

Image

Image

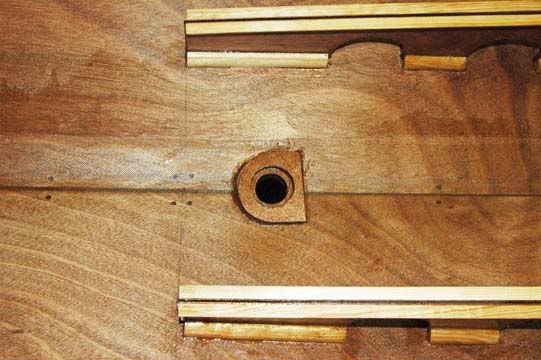
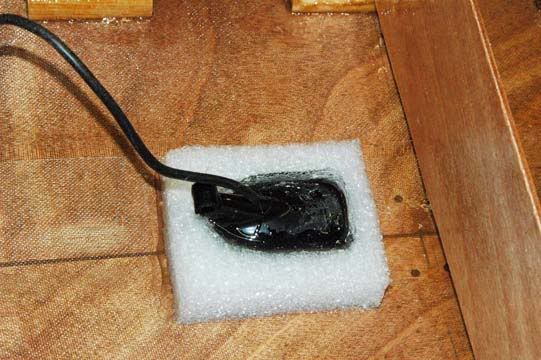
3. Fishfinder transducer installed

Image

4. Cockpit floor filleted and glassed

Image

5. Dry run of cockpit floor install. I have to cut holes for scuppers and hatches before installing.

Image
scottrunnr
Posts: 389
Joined: Sun Apr 23, 2006 8:34 pm
Type of boat I like: <-- Please read instructions to the left and delete this text. Then, tell us what type boat you like! :-)
Location: Brookline, MA

Re: Tandem SOT : Blue Fin

Post by scottrunnr »

Matt,
Quick question for you on installing the fore/aft cockpit bulkheads. I assume that they should not be wood-on-wood. I should have a popsicle stick in between the bulkheads and main hull when installing/filleting. Correct? I'll be at that step in a couple of days.

BTW, great job on upgrading phpBB. It looks great!

Below are some pics of my latest progress.

1. Tracing cockpit floor side supports. Note original trace above and offset below.

Image

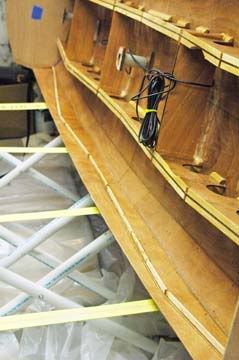
2. Install of cockpit floor side supports. I had to cut them into smaller segments because of the curve of the hull. I also had to install by turning the yak on it's side completely perpendicular and using thick epoxy/wood-flour. That's because I couldn't reach with clamps. Was that correct? :?

Image

Image

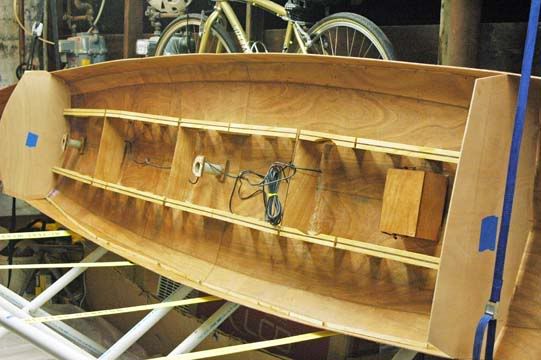
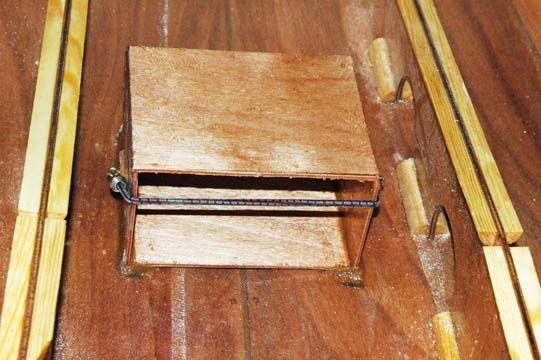
3. Borrowing from Mick's camera box idea, I built a battery box for my fishfinder battery. It's filleted/glassed to the hull under the aft rower station. Access will be via hatch in cockpit floor.

Image
scottrunnr
Posts: 389
Joined: Sun Apr 23, 2006 8:34 pm
Type of boat I like: <-- Please read instructions to the left and delete this text. Then, tell us what type boat you like! :-)
Location: Brookline, MA

Re: Tandem SOT : Blue Fin

Post by scottrunnr »

Below is my latest progress.

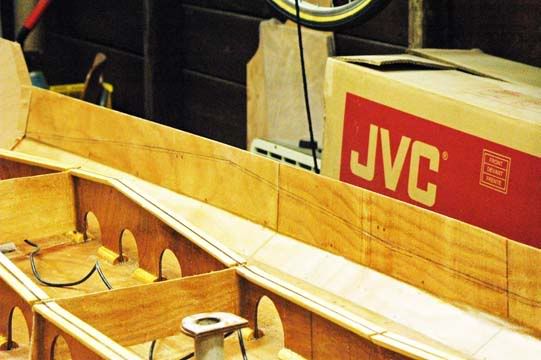
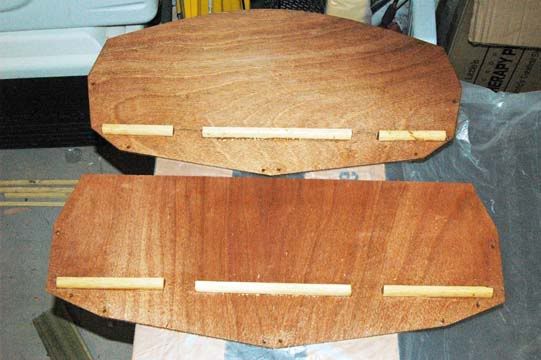
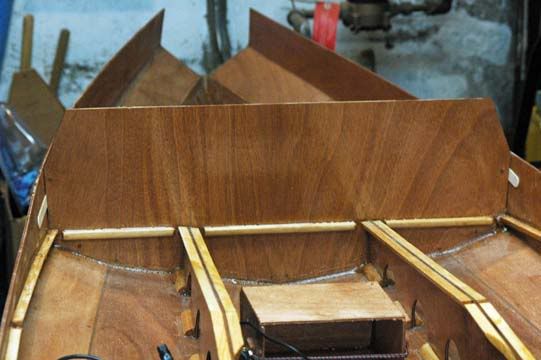
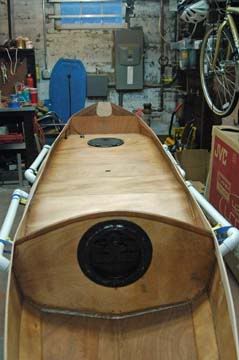
1. Fore/aft cockpit bulkheads with floor supports.

Image

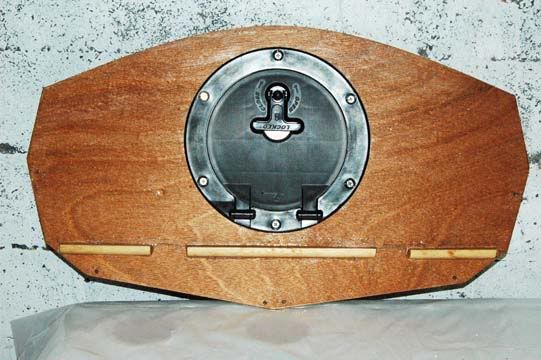
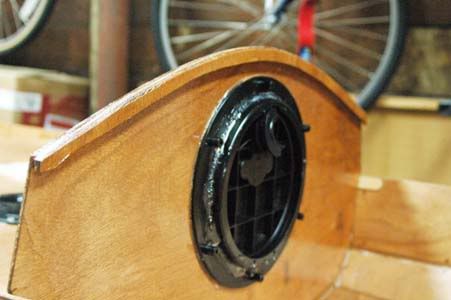
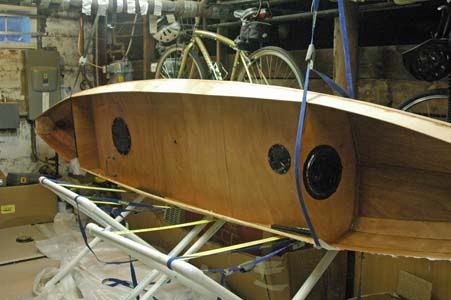
2. Fore cockpit bulkhead with hatch installed.

Image

3. Aft cockpit bulkpit filleted into place.

Image
scottrunnr
Posts: 389
Joined: Sun Apr 23, 2006 8:34 pm
Type of boat I like: <-- Please read instructions to the left and delete this text. Then, tell us what type boat you like! :-)
Location: Brookline, MA

Re: Tandem SOT : Blue Fin

Post by scottrunnr »

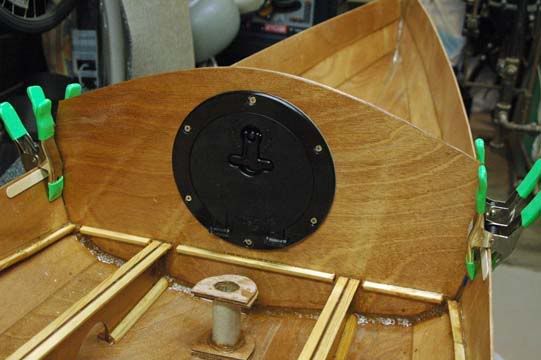
Fore cockpit bulkhead filleted into place. Per the instructions I only filleted below the supports. I had to place clamps on the hull on either side of the bulkhead as the weight of the hatch was making the bulkhead tilt.

Image
scottrunnr
Posts: 389
Joined: Sun Apr 23, 2006 8:34 pm
Type of boat I like: <-- Please read instructions to the left and delete this text. Then, tell us what type boat you like! :-)
Location: Brookline, MA

Re: Tandem SOT : Blue Fin

Post by scottrunnr »

I only got as far as stitching the last panels tonight. Below are the latest photos.

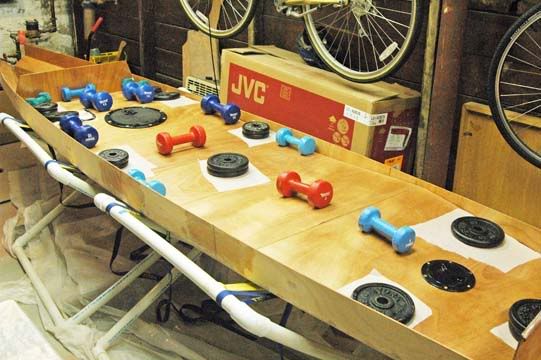
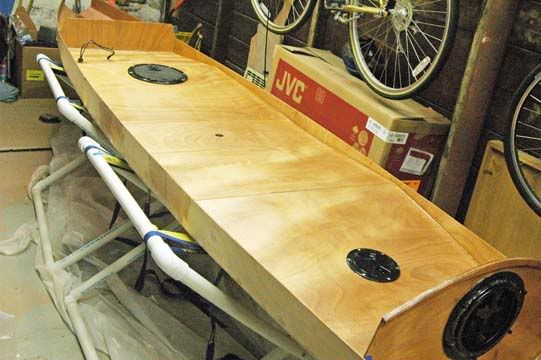
1. Glued the cockpit floor to the supports. I used a woodflour/epoxy mix to make sure all voids were filled. The weights did the rest of the work.

Image

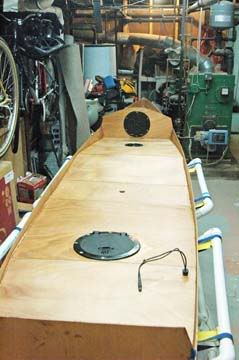
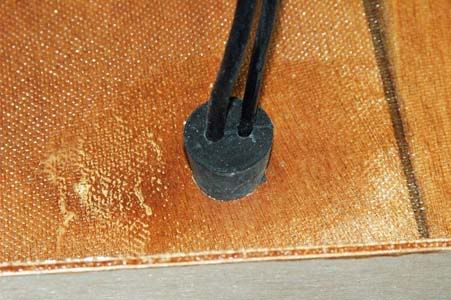
2. Here's the cockpit floor after filleting. The black wire you see is for the fishfinder to the transducer and the battery storage box (both are below the deck). I have a plug the wire passes thru to keep the water out.

Image

Image

Image

3. I glued two pieces of ply to the fore bulkhead to be a support for the foredeck. I sanded it at an angle as the deck slopes down towards the bow.

Image

4. Top/last panels stitched. Hopefully I can start tack-welding tomorrow.

Image
scottrunnr
Posts: 389
Joined: Sun Apr 23, 2006 8:34 pm
Type of boat I like: <-- Please read instructions to the left and delete this text. Then, tell us what type boat you like! :-)
Location: Brookline, MA

Re: Tandem SOT : Blue Fin

Post by scottrunnr »

Matt,
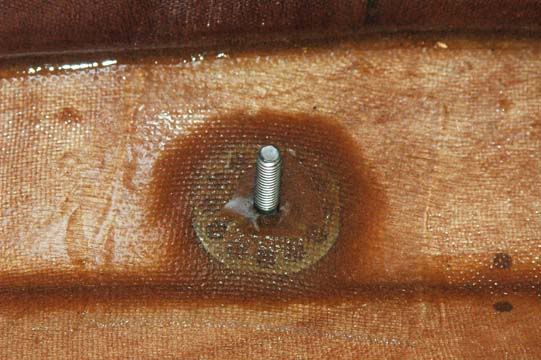
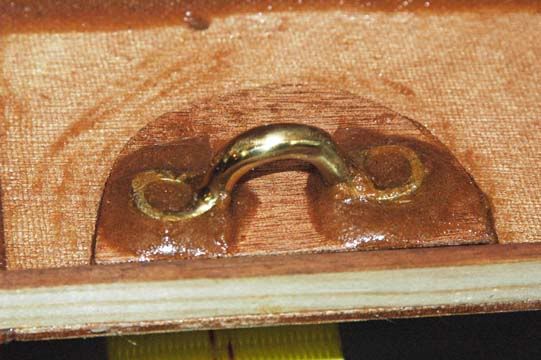
both top panels have been tack welded into place. The right side top panel has been filleted and glassed. I've also installed the foot brace screw and brass pad eyes for seats on that side. The foor brace screws look good to me.I'm not sure about how I did the pad eye for the seat. I just used some scrap ply and blobs of epoxy/wood-flour.

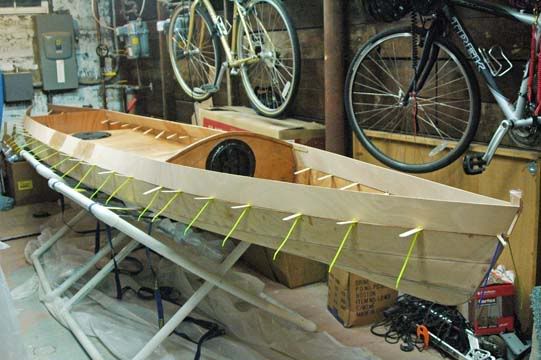
1. Top panels tack welded

Image

2. Fillet & glass top panel right-side

Image

3. Foot brace screw

Image

4. Eye pad for kayak seat. Just scrap ply and blobs of epoxy/wood-flour.

Image
scottrunnr
Posts: 389
Joined: Sun Apr 23, 2006 8:34 pm
Type of boat I like: <-- Please read instructions to the left and delete this text. Then, tell us what type boat you like! :-)
Location: Brookline, MA

Re: Tandem SOT : Blue Fin

Post by scottrunnr »

I got back from Thanksgiving travels and finally got some time in on the build. I hope your travels, if any, went well. Below are photos of my latest progress.

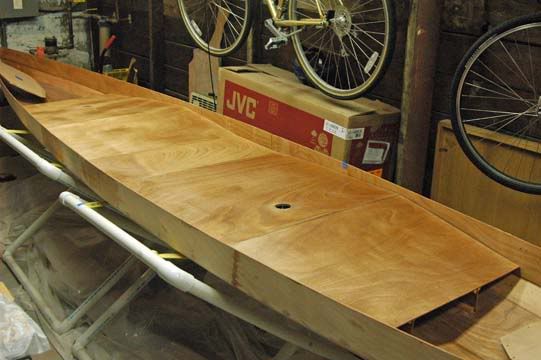
1. I concentrated on getting the front deck installed. Here I installed the quarter round deck supports.
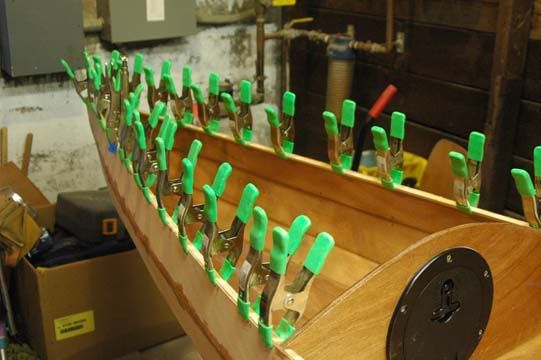
Image

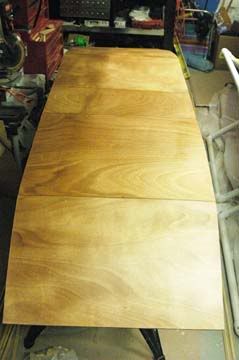
2. The piece for the deck was a fair amount larger than needed. So I put it in place, traced the edge, and trimmed leaving extra just to be safe.
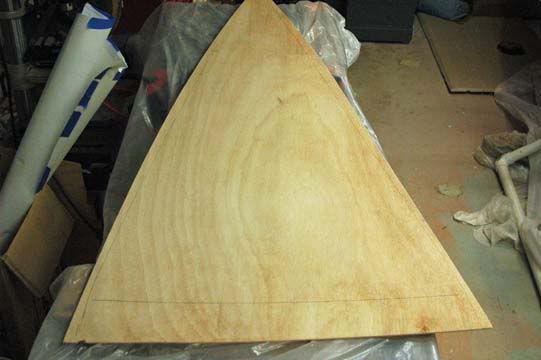
Image

3. Then I stitched it into place, did a saturation coat, and used 4oz glass. Note that it stays inside the stitch area not out to the edges. This helps it hold the shape for glassing the other side.
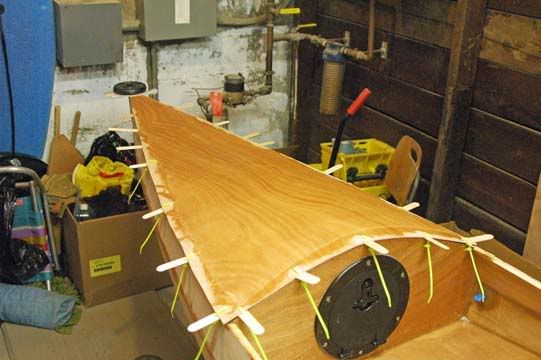
Image

4. I took the deck off. It mostly holds it shape but flexes back some. So I used some string into the last two stitch holes to pull the curve back to where it should be. I took a measurement when the deck was in place to get the distance from the top of the curve to the plane at the bottom. That guided how tight to pull the string. Then I did a saturation coate and 4oz glass of the inside of the deck.
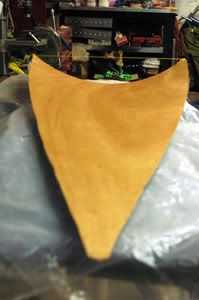
Image

5. Then I tack welded the deck in place and sanded it clean to the hull. I'll glass over the whole deck and bond to the hull with 4oz after I glass the hull bottom. The extra 4oz minimizes oil canning with the thin 3mm ply.
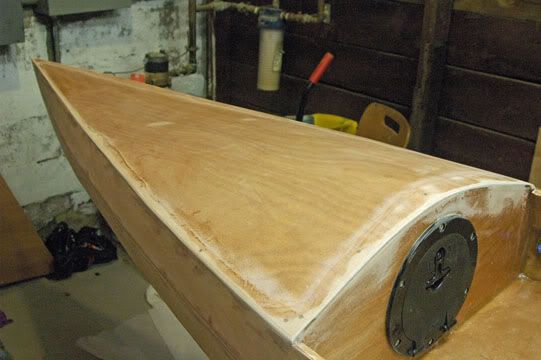
Image

6. Installed quarter round deck supports to aft deck area.
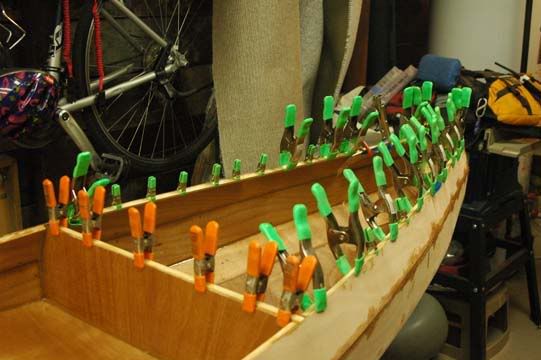
Image

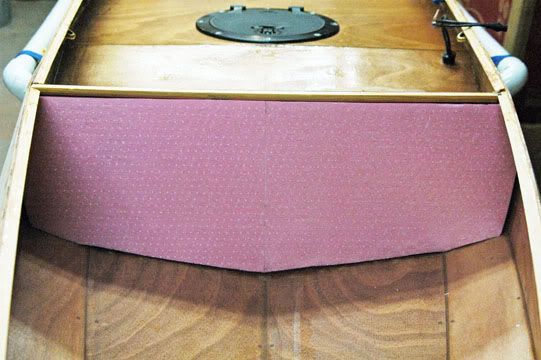
7. I use the aft storage area basically as a large cooler for what I catch. On the Sabalo 12 I tried insulating the area with a new insulating paint developed by NASA. Unfortunately it proved ineffective. So I'm going to try using pink foam-board insulation. It will have a layer of 1mm ply over it to make it water-tight. Below is the foam-board installed with Liquid Nails to the back of the rear-bulkhead.
Image

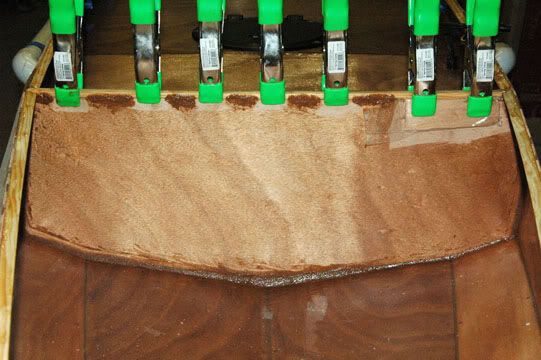
8. Below is the 1mm Okume ply filleted to the hull and quarter-round over top of the foam-board. I'll put a couple of layers of epoxy on the ply. I coated the inside of the ply before install. I'll be using this same routine on the inside hull sides/bottom and the underside of the aft deck/hatch. More photos of this as I progress.
Image

9. I'm going to jump to glassing the hull exterior next. I'm awaiting some gear to be delivered to be installed on the aft deck. Unfortunately it's going to take a week or so to arrive. So I'll save the aft deck install until after I've glassed the hull.

I'm getting there!
scottrunnr
Posts: 389
Joined: Sun Apr 23, 2006 8:34 pm
Type of boat I like: <-- Please read instructions to the left and delete this text. Then, tell us what type boat you like! :-)
Location: Brookline, MA

Re: Tandem SOT : Blue Fin

Post by scottrunnr »

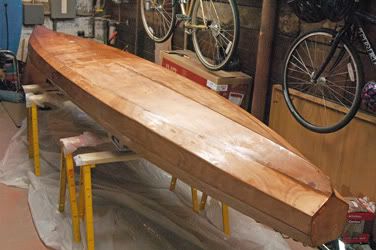
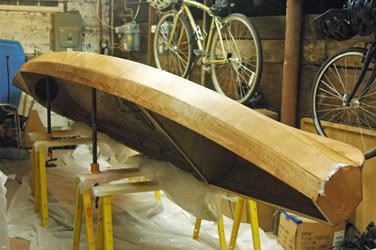
I managed to get the hull exterior glassed this week.

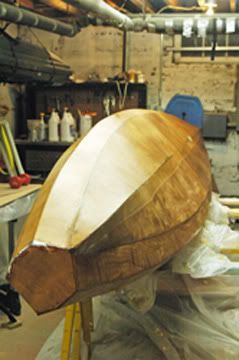
1. Hull exterior with saturation coat

Image

2. Right side of hull exterior glassed

Image

Image

3. Left side of hull exterior glassed

Image

4. Graphite coat applied to bottom

Image
Post Reply