Tor's Southwind
-
- Posts: 200
- Joined: Mon Jul 31, 2006 6:32 pm
- Type of boat I like: <-- Please read instructions to the left and delete this text. Then, tell us what type boat you like! :-)
- Location: Palm Bay, FL (east coast)
Re: Tor's Southwind
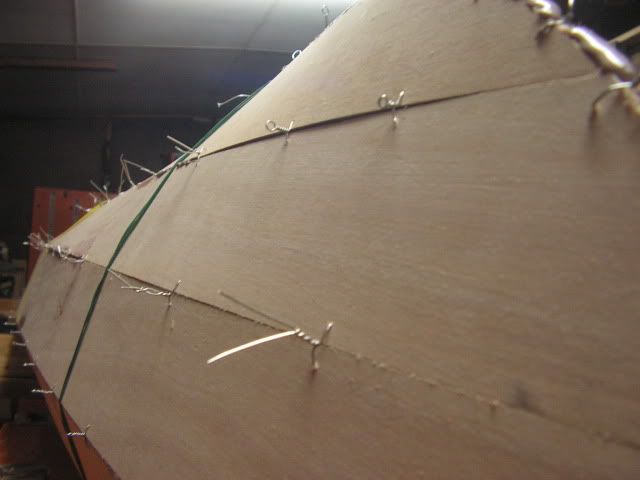
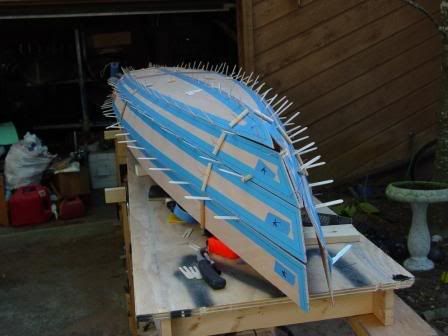
One thing you could do to help bring those panels in (as long as them are almost parallel), instead of one stitch that bridges the panels, drill another hole in each panel close to where the stitch is, put a wire loop in each panel, then put a wooden dowel captured by each loop so that the dowel bridges the panel, then start tightening the loops.
That was a tip from MulletKey from way back.
You can kinda see what I am saying this this picture from my WF build. It is only the small dowel near the front. The longer dowels just a little ways back from that one are used to pull the panels in to the frames.
DM
-
- Posts: 219
- Joined: Mon Jan 07, 2008 6:46 am
- Type of boat I like: <-- Please read instructions to the left and delete this text. Then, tell us what type boat you like! :-)
- Location: Melbourne
Re: Tor's Southwind
another weekend past.
Stitches are removed and chines glued up all very solid.
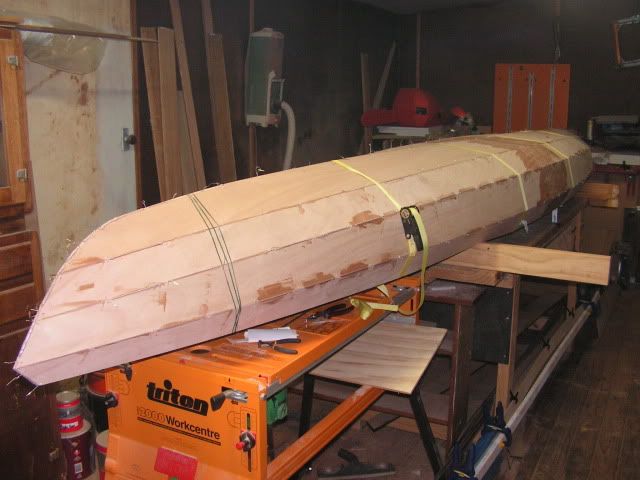
The post from Dangermouse made me think I hadn't indicated how I'd held the frames in place. I made the frames out of 9mm MDF (I struggled using the 4mm ply frames when I built the DK canoe as I don't do delicate very well). The substantial frame allowed me to use a slightly more robust method. Tie down straps.
Wrap around the tie down straps and ratchet them up nice and tight worked a treat, you can see the straps in the picture below, you just have to position the hooks and ratchet carefully.
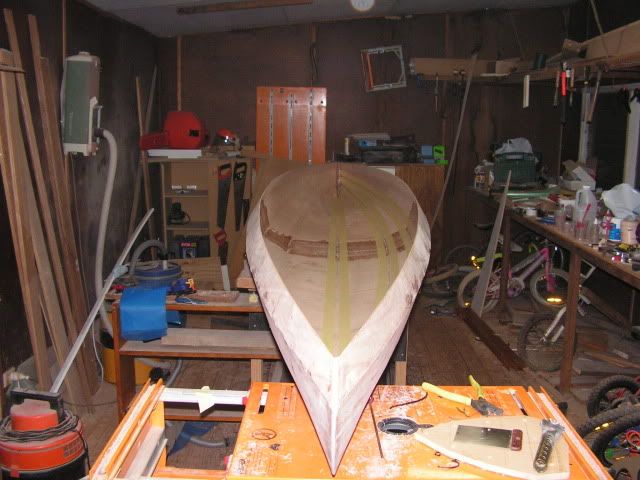
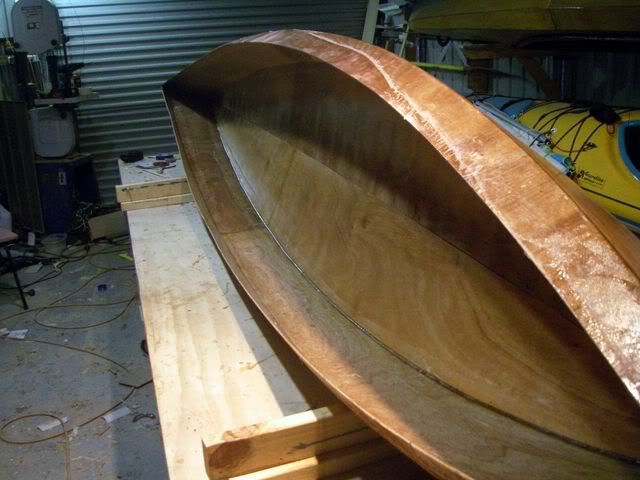
the boat the right way up
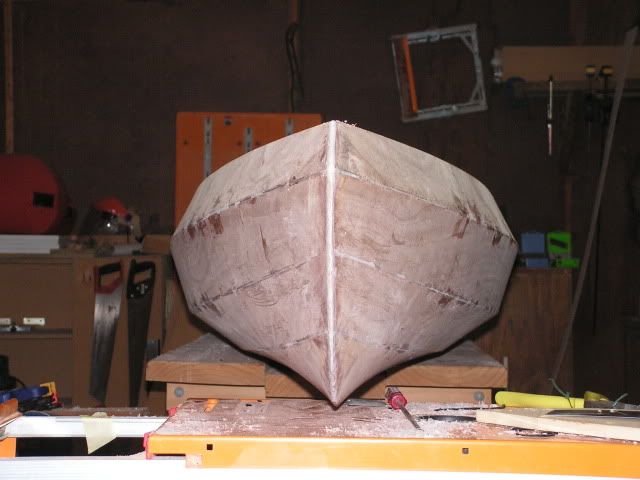
From the front
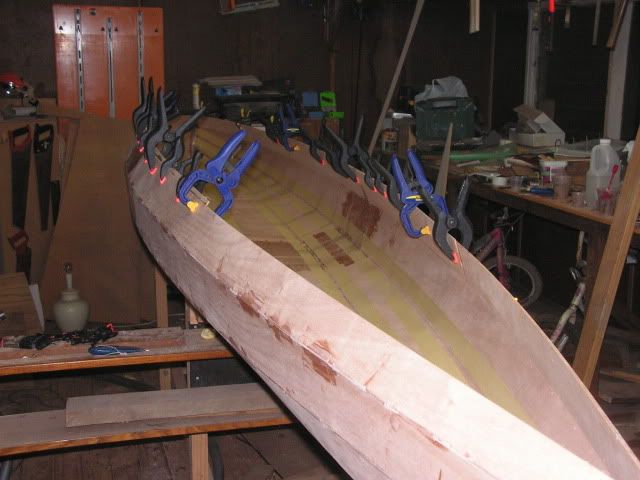
and we couldn't do this without clamps (shear clamps being fitted)
I ran out of masking tape so internal fillets is a job for later in the week. The middle of the hull is a very shallow V the fillets here and at the bow and stern will be quite small (thin large, radius) almost flat does the strength here come more from the glass once it's applied?
Tor
-
- Posts: 219
- Joined: Mon Jan 07, 2008 6:46 am
- Type of boat I like: <-- Please read instructions to the left and delete this text. Then, tell us what type boat you like! :-)
- Location: Melbourne
Re: Tor's Southwind
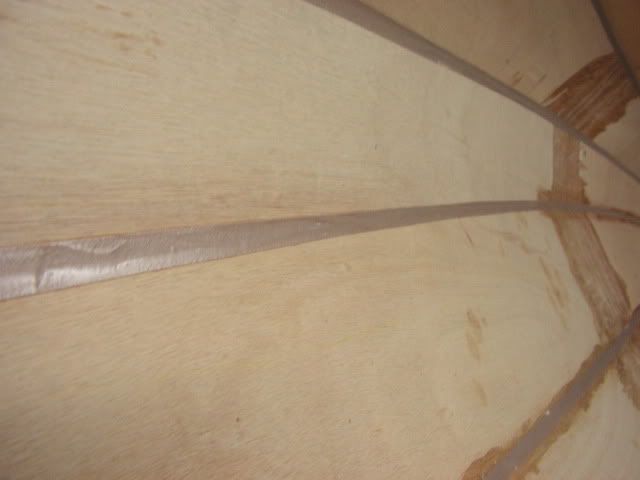
I got stuck into the internal fillets and following all the good advice on this forum did a reasonable job of it 'cept maybe one disaster which I'll need some advice.
One thing I did learn was be careful of the temperature of the resin. I took mine into the house overnight before playing in the shed (the temperature of the shed is 50-60F - I need a heater).
The fillets took much longer than I remembered but then I did make a slightly better job of these.
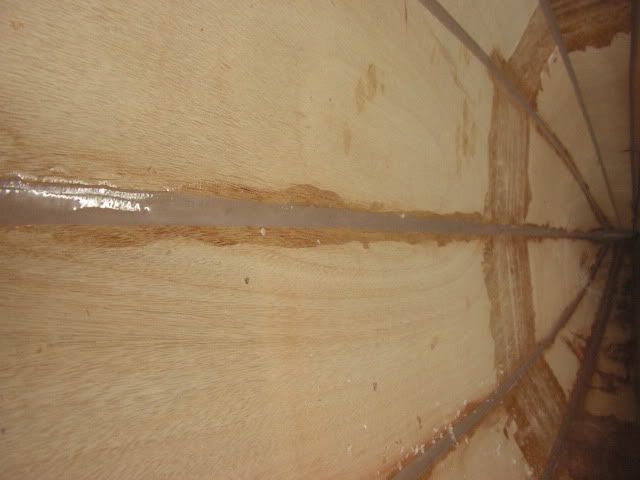
I mixed up some thick Bote Cote epoxy mixed with the proprietary Bote cote filleting/glue filler the edges were masked and the fillets were created using a spatula cut to a nice radius. Once the fillet was formed I removed the masking tape. Based on the outside gluing I left this for 4 hours before before returning to "polish" with a bit of unthickened epoxy and the back of a plastic spoon. In this case the fillet was very firm and needed quite a lot of pressure to remove any flaws.
the little flecks are not in the resin I was scraping before I took the photo...
Last edited by Tor on Tue Jun 02, 2009 4:31 am, edited 1 time in total.
-
- Posts: 219
- Joined: Mon Jan 07, 2008 6:46 am
- Type of boat I like: <-- Please read instructions to the left and delete this text. Then, tell us what type boat you like! :-)
- Location: Melbourne
Re: Tor's Southwind
I then decided to make the next set of fillets making the epoxy less thick.
They formed much better, I went back to this after four hours and it was so sticky I couldn't work it. the difference? the resin was left in a cooler part of the house overnight..
However I inspected the fillets and the slightly more runny nature helped to form the fillets beautifully so I didn't do any more on these and I think they're pretty good.
-
- Posts: 219
- Joined: Mon Jan 07, 2008 6:46 am
- Type of boat I like: <-- Please read instructions to the left and delete this text. Then, tell us what type boat you like! :-)
- Location: Melbourne
Re: Tor's Southwind
However
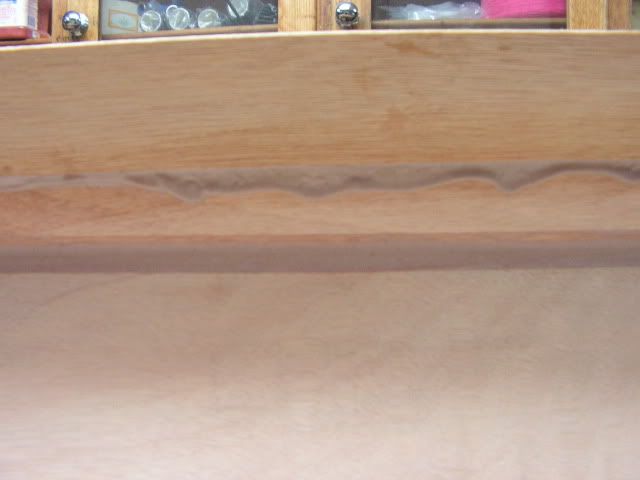
This is just under the sheer and was virtually vertical and I didn't notice the runs until it was well and truly set, it's now 48 hours later and will be another 24 hours before I get back to it.
So how do I remove this? heat? scraper? chisel? all 3 how much heat? will this affect the glue between the panels?
I'm so disappointed with myself I had done such a good job up to this point
Tor
-
- Posts: 309
- Joined: Wed Feb 13, 2008 3:57 pm
- Type of boat I like: <-- Please read instructions to the left and delete this text. Then, tell us what type boat you like! :-)
- Location: Sydney Aust
Re: Tor's Southwind
Those lines are beautifull TorTor wrote:
Tor
-
- Design Reviewer
- Posts: 1965
- Joined: Wed Jan 04, 2006 8:54 am
- Type of boat I like: <-- Please read instructions to the left and delete this text. Then, tell us what type boat you like! :-)
- Location: Queensland, Australia
- Contact:
Re: Tor's Southwind
G'day Tor,
Mate, you oat is looking magnificent mate.
Re the vertical fillet sags, have had similar problems myself.
Save yourself a lot of heartache. Buy a dremel or similar rotary tool and using a rounded ball grinding ball, CAREFULLY grindoff the sags and dags and re-fillet. Tip the boat on its side to fillet (and grind if you find it easier)
Regards,
Mick
JEMWATERCRAFT Swampgirl; Wadefish;Touring Pirogue;South Wind; P5 ;
Laker X 2, Sasquatch 16.5 T-V 15 Okwata 15:
Cobia 15 (under construction)
Mick
JEMWATERCRAFT Swampgirl; Wadefish;Touring Pirogue;South Wind; P5 ;
Laker X 2, Sasquatch 16.5 T-V 15 Okwata 15:
Cobia 15 (under construction)
-
- Posts: 219
- Joined: Mon Jan 07, 2008 6:46 am
- Type of boat I like: <-- Please read instructions to the left and delete this text. Then, tell us what type boat you like! :-)
- Location: Melbourne
Re: Tor's Southwind
oddly enough I bought a rotary tool when building the DK for exactly that reason but these are big runs and wanted something easier if I could, but it seems the easy way is don't get it wrong...
do I need to do the grinding carefully?
btw Mick I dropped you a PM, did you get it?
Tor
do I need to do the grinding carefully?
btw Mick I dropped you a PM, did you get it?
Tor
-
- Design Reviewer
- Posts: 1965
- Joined: Wed Jan 04, 2006 8:54 am
- Type of boat I like: <-- Please read instructions to the left and delete this text. Then, tell us what type boat you like! :-)
- Location: Queensland, Australia
- Contact:
Re: Tor's Southwind
Yeah mate, and replied.
Will get back to you in a day or so.
Regards,
Mick
JEMWATERCRAFT Swampgirl; Wadefish;Touring Pirogue;South Wind; P5 ;
Laker X 2, Sasquatch 16.5 T-V 15 Okwata 15:
Cobia 15 (under construction)
Mick
JEMWATERCRAFT Swampgirl; Wadefish;Touring Pirogue;South Wind; P5 ;
Laker X 2, Sasquatch 16.5 T-V 15 Okwata 15:
Cobia 15 (under construction)